7
Window / Patio Door Kit Installation
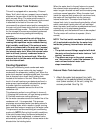
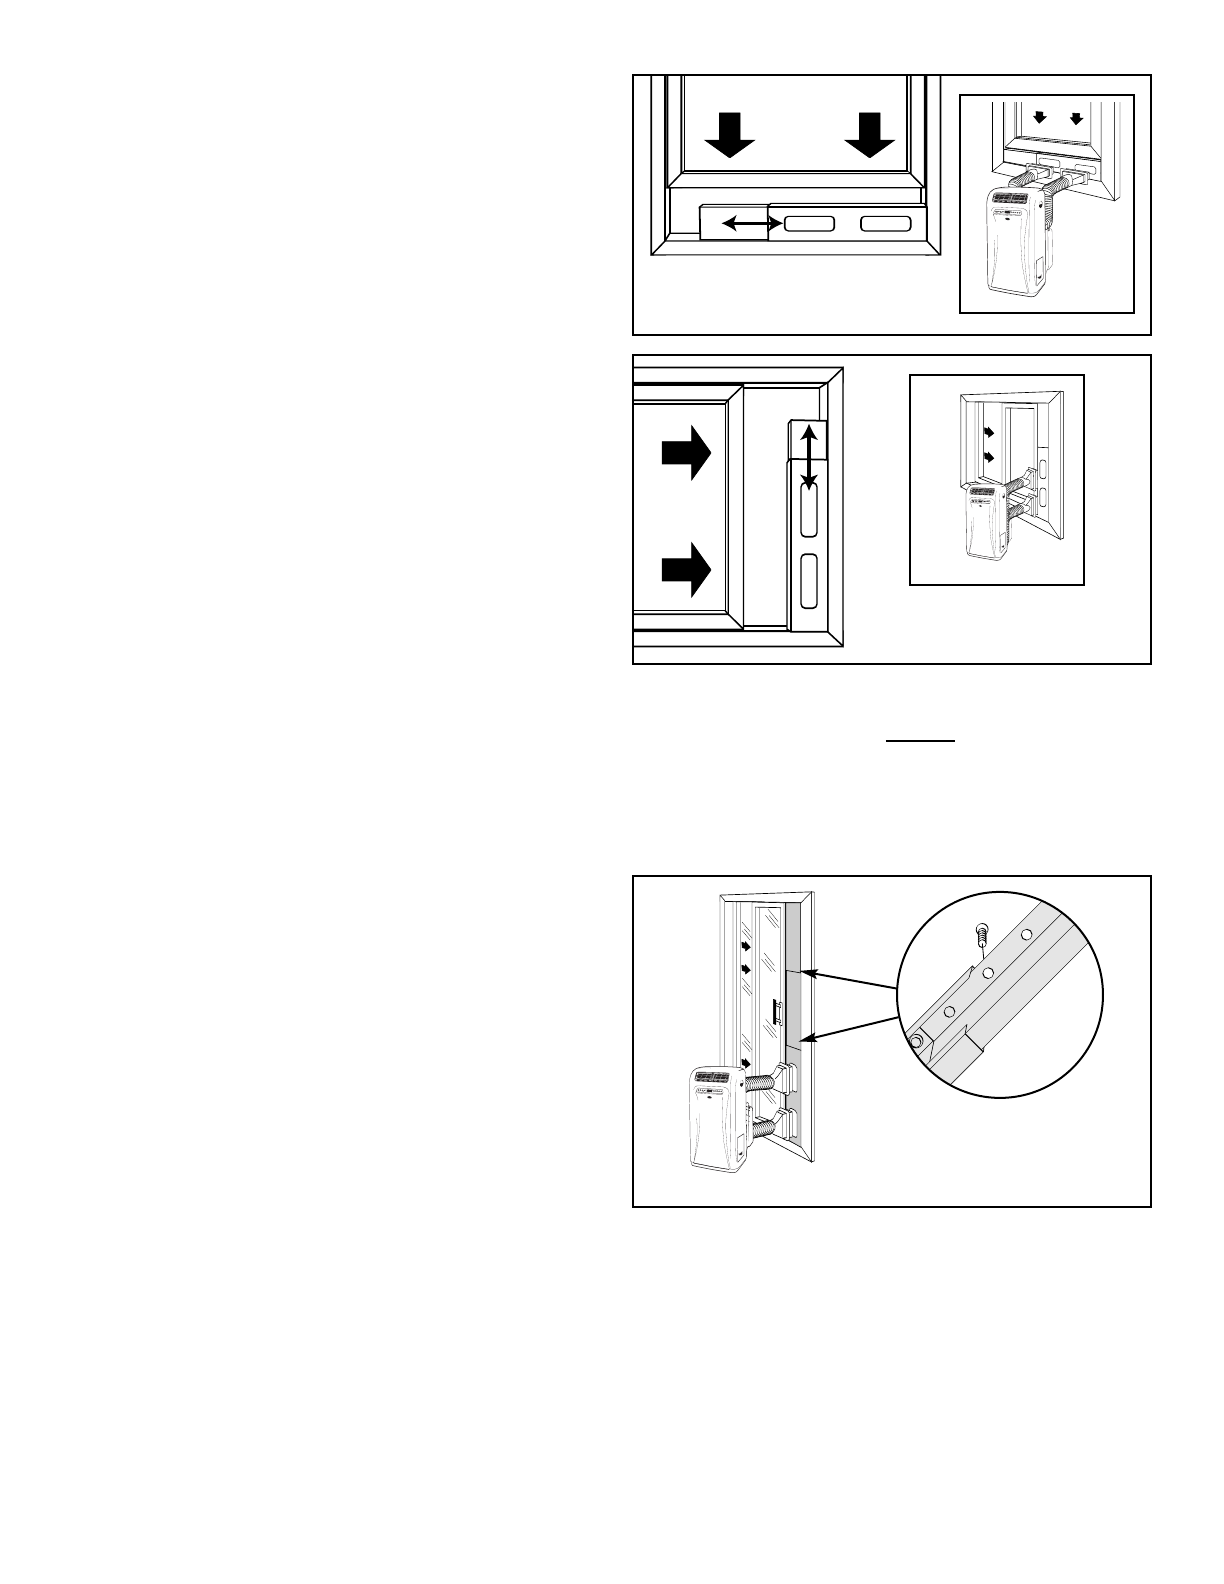
Your window kit has been designed to fit most
standard “vertical” / “horizontal” windows and patio
doors. Patio door applications upto a maximum
height of 80”. Please refer to Fig. 2, Fig. 2a, & Fig.
2b for minimum and maximum openings. For
vertical window and/or patio door applications, multi-
lock positions are provided on the edge of each
slider section. Two lock screws are provided to
secure each sliding section together.
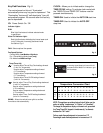
Fig. 2c.
1) Select a suitable location,making sure you have
access to an electrical outlet.
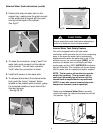
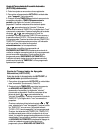
2) Install both flexible hoses to the rear side of the
unit. Both hoses are identical and can be installed
into either opening. Insert the hose adapter with the
3 (L shaped) lock tabs into the 3 slots on the top of
each opening and twist to lock into position.
4) Install the adjustable Window/Patio Door Slider
Kit as required. Fig’s. 2, 2a, 2b. NOTE:
5) Install the window exhaust adapters into the
openings in the slider section, making sure the
window slider section are secure.
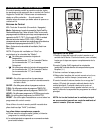
6) Plug the unit into a 115 V / 60 Hz grounded
electrical outlet.
NOTE: Steps # 2, 3, 4, 5 are only required when
operating the unit during air conditioning mode.
DO NOT USE A REGULAR EXTENSION CORD.
If it is necessary to use an extension cord with this
unit, use an approved “air conditioner” extension
cord only. (available at most local hardware stores)
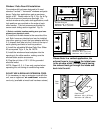
Horizontal Window
Window Slider Kit
Minimum: 26
5
/8" (67.5 cm)
Maximum: 48
3
/8" (123 cm)
Vertical
Window
Window Slider Kit
Minimum: 26
5
/8" (67.5 cm)
Maximum: 48
3
/8" (123 cm)
Fig. 2
Fig. 2a
Patio
Door
Patio Door Kit
Minimum: 26
5
/8" (67.5 cm)
Maximum: 80" (203 cm)
Fig. 2b
Fig. 2c
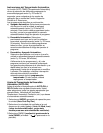
Please Note: In a vertical application, the
exhaust hose is to go above the intake hose
in the window slider. This will avoid having
the exhaust heat go through the intake and
back into the unit.


