


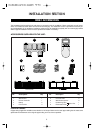
INSTALLATION (CONTINUED)
9
CAUTION:
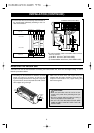
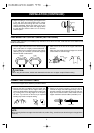
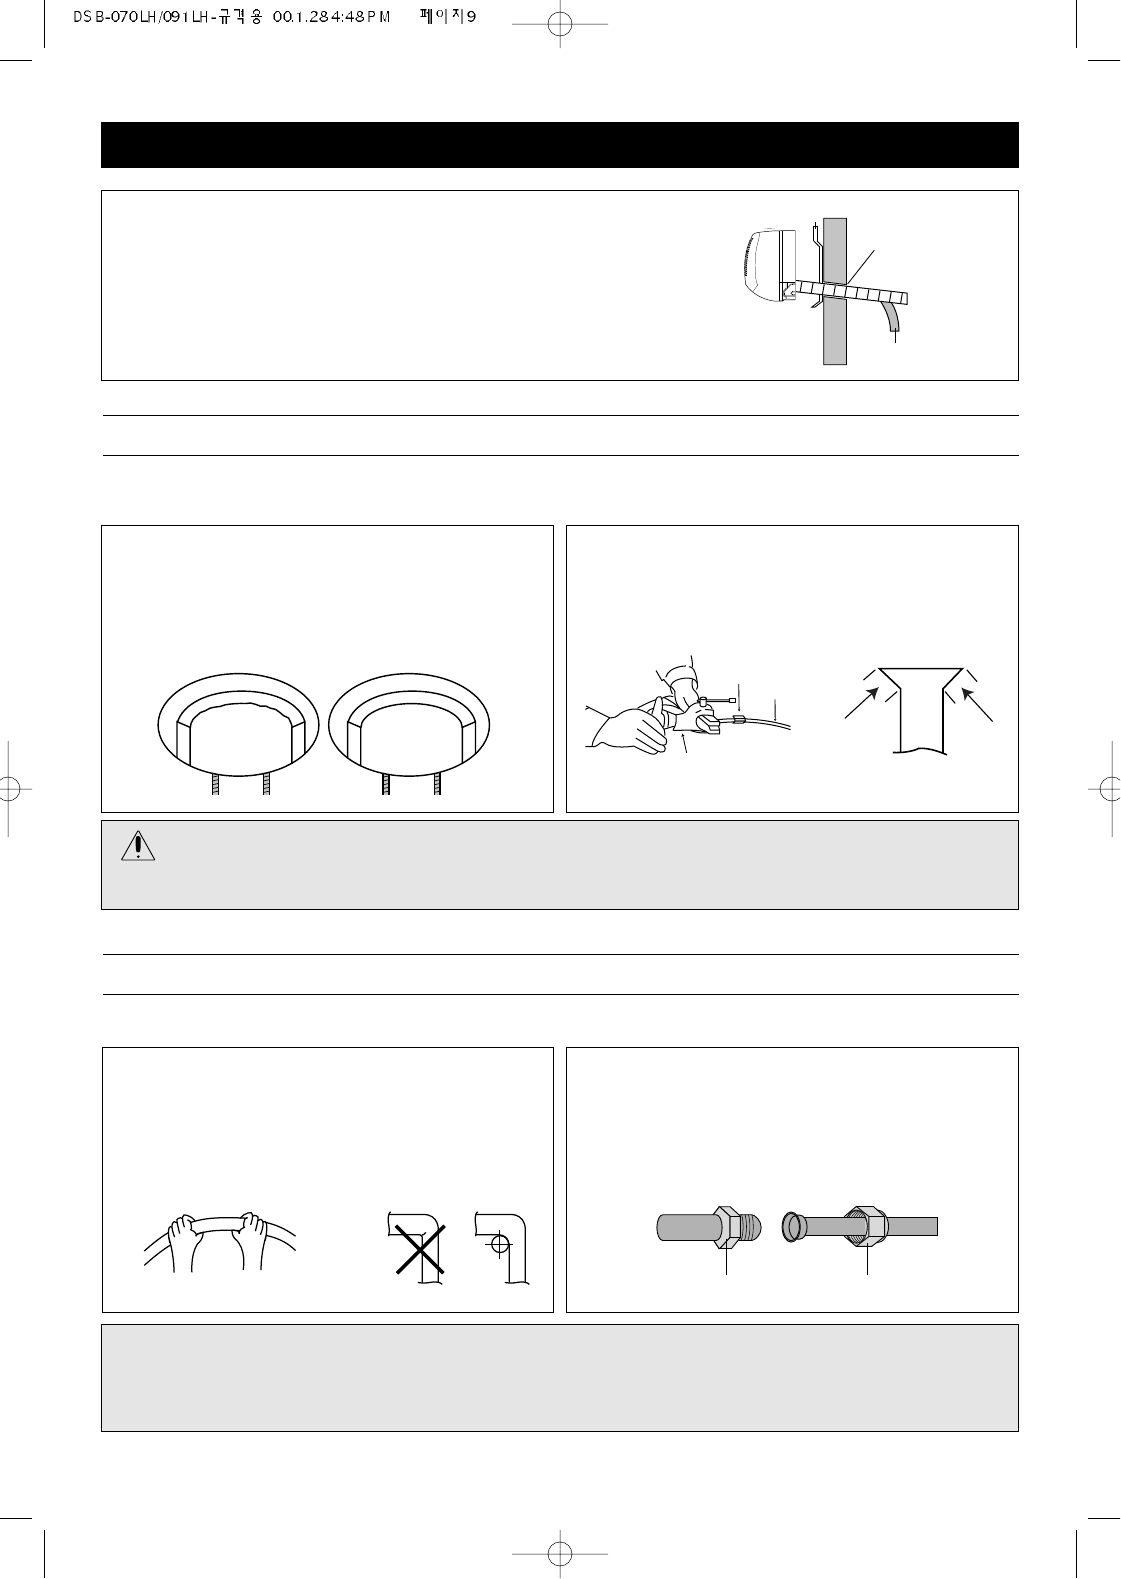
• When using the tube reamer, hold the tube downward and make sure no copper scraps fall into the tubing.
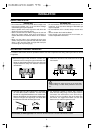
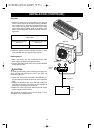
2. Make a flare at the end of the copper tube with a
flare tool.
Make sure the inside surface and edges are smooth
and the sides are uniform length.
1. Cut the copper tube extension to the desired length
with a tube cutter. It is highly recommended that 1
foot is added to the requested length. After cutting,
deburring may be necessary (see below diagram).
Perform this with a tube reamer.
BEFORE AFTER
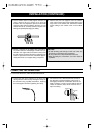
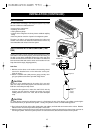
PREPARING THE COPPER TUBING (NOT INCLUDED)
A copper tubing extension (not included) may need to be cut. If this is the case, it will also have to be deburred and
flared as shown below:
Flare tool
Flare nut
Connection
pipe
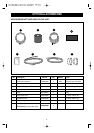
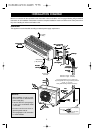
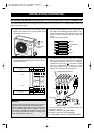
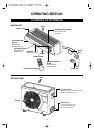
3. Shape the tubing so it can easily go through the hole
in the wall. Push the indoor/outdoor wire, copper
tubing and drain hose through the hole in the wall
angling downward. Situate the indoor unit on the
wall bracket by lifting the indoor unit slightly above
the wall bracket and then down so it is securely
locked in place.
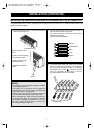
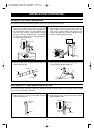
1. Remove the flare nut stoppers from the inside unit.
Determine the location of the copper tubing and
where the bends will be. Gently bend the copper tub-
ing, making sure to use big angles so no crimping
will occur. Try to do this on the first try as repeated
bending may break or crimp the tubing.
2. Remove the plastic stoppers from the tubing.
Connect the large and small copper tubing to the re-
spective extension and rotate the flare nut with your
finger until a smooth match is made. Make sure the
copper extension has foam rubber (insulation) on it.
Flare Nutcoupler
NOTE:
When removing the flare nut stopper from the inside unit, confirm “Ping”, sounds because the mixed gas is charged in the
inside unit,
CONNECTING COPPER TUBES
To connect the copper tubes, follow the procedures below:
Wall Bracket
Insert Putty
Drain Hose