43
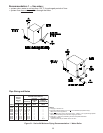
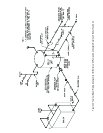
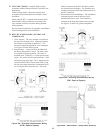
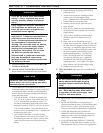
Figure 40a: Steam Boiler - Safety Valve Hook-Up
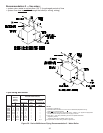
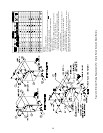
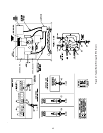
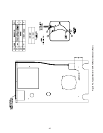
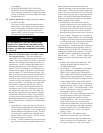
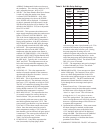
Figure 39b: Diverting Valve/Actuator Wiring
(CW - Open to System)
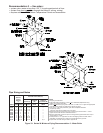
Figure 39a: Diverting Valve/Actuator Wiring
(CCW - Open to System)
N. ELECTRIC WIRING - Install all field wiring in
accordance with the National Electric Code and Local
Regulations.
Control voltage and/or 3-phase line voltage must
be supplied to the burner panel box through a fused
disconnect.
When using the R
TC, a separate fused control circuit
shall feed the control to allow the exercising of the
valve actuator and boiler circulator during dormant
boiler operation.
Review electrical schematics in Appendix A and Burner
Electrical Diagram for more information.
O. RETURN TEMPERATURE CONTROL AND
COMPONENTS
1. Valve Actuator – The valve actuator is mounted to
the top of the diverting valve. Mount and connect
the actuator as illustrated in Appendix C. The
electrical connections depend on valve orientation.
Use Figures 39a and 39b as a guide.
2. Return Sensor – A sensor has been included with
the Return Temperature Control. The sensor must
be mounted for proper operation. The sensor is
mounted in the 3 inch NPT x 12 inch special return
nipple. The sensor must be inserted into the ¼ NPT
connection using pipe dope. The 3” nipple must be
inserted with the sensor closest to the boiler, using
the rear lower right connection. (Orientation based
on viewing the boiler from the rear.) The sensor
shall be connected to the RTC through a junction
box located above the nipple. Use grommets and
conduit to protect the leads and connection back to
the RTC controller
.
3. Knock Down Boiler Installations – The installation
instructions above must be followed for all
knockdown boilers as well. The controller is
mounted on the front jacket panel at the top right.
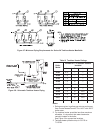
See Figures 41 and 42 for general component


