GENERAL MAINTENANCE AND CLEANING
Before any cleaning operation, switch the humidifier off and unplug it.
1. Always unplug the unit before cleaning.
2. The humidifier must be drained and cleaned before storing.
3. Once unplugged the exterior of the unit may be cleaned by wiping with a soft dry
cloth. Caution: The ON/OFF switch must be thoroughly dry before unit is again
plugged into power source.
4. There may be some lime deposits in the nebulizer, particular in areas with hard
water. Overcome this drawback by cleaning the nebulizer with water and vinegar on
a soft cloth regularly, as follows:
A. Dampen a cloth with vinegar and wipe the nebulizer gently, until the lime
deposits disappear completely.
B. Rub down gently with a dry cloth and remove remains of humidity.
C. Do not rub the nebulizer with solid objects.
D. Do not clean with chemical products
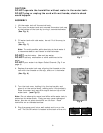
5. When cleaning the water basin do not place the nebulizer directly under the water
tap.
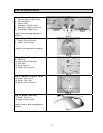
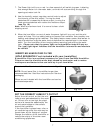
6. Never immerse the unit in water or let water enter the fan vent (see figure 3) or
any other openings.
7. It is normal for water to be in the water basin. However water must not get inside
the central body. If this should happen, take the humidifier to an authorized service
center before using it again.
8. Clean the inside of the water tank at least once a week, as follows:
A. Fill the tank with clean water adding a few drops of bleach. Close the tank
completely with its cap and shake by holding the tank with both hands. Do
not hold by handle while shaking the tank.
B. Rinse thoroughly.
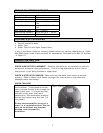
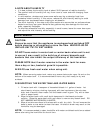
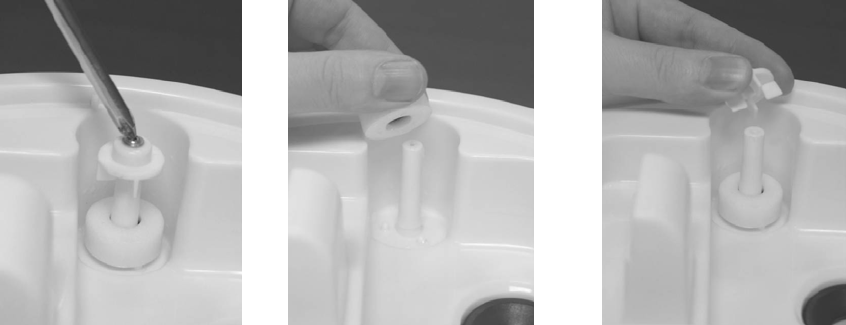
Water Level Sensor- The water level sensor is made of three key parts. When
cleaning DO NOT MISPLACE these parts and MAKE SURE that you assemble these three
parts correctly after cleaning and before operating humidifier. They are as follows:
Plastic Cap – this part has 4 flat tabs coming out from the bottom and is placed on top
of a plastic pin.
Water Float - a small round part resembling a “life saver” candy located underneath
the plastic cap.
Pin – plastic pin that secures water float and plastic cap.
To clean the water float unscrew the plastic cap from the pin. Remove the water float
and clean by wiping the parts with a soft damp cloth. Replace the parts by first putting
the water float onto the pin and re-screwing the plastic cap onto pin.
9


