


Instruction Manual: COSTAR
®
9SIR, Residential CO Alarm
QGI P/N 099-0057-01 REV 10/26/01
Page 4 of 7
5.5 CEILING LOCATION: Alarm should be mounted as close as possible to the center of a hallway or room. If this is
not possible, the edge of the alarm should be at least 4 inches from any wall.
5.6 LOCATIONS TO AVOID
Placing units where they will not operate properly causes nuisance alarms. To avoid nuisance alarms, do not place
units:
– Within 5 feet (1.5m) of any cooking appliance or furnace.
– Near an open window or door, because the fresh air entering the opening may delay CO from reaching the alarm.
– In damp or very humid areas or next to bathrooms with showers. Install detectors at least 10 feet (3 meters)
away from bathrooms.
– In very cold or very hot environments or in unheated buildings or outdoor rooms where the temperature can go
below or above the operating range of the alarm. Temperature limits for proper operation are 4.4° C to 37.8° C (40° F to
100° C).
– Good ventilation is recommended when household cleaning supplies or similar contaminants are used.
5.7 CONDITIONS WHICH CAN RESULT IN TEMPORARY CO SITUATIONS:
5.7.1 Excessive spillage or reverse venting of fuel burning appliances caused by outdoor ambient conditions, such as:
i) Wind direction and/or velocity, including high gusts of wind. Heavy air in the vent pipes (cold/humid air with
extended periods between cycles).
ii) Negative pressure differential resulting from the use of exhaust fans.
iii) Simultaneous operation of several fuel burning appliances competing for limited internal air.
iv) Vent pipe connections vibrating loose from clothes dryers, furnaces, or water heaters.
v) Obstructions in or unconventional vent pipe designs which can amplify the above situations.
5.7.2 Extended operation of unvented fuel burning devices (range, oven, fireplace, etc.)
5.7.3 Temperature inversions, which can trap exhaust gasses near the ground.
5.7.4 Car idling in an open or closed area garage, or near a home.
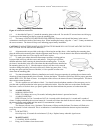
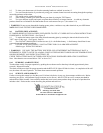
6.0 INSTALLATION INSTRUCTIONS: CAUTION!! READ CAREFULLY
! CAUTION: THIS UNIT IS SEALED. THE COVER IS NOT REMOVABLE!
6.1 Select proper location (See section 5.0)
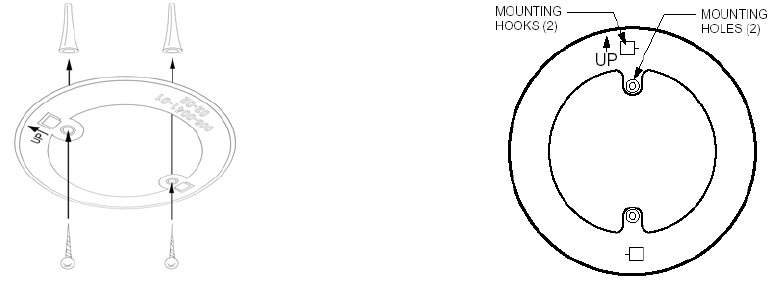
6.2 A mounting plate is provided on the back of the alarm. Remove the mounting plate from the back of the alarm by
holding the mounting plate and twisting the alarm in the direction indicated by the "OFF" arrow on the alarm cover.
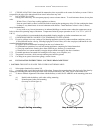
6.3 To insure aesthetic alignment of the alarm with the hallway or wall, the UP ARROW on the mounting plate must
be:
A.) Parallel with the hallway walls when ceiling mounting
B.) Pointed upward when wall mounting
(See steps A & B in figure 4)
Step A: Ceiling mounting
Step B: Wall alignment