4
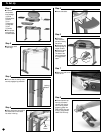
To Set Up
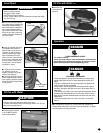
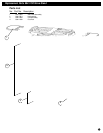
■ Unfold the stand.
Extend legs.
■ Be sure that the locking button
securely engages leg extension.
■ Swing wire brace into position
and insert ends of wire brace
into holes in the leg.
■ Insert side tables.
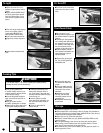
■ Place the
stand outdoors
and set on sturdy,
flat surface.
■ Adjust foot pad
levels if grilling on
uneven surface.
■ Place the stove
onto the stand.
The base of the
stove is designed
to snuggly fit the
stand.
Step 2
Step 1
Step 3
Step 4
■ Remove
components
from package:
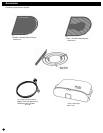
(1) Stand
(2) Side tables
(1) Stove
(1) Lid
(1) Waterpan
(1) Regulator
(1) Grill
(1) Griddle
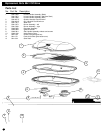
■ See replace-
ment parts list
for identification.
Step 5
Step 6
Locking
Button
Wire
Brace
■ Make sure both burner
valves are off.
Step 7
■ Remove plastic cap
from top of propane
cylinder. Save cap for
use in storing. Screw
propane cylinder into
REGULATOR. Be care-
ful not to cross-thread.
HAND TIGHTEN only.
Step 8
Foot
Pad


