


Before You Go
To Set Up
Preparing Hot Water on Demand
TM
unit for initial use.
• Unpack your new water heater from the carton and make sure that all of the parts are included. If you find that one of the
components is missing, please contact Coleman for a replacement. 1-800-835-3278 or TDD 1-316-832-8707.
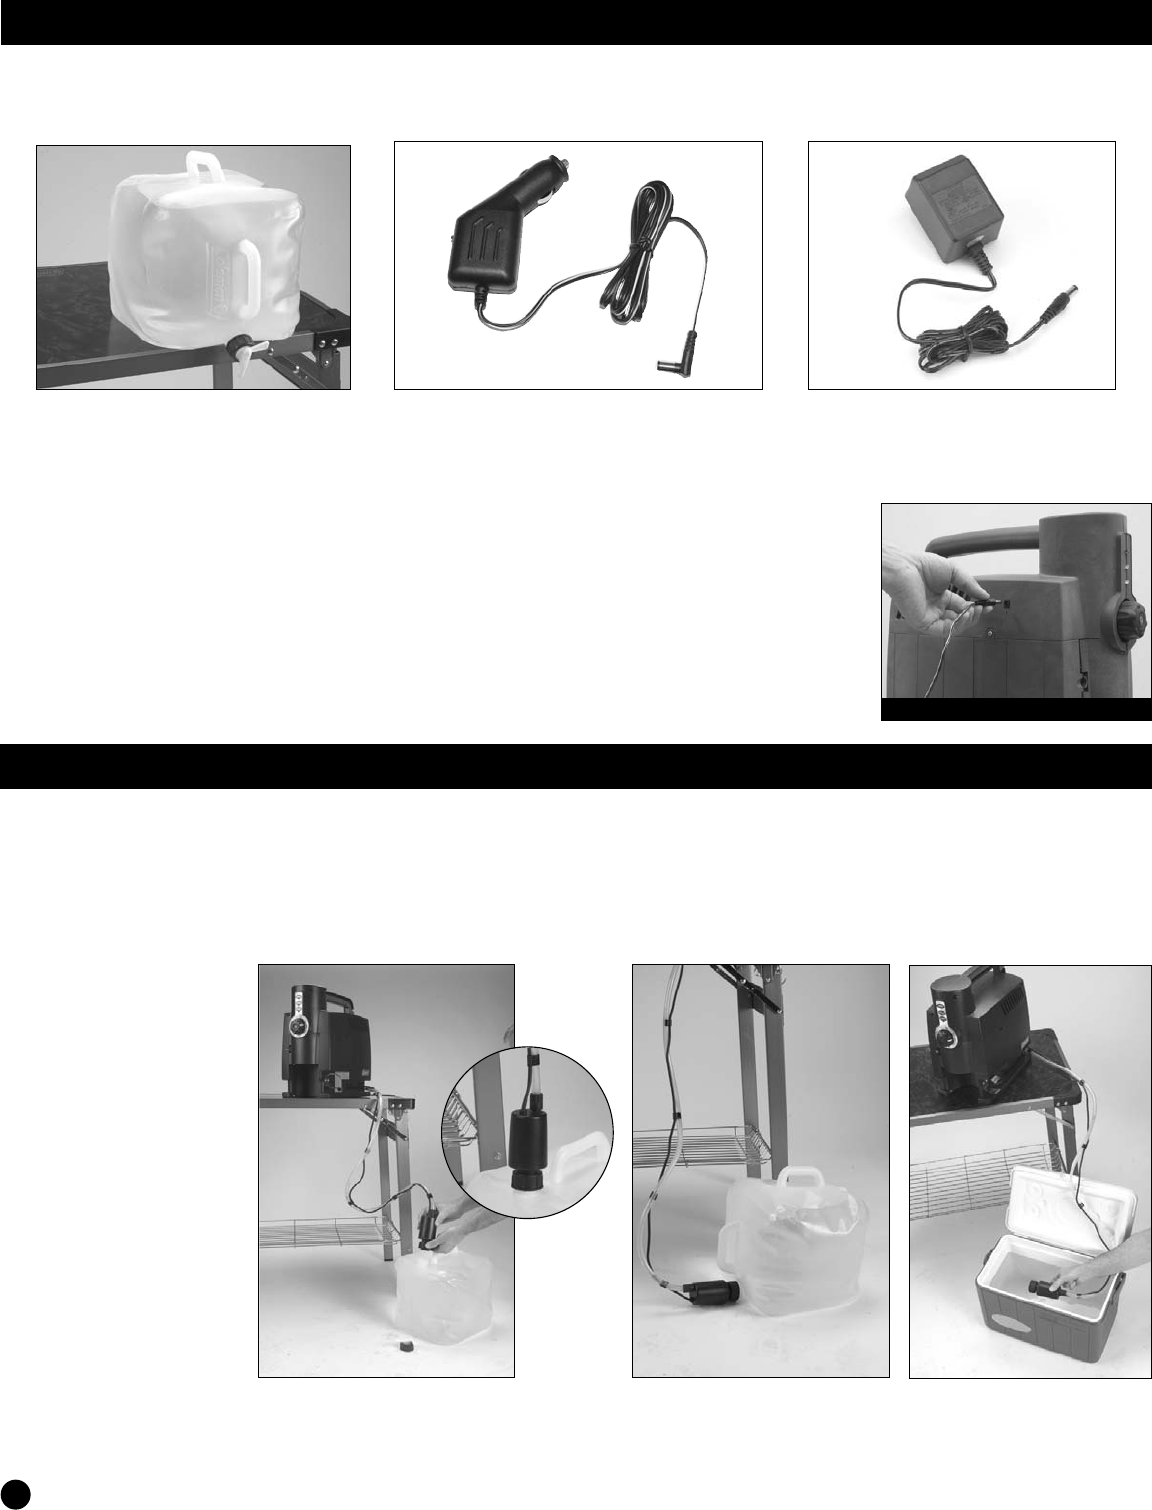
5-Gallon Collapsible
Water Carrier
(#809A606T)
12 Volt Auto
Recharger Cord
(Located in storage compartment of your
Hot Water on Demand
TM
unit)
(#2300-4071)
110V/120 Volt Household
Recharger Cord
(Located in storage compartment of your
Hot Water on Demand
TM
unit)
(#2300-4081)
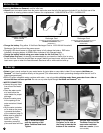
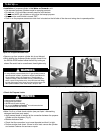
• Charge the battery. Plug either 12 Volt Auto Recharger Cord or 110V/120 Volt Household
Recharger Cord into unit and the power source.
• Charging LED should come on. Allow eight hours to fully charge the battery. RED color
indicates a charging battery. A GREEN color indicates a fully charged battery.
• Charge the battery before using your water heater for the first time (Fig. 1).
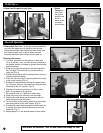
• Clean before first use. It is strongly recommended that you clean the heater prior to using
for the first time. Follow the simple steps on page 6 before you leave home, and then clean at
least once a year or when the hose becomes discolored with a white calcium build up.
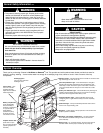
• Select a level, sturdy surface for your water heater. A picnic table or camp table is ideal. Do not operate Hot Water on
Demand
TM
unit from a position directly on the ground. (This allows water to drain, preventing damage while the unit is off in
freezing temperatures.)
• Fill the 5-gallon collapsible water container with water – use only potable
drinking water
. Never use water from a lake or
stream that has not been purified. Do not run any other liquid through Hot Water on Demand
TM
unit.
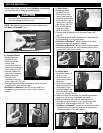
• Unwrap the pump hose
from around the water
heater.
• Place the water carrier
at a level below the
water heater for proper
drainage.
• Screw the water pump
to the opening of the
water container & hand
tighten.
• Lay the water container
on its side so the pump
is towards the bottom
of the container (step 2).
• Make sure to rotate the
pump where “THIS
SIDE UP” is facing
upward so pump will
prime and water will flow.
Step 1: Screw the Pump
onto the opening of the
Water Container and Hand
Tighten.
Step 2: Lay the Water
Container on its side so
the Pump is towards the
bottom of the container.
You can also submerge
The Water Pump into an
open water container
such as a cooler.
(Cooler
not included.)
4
• WATER CONNECTION
Fig. 1