


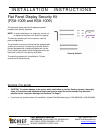
Installation Instructions FSA/KSA-1009
4
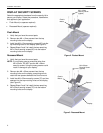
DISPLAY SECURITY SCREWS
Select the appropriate hardware from the security kit to
secure your display. Select the procedure, listed below,
that applies to your application.
Flush Mount (no spacers required)
Recessed Mount (spacers required)
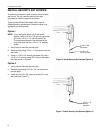
Flush Mount
1. Verify that you have the correct parts.
2. Remove two M4 x 12mm screws from the top
mounting holes on the display.
3. Install two M4 x 12mm security screws (60) into the
top mounting holes on the display (see Figure 2).
4. Repeat Steps 2 and 3 to install the two remaining
M4 x 12mm security screws (60) into the bottom
mounting holes on the display.
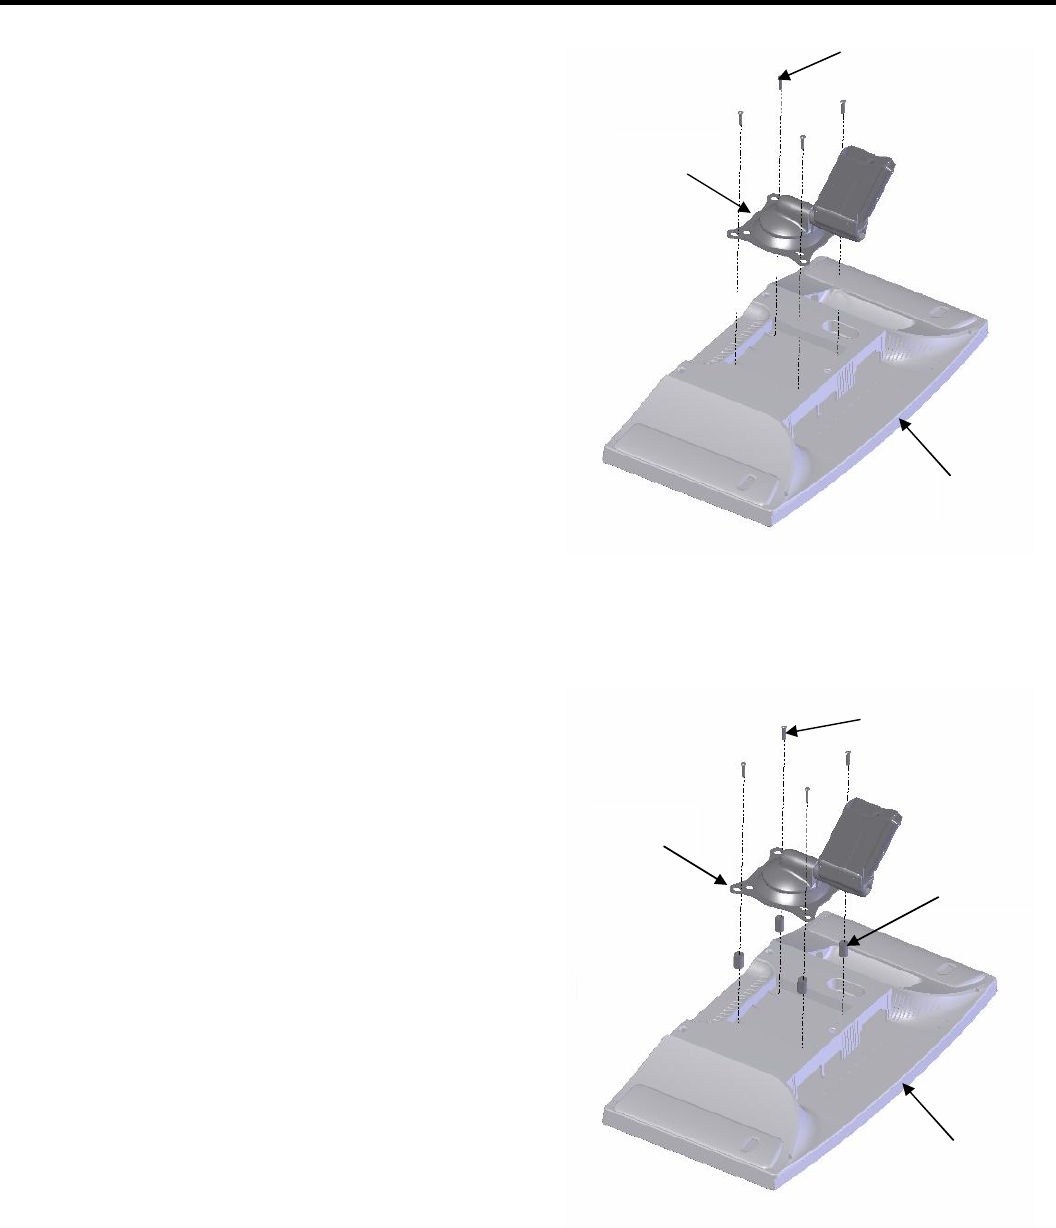
Recessed Mount
1. Verify that you have the correct parts.
NOTE: If your display uses a screw size other than
M4 x 20mm, DO NOT use the M4 x 20mm
security screws. Using the wrong screws could
result in damage to your display.
2. Remove two M4 x 20mm screws from the top
mounting holes on the display, exercising care to
retain the two spacers beneath the Centris mount.
3. Install two M4 x 20mm security screws (70) and two
spacers into the top mounting holes on the display
(see Figure 2).
4. Repeat Steps 2 and 3 to install the two remaining
M4 x 20mm security screws (70) into the bottom
mounting holes on the display.
Figure 2. Flushed Mount
Figure 3. Recessed Mount
Spacers
Display
Centris
Mount
M4 x 20mm
Security Screw
(typical)
M4 x 12mm
Security Screw
(typical)
Centris
Mount
Display