


chimney may be swept through the
appliance.
Horizontal lengths of flue must be
kept to a minimum and should not be
more than 150mm (6 inches) long.
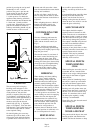
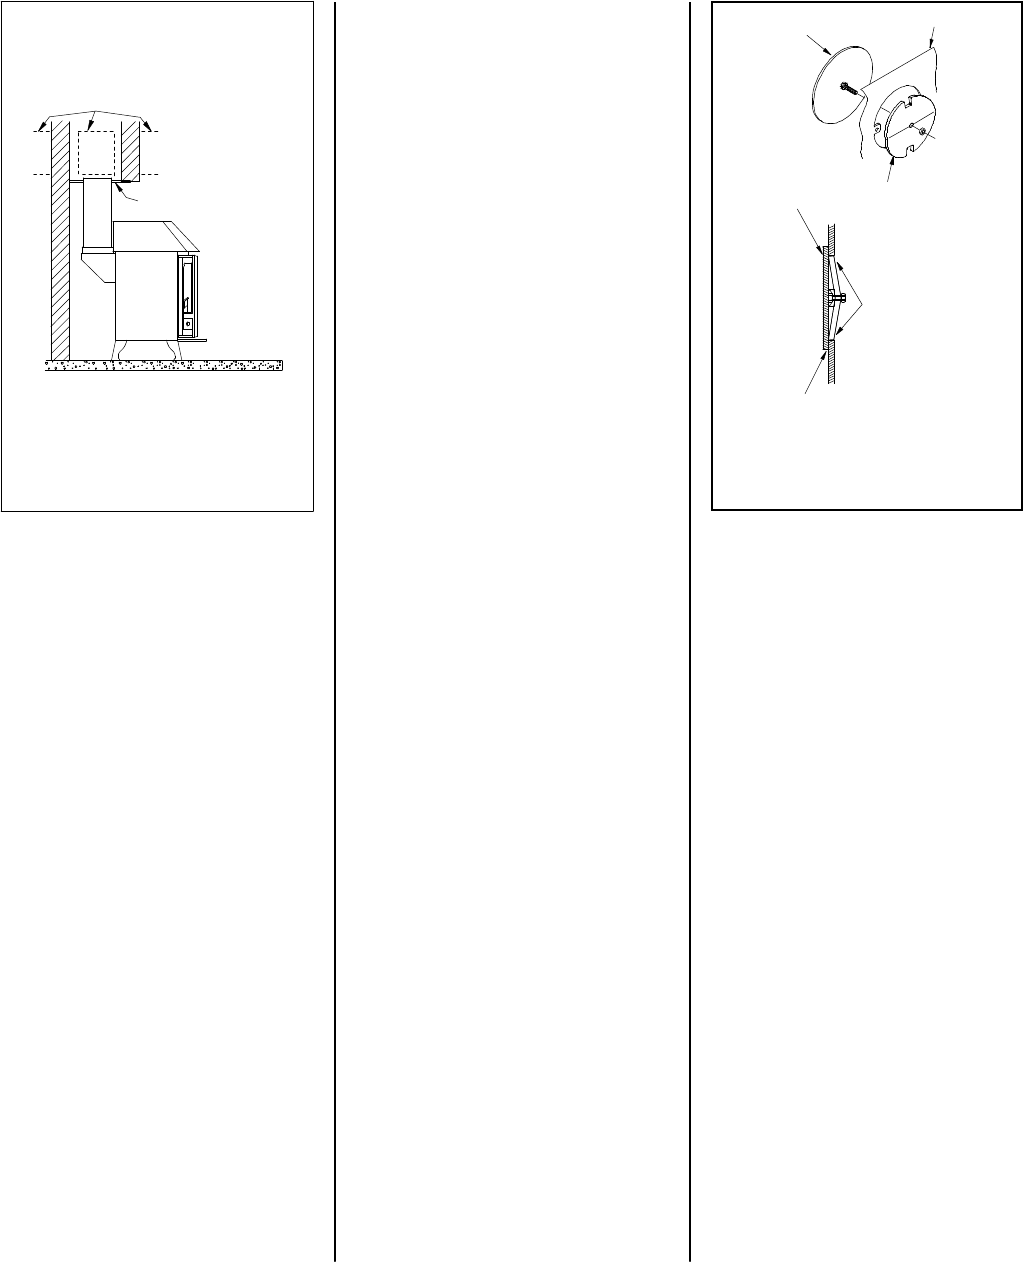
The sealing face of the flue collar
should be coated with fire cement
before fixing to the body of the stove
using the two screws provided. The
blanking plate must be removed,
sealed with fire cement and refitted,
care being taken to ensure that the
fold on the blanking plate is in line
with the lugs on the firebox as shown
in Fig. 9. Ensure that the clamping
plate does not prevent the throat plate
from seating correctly. All flue
connections must be well sealed.
Ensure that the flat top or canopy is
securely bolted to the body of the
stove.
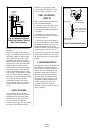
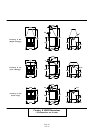
SOOT DOORS
It is possible to pass a 16 inch
diameter sweeps brush through the
appliance but in most back outlet
installations it will be necessary to
have a soot door to enable the
chimney to be swept. This may either
be in the actual brickwork of the
chimney or in the register plate.
Various types and positions of soot
doors are shown in figures 5 to 8.
PRE LIGHTING
CHECK
Before initial lighting the following
points should be checked :-
1. The bottom grate bars must all be
fitted and should move freely and
easily when the riddling mechanism
is operated.
2. The plates round the sides and
back of the grate must be in position
and sitting correctly.
3. The throat plate must be fitted in
the roof of the appliance and should
be checked to ensure that it has not
become dislodged in transit. The
method of location and positioning of
the throat plate is shown in fig 3.
4. The top or canopy must be securely
bolted to the body of the stove using
the fixings provided to ensure proper
sealing.
COMMISSIONING
On completion of the installation and
after allowing a suitable period of
time for the fire cement and mortar to
dry out, the stove should be lit and
checked to ensure that smoke and
fumes are taken from the appliance
up the chimney and emitted safely.
Also check all joints and seals. On
completion of the installation and
commissioning please leave the
operating instructions with the
customer and advise them on the use
of the appliance.
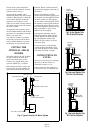
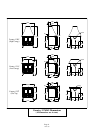
Register Plate
With Soot Door
Soot Door
Alternative
Positions
Rear Flue Connector
Fig. 8. Horizontal Register
Plate With Optional Vertical
Blanking Plate
Blanking Plate
Clamping Plate
with fold horizontal
Back of the Stove
Clamping plate finishes
flush with inside face of
firebox top and bottom.
with fire cement
Seal Blanking Plate
Fig. 9. Flue Blanking Plate.
Page 9
TW16 3/99