11
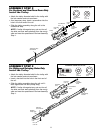
ASSEMBLY STEP 2
For Sectional and One-Piece Doors Only
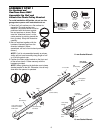
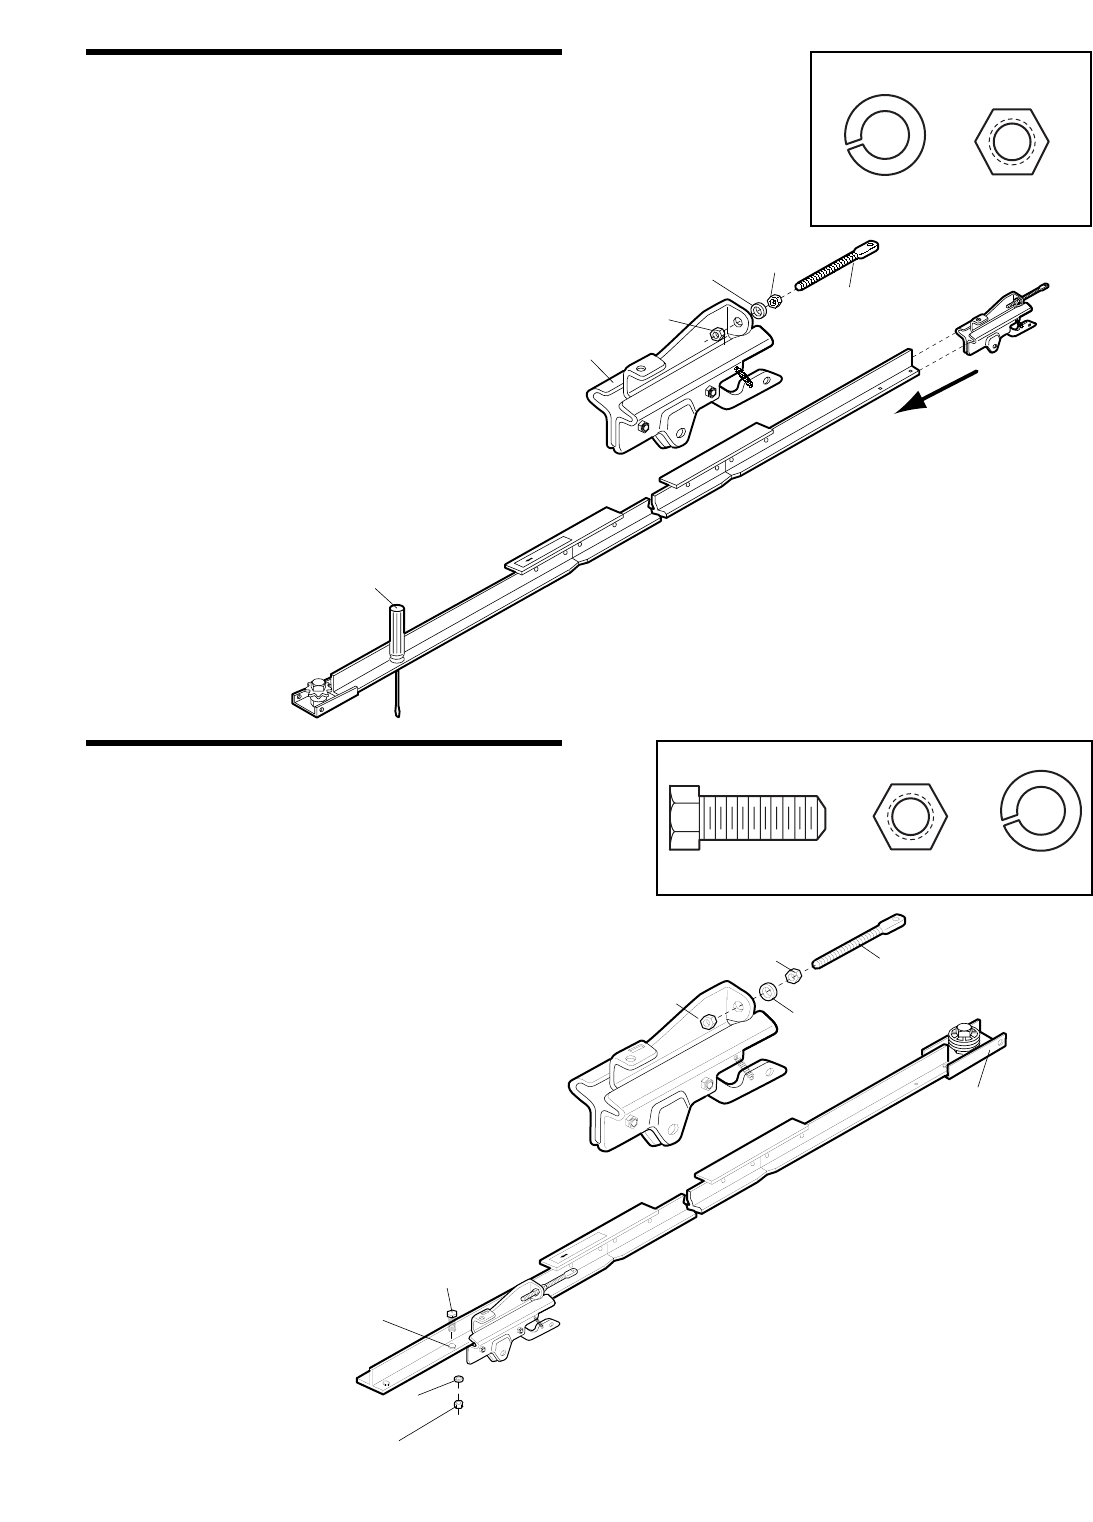
Install the Trolley
• Attach the trolley threaded shaft to the trolley with
the lock washer and nuts as shown.
• As a temporary stop, insert a screwdriver into the
hole in the front end of the rail.
• Slide the trolley assembly along the rail to the
screwdriver stop.
NOTE: If trolley hits against any nuts on the rail,
the bolts and nuts were attached from the wrong
side and must be repositioned. Review Assembly
Step 1.
Trolley
Threaded
Shaft
Lock Washer
5/16"
Outer Nut
5/16"
Inner Nut
5/16"
Trolley
Temporary Stop
Screwdriver
T
O
G
A
R
A
G
E
D
O
O
R
Lock Washer
5/16"
Nut
5/16"-18
HARDWARE SHOWN ACTUAL SIZE
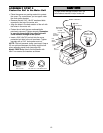
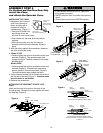
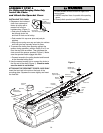
ASSEMBLY STEP 2
For Sliding and Swinging Gates Only
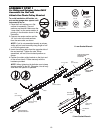
Install the Trolley
• Attach the trolley threaded shaft to the trolley with
the lock washer and nuts as shown.
• Insert a hex bolt into the hole in the front end of
the rail.
• Slide the trolley assembly along the rail until it
rests against the hex bolt (trolley stop).
NOTE: If trolley hits against any nuts on the rail,
the bolts and nuts were attached from the wrong
side and must be repositioned. Review Assembly
Step 1.
Outer Nut
5/16"
Trolley
Threaded
Shaft
Lock Washer
5/16"
Inner Nut
5/16"
TO GARAGE DOOR
Hex Bolt
Trolley Stop
Hex Bolt
5/16"-18x7/8"
Nut
5/16"-18
Lock Washer
5/16"
Cable Pulley
Bracket
Nut
5/16"-18
Lockwasher
5/16"
Hex Bolt
5/16"-18x7/8"
HARDWARE SHOWN ACTUAL SIZE


