


9
3311243
Guidelines
After your installer does the test burn, the log set
should be operated either with the chimney open or, in
the absence of a chimney, with a window open approxi-
mately 1-2 inches. This operation should last for about
2-3 hours to cure the logs and dissipate any residual
fumes from the new unit.
This unvented gas log heater must not be used with
glass doors closed. If used with glass doors, the
mesh curtain or panels must be closed. The glass
doors must be open to allow combustion air to the
appliance.
When used without glass doors, a fireplace screen or
free standing screen must be in place. The screen
must have openings for the introduction of combustion
air.
Always maintain a clear area of at least 3 feet in front of
the fireplace.
Periodically, check the pilot. The flame should be
present if the main supply or safety control valve knob
are not in the “OFF” position.
This unvented gas log set operates as a room heater
when the flue damper is closed. It is equipped with an
Oxygen Depletion Sensor pilot light system that will
automatically shut off the entire unit if the oxygen level
falls below a safe level. Open a window slightly to allow
fresh air into the room when operating the gas log set
as a heater.
NOTE: Unvented gas log owners usually prefer to
operate their sets with the chimney damper closed. This
will put all the heat into the room. However, there may
be times you will desire the full flames of the Hi heat
setting but will find the heat output excessive. You can
open the chimney damper (if you have one) fully or
partially to release some of the heat.
WARNING: Damper handle will be hot if heater has
been operating.
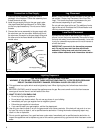
NOTE: Pilot assembly is mounted to the burner
tube support channel.
1. STOP! Read the safety information on Page 8. If a
fabricated firebox with a blower fan is used with this
appliance, turn off electrical power to the fan before
lighting. Turn the manual gas control knob clockwise
to the full “OFF” position. DO NOT FORCE.
2. Wait 5 minutes to clear out any gas. Then smell for
gas including near the floor. If you smell gas, STOP!
Follow instruction “B” in the safety information on
Page 8. If you do not smell gas, go to the next step.
3. From the “OFF” position, turn the control knob
counterclockwise to “PILOT”.
4. Push in the control knob all the way and hold in.
Immediately light the pilot by depressing the piezo
ignitor button at least once every second until a
flame appears at the pilot assembly. Continue to
hold the control knob in for about 1 minute after the
pilot is lit. Release the knob, and it will pop back up.
The pilot should remain lit. If it goes out, repeat
Steps 1 and 3.
5. Turn the control knob counterclockwise to the
desired setting.
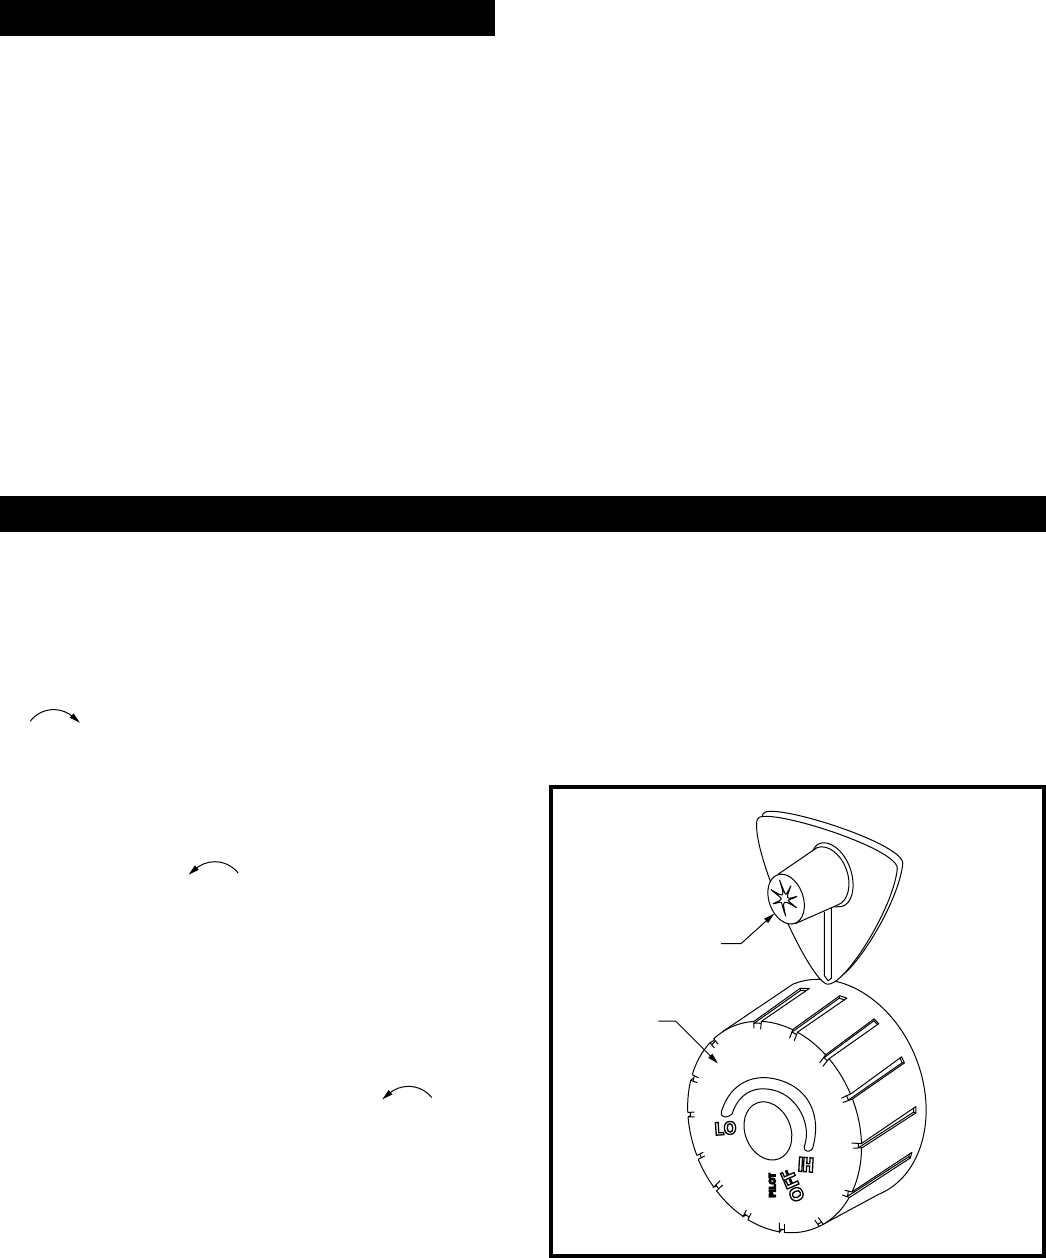
Appliance Lighting Instructions
Match Lighting
1. If the pilot cannot be lighted with the piezo ignitor, it
can be manually lit with a match.
2. Light the match and with the right hand, depress and
turn the control knob to the PILOT” position.
3. With the lighted match, ignite the pilot.
4. Continue to hold the control knob in for an additional
30 seconds to ensure the pilot remains lighted.
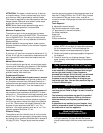
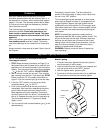
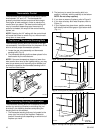
Control
Knob
Piezo Ignitor
FP1500
Fig. 7 Control knob.