10009816
11
WARNING: Make
sure the power
is turned OFF
before proceeding.
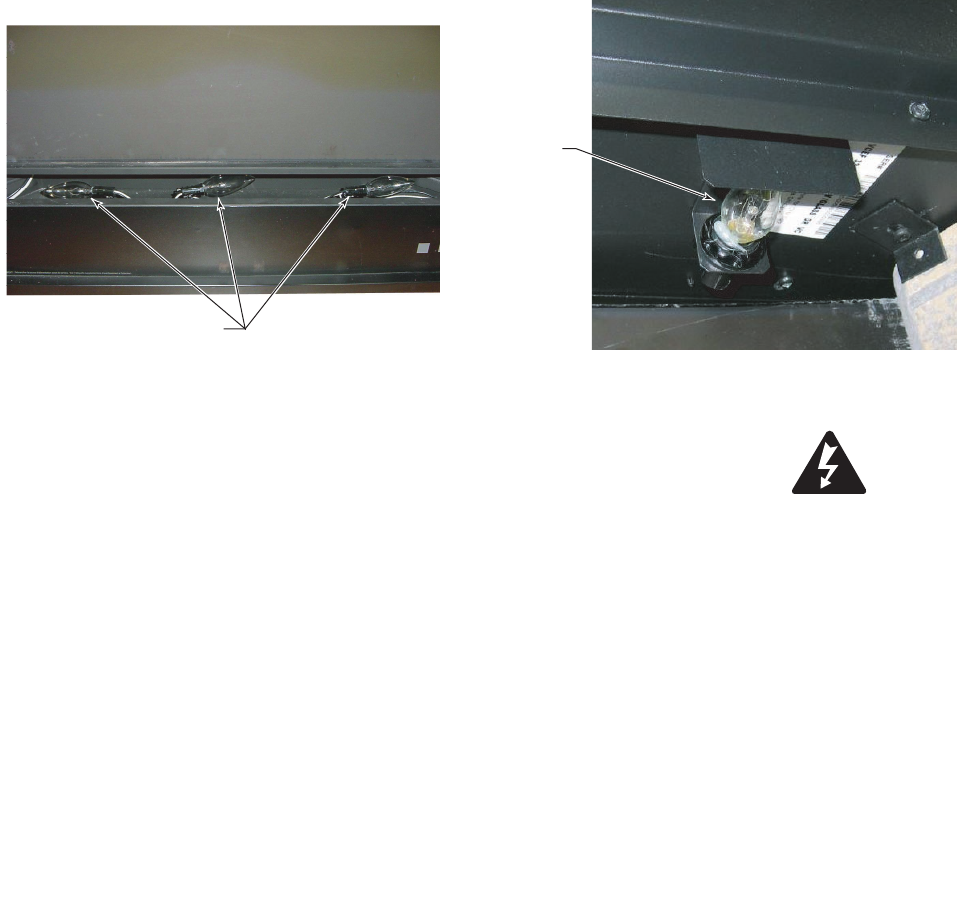
9. Looking into the opening of the unit under the ember bed, visually locate the light
bulbs.
10.Remove the light bulbs by unscrewing them out of the bases turning them coun
-
terclockwise. You can use one hand to hold the light socket in place, if required.
11. Install the new light bulb(s) by turning the light bulb into the base clockwise. You
can use one hand to hold the light socket in place, if required.
12.Reposition the ember bed. If required, gently raise the refractory panels, one at a
time, to tuck the ember bed edge underneath them.
13.Reposition the refractory bracket, aligning the refractory in place as required.
14.Reinstall the two (2) screws removed in Step 5.
4W (Max. 5W)
Light Bulb
Figure 10
FP1739
• Maintenance of Motors
Always disconnect the appliance from the main power supply and allow it to
cool before any servicing operation.
The motors used on the fan heater and flame blower are pre-lubricated for extended
bearing life and require no further lubrication. However, periodic cleaning/vacuum
-
ing of the appliance around the air intake and exhaust, as well as the fan heater is
recommended. For heavy or continuous use, periodic cleaning must be done more
frequently. If the heater blows alternating cold and warm air, check the fan for free
movement and for debris restricting air flow. If the fan does not move freely, the unit
must be turned off and the fan replaced immediately in order to prevent further dam
-
age to the unit.
• Cleaning
Cleaning of the touchpad label at the bottom front of the unit is to be done only
using a soft cloth, slightly dampened in water (if needed, a small amount of dish
soap can be added to the water) and dried using a clean, dry soft cloth. Cleaning of
the screen diffuser is to be done using only water and a lint free cloth. DO NOT use
any abrasive household cleaners as these products will damage the touchpad con
-
trols and the diffusing screen.
60W Light Bulbs
Figure 9
FP1618


