COMPONENT TEST SEQUENCE
NOTE: All components are functionally operated except the gas
valve.
When the component test is initiated, the following sequence of
events occurs:
1. LED flashes a status code 4 times.
2. Inducer motor starts and continues to run for remainder of
component test.
3. Hot surface ignitor is energized for 15 sec, then de-energized.
4. Main blower operates at cooling speed for 10 sec, then turns
off.
5. Main blower operates at heating speed for 10 sec, then turns
off.
6. Inducer motor stops.
Component test can be initiated by one of the following proce-
dures.
INITIATING COMPONENT TEST AND RETRIEVING STA-
TUS CODE BY REMOVING MAIN LIMIT SWITCH WIRE
NOTE: NO thermostat signal may be present at control center
and all blower time delay of periods must be completed.
1. Leave 115-v power to furnace turned on.
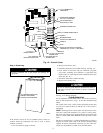
2. Remove main furnace door.
3. Look into blower access panel sight glass for current LED
status.
NOTE: Leave blower access panel installed to maintain power to
control center to view current LED status.
4. BRIEFLY remove either wire from the main limit switch until
the LED goes out, then reconnect it.
Make sure the limit switch wire does not contact any metallic
component such as the gas valve. If wire is shorted, 3-amp
fuse on control center will blow.
NOTE: If wire to main limit is disconnected longer than 4 sec, the
control senses limit circuit is open. Mian blower will start and
retrieval request will be ignored.
5. When above items have been completed, the component test
sequence will occur as described ain the Comonent Test
Sequence section above.
NOTE: Be sure to record the status code which is flashed 4 times
at start of component test for further troubleshooting.
6. After component test is completed and LED is ON continu-
ously indicating the furnace is ready to operate when a signal
from the thermostat is received, replace main furnace door.
INITIATING COMPONENT TEST AND RETRIEVING STA-
TUS CODE BY JUMPERING CONTROL TEST TERMINAL
1. Remove main furnace door.
2. Remove blower access panel.
3. Manually close blower access panel door switch. Use a piece
of tape to hold switch closed.
A99118
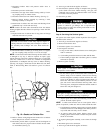
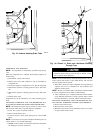
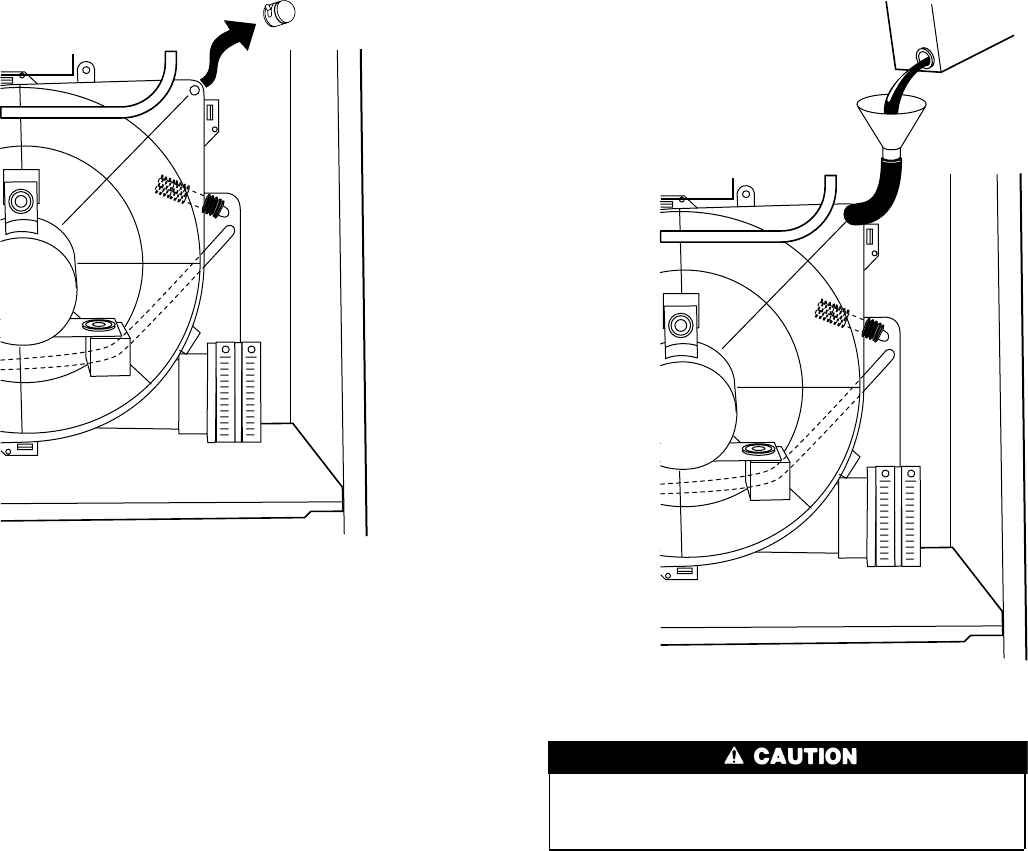
Fig. 13—Inducer Housing Drain Tube
A99119
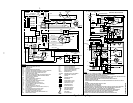
Fig. 14—Funnel in Drain and Antifreeze Running
Through Trap
10


