


2
2. Remove the filter(s) by pulling the filter(s) out of the unit. If
the filter(s) is dirty, clean or replace with new one.
When installing the new filter(s), note the direction of the
airflow arrows on the filter frame.
If you have difficulty in locating your air filter(s), or if you have
questions concerning proper filter maintenance, contact your
dealer for instructions. When replacing filters, always use the
same size and type of filter that was supplied originally by the
installer.
Table 1—Indoor-Air Filter Data
FANS AND FAN MOTOR—Periodically check the condition
of fan wheels and housings and fan-motor shaft bearings. No
lubrication of condenser- or evaporator-fan bearings or motors
is required or recommended.
EVAPORATOR AND CONDENSER COILS—Cleaning of
the coils should only be done by qualified service personnel.
Contact your dealer for the required annual maintenance.
CONDENSATE DRAIN—The drain pan and condensate
drain line should be checked and cleaned at the same time the
cooling coils are checked by your dealer.
COMPRESSOR—All compressors are factory-shipped with a
normal charge of the correct type refrigeration grade oil in
them and should rarely require additional oil.
CONDENSER FAN
The fan must be kept free of all obstructions to ensure proper
cooling. Contact your dealer for any required service.
ELECTRICAL CONTROLS AND WIRING—Electrical
controls are difficult to check without proper instrumentation;
therefore, if there are any discrepancies in the operating cycle,
contact your dealer and request service.
REFRIGERANT CIRCUIT—The refrigerant circuit is
difficult to check for leaks without the proper equipment;
therefore, if inadequate cooling is suspected, contact your local
dealer for service.
UNIT PANELS—After performing any maintenance or
service on the unit, be sure all panels are fastened securely in
place to prevent rain from entering unit cabinet and to prevent
disruption of the correct unit airflow pattern.
REGULAR DEALER MAINTENANCE
In addition to the type of routine maintenance you might be
willing to perform, your unit should be inspected regularly by
a properly trained service technician. An inspection
(preferably each year, but at least every other year) should
include the following:
1. Inspection and, if required, cleaning of the condenser and
evaporator coils.
2. Inspection and, if required, cleaning of the evaporator drain
pan.
3. Inspection and cleaning of blower wheel housing and
motor.
4. Inspection of all supply-air and return-air ducts for leaks,
obstructions, and insulating integrity. Any problems found
should be resolved at this time.
5. Inspection of the unit base to ensure that no cracks, gaps,
etc., exist which may cause a hazardous condition.
6. Inspection of the unit casing for signs of deterioration.
7. Inspection of all electrical wiring and components to assure
proper connection.
8. Inspection for leaks in the refrigerant circuit. Pressure-
check to determine appropriate refrigerant charge.
UNIT SIZE FILTER SIZE (IN.)
50SD024-030 20x24
50SD036-060 24x36
WARNING
FIRE AND UNIT OPERATION HAZARD
Failure to follow this warning could result in personal
injury, death or property damage.
Never operate your unit without filters in place. An
accumulation of dust and lint on internal parts of your unit
can cause loss of efficiency.
!
WARNING
PERSONAL INJURY AND UNIT DAMAGE HAZARD
Failure to follow this warning could result in personal
injury, death or property damage.
Do not poke sticks, screwdrivers, or any other object into
revolving fan blades.
WARNING
EXPLOSION AND BURN HAZARD
Failure to follow this warning could result in personal
injury, death or property damage.
System under pressure. Relieve pressure and recover all
refrigerant before system repair or final unit disposal. Use
all service ports and open all flow-control devices,
including solenoid valves.
!
!
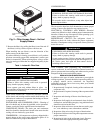
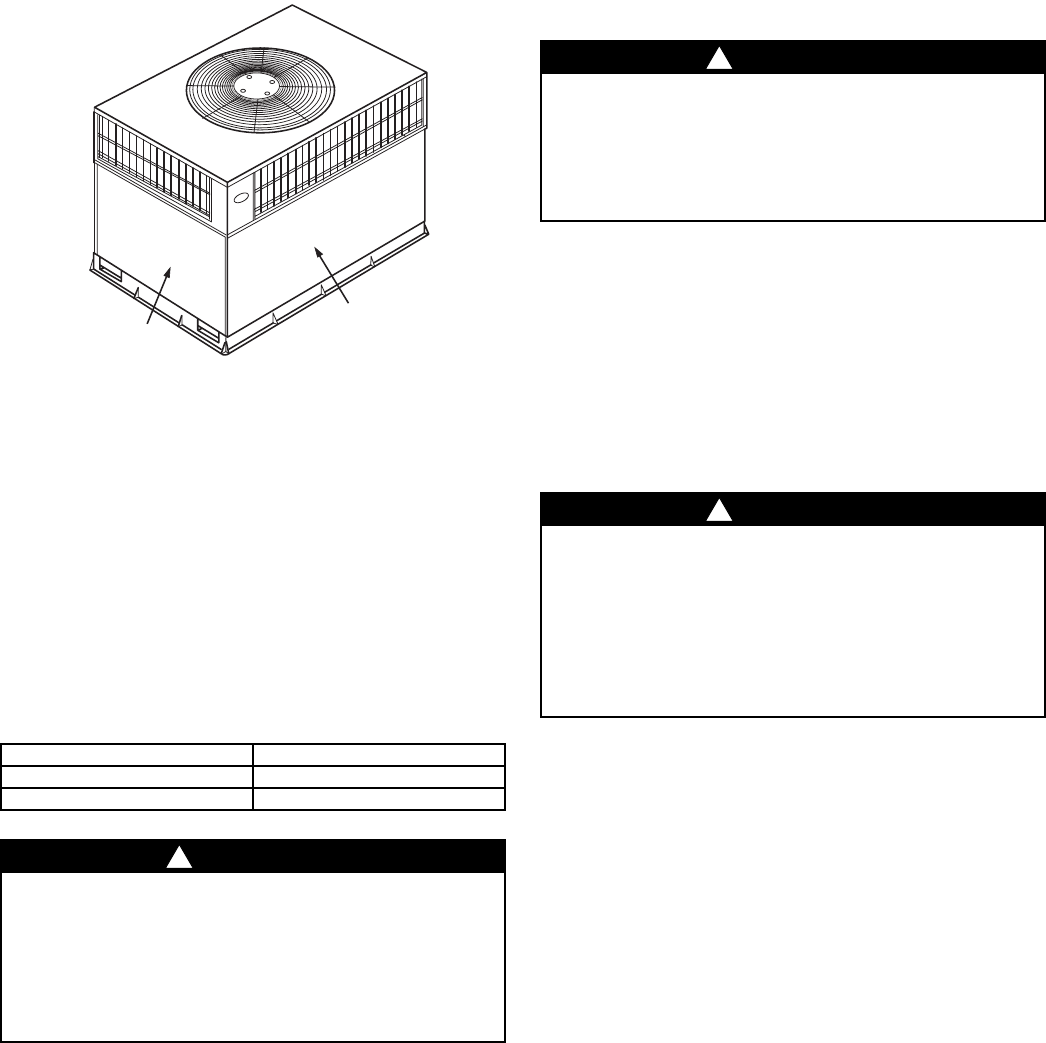
ACCESS PANEL
FILTER ACCESS
PANEL*
*For accessory filter rack.
Fig. 2—Filter Access Panel—Vertical
Supply Shown