5
CHECK THE AIR FILTER
A dirty air filter will cause excessive
strain on the compressor and blower
motor. This can cause the components to
overheat and automatically shut down. In
the extreme, the components will fail and
need to be replaced. To avoid inefficient
operation or failure of your unit, CHECK
THE FILTER(S) EVERY 3 TO 4
WEEKS. Replace filter(s) when neces-
sary, or clean the filter(s) if you have the
reusable type.
Disposable filters should be replaced by
similar, new filters of the same dimensions.
Reusable, permanent filters should
be washed in a solution of cold water
and mild detergent, then rinsed and
thoroughly dried. THE FILTER MUST
BE COMPLETELY DRY BEFORE
BEING REINSTALLED. To avoid pro-
longed shutdown of your unit while a
filter is drying, you should have an extra
filter on hand. This would allow you to
switch between the two with minimal
downtime for your comfort system. Extra
filters may be purchased from your
dealer.
There are no filters in the outdoor unit of
a split system. If your indoor unit is a gas
or oil furnace, refer to your furnace
Owner's Manual for filter location and
procedures for replacement or cleaning.
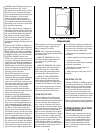
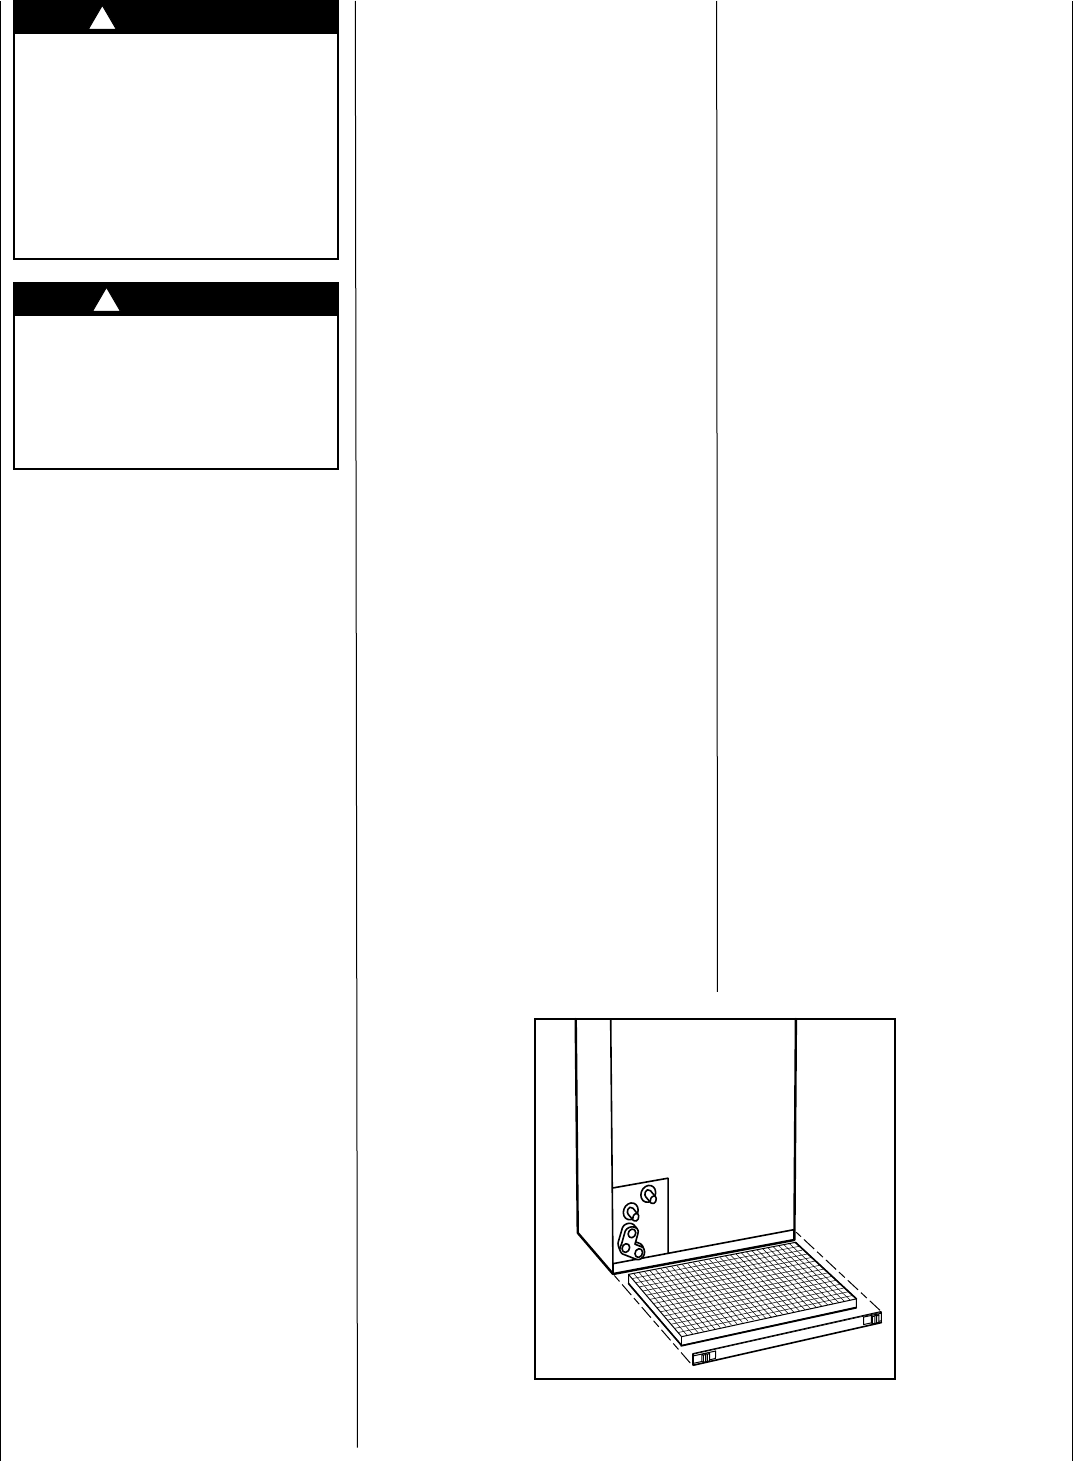
If your system includes an indoor fan-
coil unit, the filter is located in the unit
where it connects with the return-air duct
or plenum. (See Fig. 5.) Remove the
two black thumbscrews (or plastic pull
rings on modular fan coil), then pull out
the rack and filter. The clean filter must
be reinstalled with the cross-hatched
(when used) side facing the blower. With
the clean filter in place, secure the spring
WARNING
To prevent personal injury or
death disconnect all electrical
power to the air conditioner be-
fore removing access panels or
performing any maintenance.
Disconnect power to both the
indoor and outdoor units. Note:
there may be more than 1 elec-
trical disconnect switch.
CAUTION
Although special care has
been taken to minimize sharp
edges in the construction of
your unit, be extremely careful
when handling parts or reach-
ing into the unit.
!
!
tensioner, slide the tray into the unit, then
secure the thumbscrews.
INDOOR COIL
If the indoor coil has only been operated
with a clean filter in place, it should
require minimal cleaning.
If coil cleaning is required, call your
dealer for service. It may be necessary to
clean the coil with a detergent solution
and rinse it with water, which could
require removing the coil. Do not attempt
this yourself.
OUTDOOR COIL
If grass clippings, leaves, shrubbery, and
debris are kept away from the outdoor
unit, minimal care should keep the sys-
tem functioning properly. For proper
drainage, debris must be removed period-
ically from the base pan. However, if the
outdoor coil becomes dirty, use a vacuum
cleaner with soft brush attachment to
clean the exterior surface. Vacuum coil
surface using an up and down motion. Be
careful not to bend or damage coil fins. If
dirt is deep in the coil, contact your dealer
for service. The outdoor fan motor may
have to be disconnected and the top panel
removed to gain access to the coil for
thorough cleaning. Do not attempt this
yourself.
OUTDOOR COIL—
SEA COAST
If your unit is located near the ocean, spe-
cial maintenance is required. Ocean mist/
breeze carries salt, which is corrosive to
most metals. Although your new unit is
made out of galvanized metal and is pro-
tected by top-grade paint, you should
take the precaution of additional mainte-
nance by periodically washing the unit.
By washing all exposed surfaces and coil
approximately every 3 months, you will
be adding life to your unit. Consult your
installing contractor for proper intervals/
procedures for your geographic area or
service contact.
UNIT SUPPORT
Your split-system outdoor unit should be
maintained at a level position. If its sup-
port shifts or settles so that the unit is
no longer level, you should correct the
condition. Relevel it promptly to assure
that water drains out of the unit. If you
notice that water or ice collects beneath
the unit, arrange for it to be drained away
from the unit.
BEFORE YOU REQUEST
A SERVICE CALL
CHECK FOR THESE EASILY
SOLVED PROBLEMS:
•
Check the indoor and outdoor discon-
nect switches. Verify that circuit breakers
are on or that fuses have not blown.
•
Check for sufficient airflow. Check the
air filter(s) for any accumulations of dirt.
Check for blocked return-air or supply-
air registers. Be sure registers are open
and unobstructed.
•
Check the settings on your indoor ther-
mostat. If you desire cooling, see that the
temperature control selector is set below
room temperature and the SYSTEM or
MODE control is set to COOL or AUTO.
If you require heat, be sure the tempera-
ture control selector is set above room
temperature and the SYSTEM or MODE
control is set to HEAT or AUTO. The
FAN control should be set to ON for con-
tinuous blower operation or AUTO if you
wish blower to function only while the
unit is operating.
Fig. 5—Removing Filter from
Fan Coil Unit


