USING ATTACHMENTS AND APPLICATIONS / USO DE ACCESORIOS Y APLICACIONES
—
—————————————————
—
58
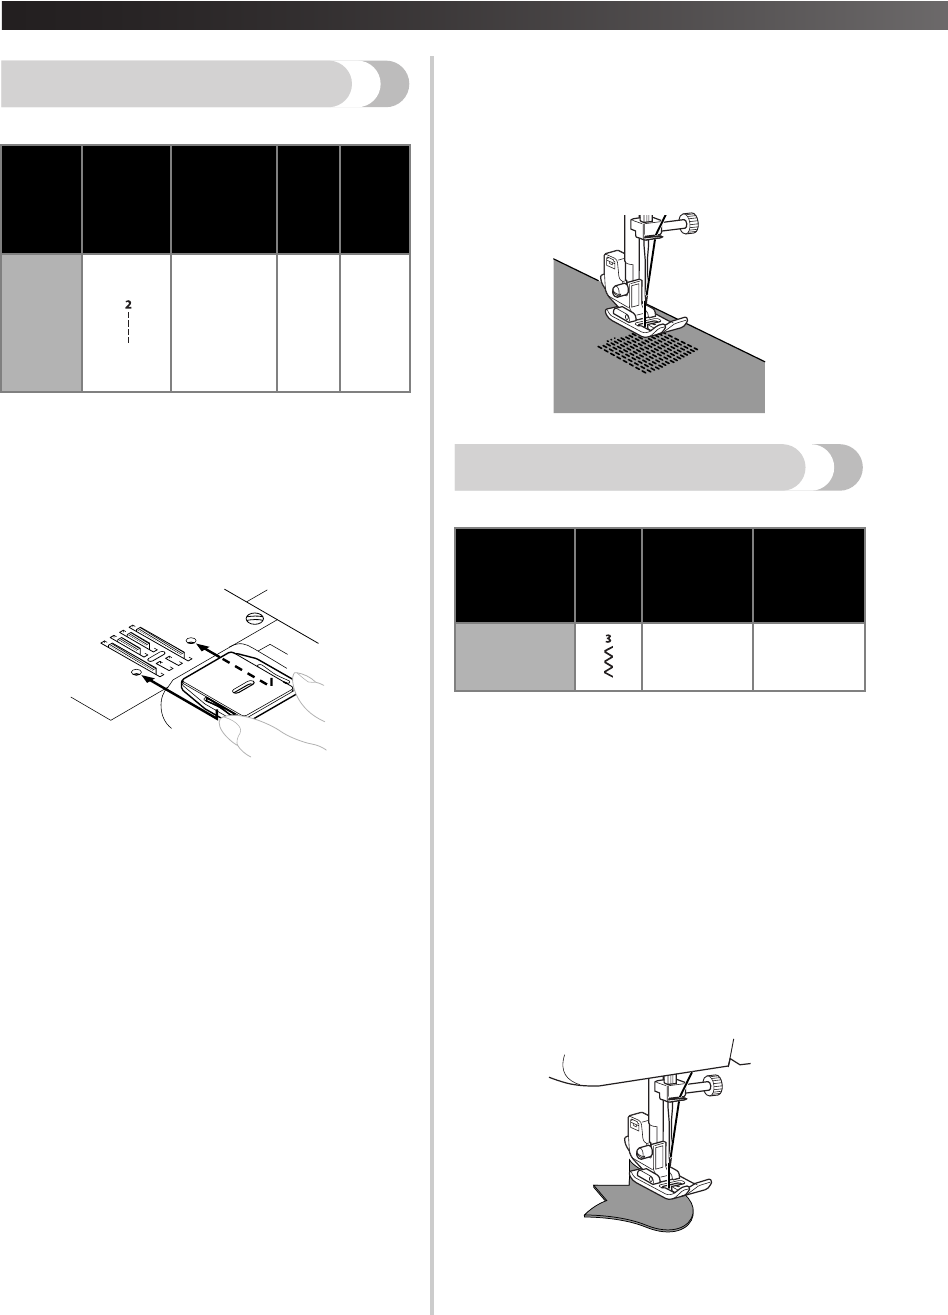
Darning / Zurcidos
1
Turn off the machine.
Place the darning plate on the needle plate,
then turn on the machine.
Desconecte la alimentación de la máquina.
Coloque la placa de zurcir en la placa de la
aguja, y después conecte la alimentación de la
máquina.
2
Set the pattern selection dial to the Straight
Stitch.
Ajuste el selector de puntadas en la puntada
recta.
3
Put the section you want to darn under the
presser foot together with fabric for
reinforcement.
Coloque la zona que desee zurcir bajo el pie
prensatela, junto con tela de refuerzo.
4
Lower the presser foot.
Baje el pie prensatela.
5
Begin sewing by alternating between gently
drawing the work away from you and pulling
it toward you.
Comience a coser alternando entre alejar y
acercar poco a poco la labor.
6
Repeat this motion until the darn section is
filled with parallel lines of stitching.
Repita este movimiento hasta que la zona para
zurcir quede rellenada de líneas paralelas de
puntadas.
Appliqués / Aplicaciones
You can create an applique by cutting a different
piece of fabric into a shape and using it as a
decoration.
Puede crear una aplicación si corta un trozo diferente
de tela con forma y lo utiliza como motivo decorativo.
1
Baste the cut design to the fabric.
Hilvane el diseño de corte a la tela.
2
Carefully sew around the edge of the design
with a zigzag stitch.
Cosa con cuidado alrededor del borde del
diseño con una costura de zig-zag.
Stitch
Name
Nombre
de la
puntada
Pattern
Dibujo
Length
[mm (inch)]
Longitud
[mm (pulg.)]
Foot
Pie
Other
Otro
Straight
Stitch
Puntada
recta
Any
Cualquiera
Zigzag
Presser
Foot
Pie
prensatela
para
zig-zag
Darning
Plate
Placa
de
zurcir
Stitch Name
Nombre de la
puntada
Pattern
Dibujo
Length
[mm (inch)]
Longitud
[mm (pulg.)]
Width
[mm (inch)]
Anchura
[mm (pulg.)]
Zigzag Stitch
Puntada de
zig-zag
F-2
(1/64-1/16)
Any
Cualquiera


