


42
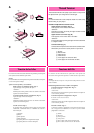
STRAIGHT AND ZIGZAG STITCHING
PUNTADAS RECTAS Y ZIGZAG
CUCITURA CON PUNTO DIRITTO E ZIG-ZAG
SS
SS
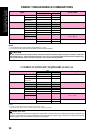
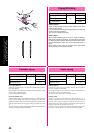
Straight Stitching
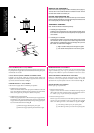
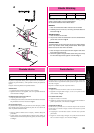
Pattern Stitch Length
(Straight Stitch
1-4
(Left Needle Position))
(Straight Stitch
(Center Needle Position))
(Triple Stretch Stitch
(Left Needle Position))
(Triple Stretch Stitch
(Center Needle Position))
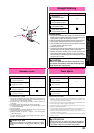
STARTING SEWING
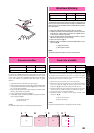
1. Turn the Pattern Selection Dial to show your desired stitch in the
Pattern Indication Window. Setting the Pattern Selection Dial to
Straight Stitch or Triple Stretch Stitch is required.
2.
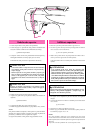
Raise the needle to its highest position and lift the presser foot lever.
3. Pull the upper thread toward the back of the presser foot.
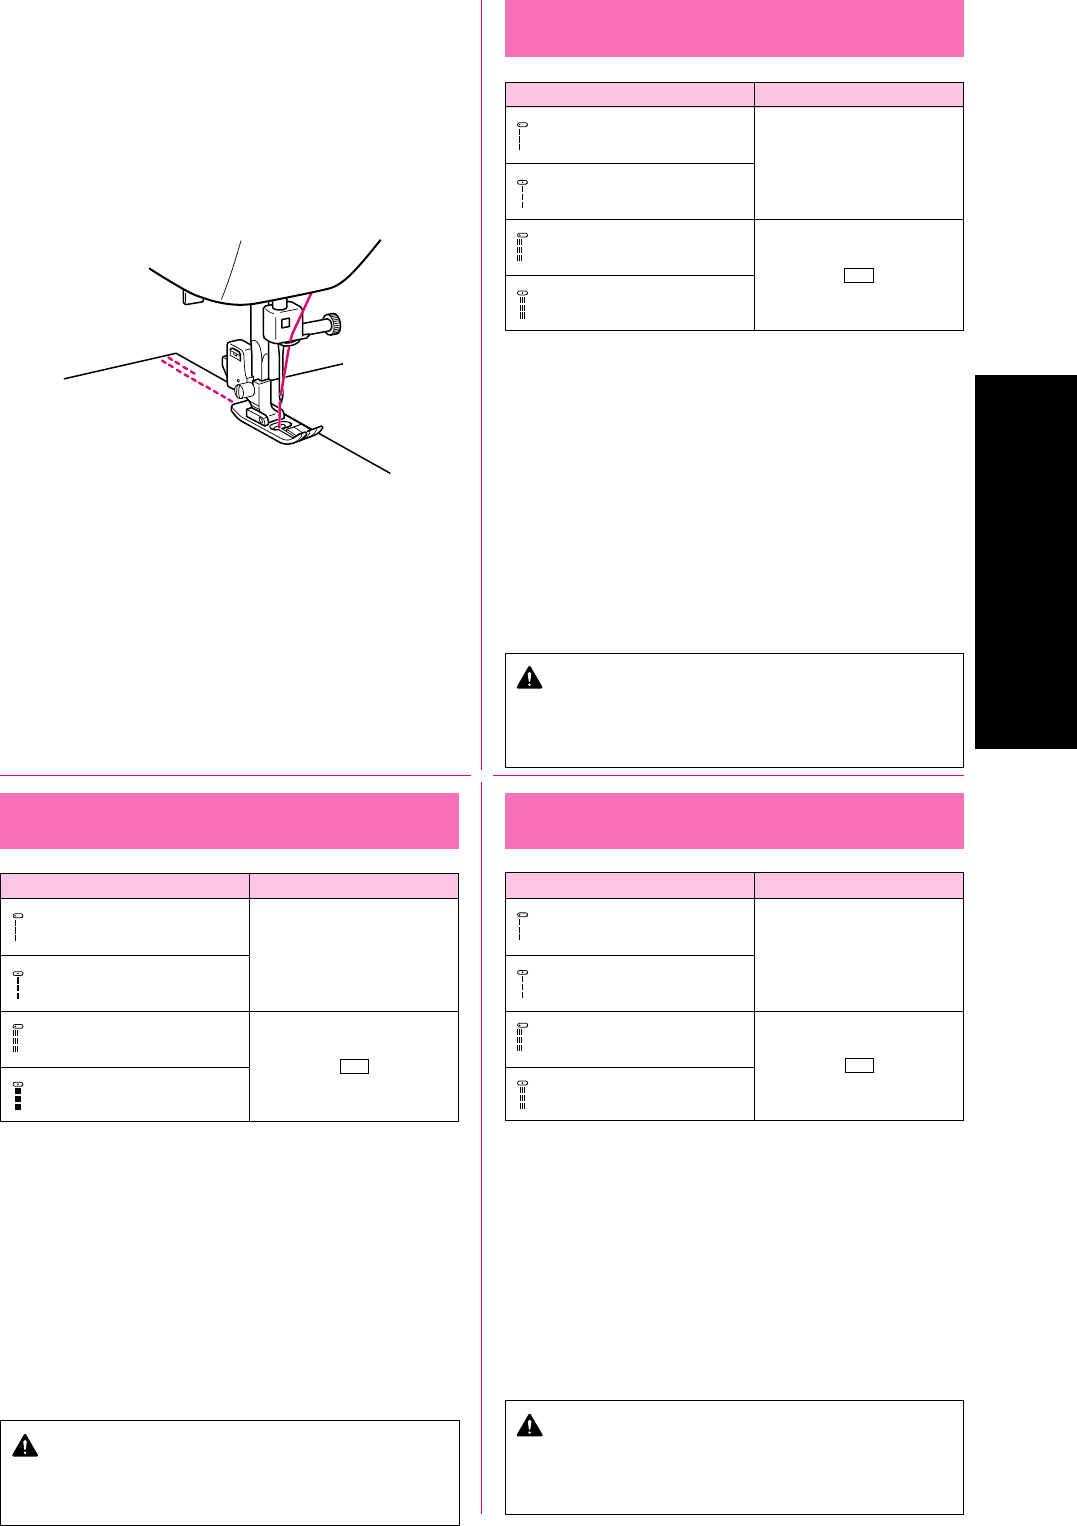
4. Place the fabric under the presser foot and position the needle
1 cm (3/8") from the edge of the fabric.
5. Lower the presser foot.
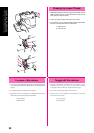
6.
To backtack, push down the Reverse Sewing Lever as far as possible,
then step down on the foot controller to start reverse sewing.
7. Release the Reverse Sewing Lever and start sewing in the
forward direction by applying pressure to the foot controller.
* Reverse sewing is used for locking the end of seams and where
reinforcement is needed.
CAUTION
Be sure the needle does not strike a basting pin, or any
other objects, during sewing. The thread could tangle or the
needle could break, causing injury.
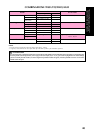
Punto diritto
Punto Lunghezza punto
(Punto diritto
1-4
(ago a sinistra))
(Punto diritto
(ago al centro))
(Punto elastico triplo
(ago a sinistra))
(Punto elastico triplo
(ago al centro))
Come iniziare una cucitura
1. Ruotare il selettore di punti finché il punto desiderato non appare nella
finestrella indicatore del punto. Disporre il selettore sul punto dritto o sul
punto elastico triplo, in base alle necessità.
2.
Far salire l’ago fino alla sua posizione più alta e sollevare la leva del piedino premistoffa.
3. Tirare il filo superiore dietro il piedino premistoffa.
4.
Stendere il tessuto sotto il piedino premistoffa e posizionare l’ago a circa 1 cm dal margine.
5. Abbassare il piedino premistoffa.
6.
Per fissare il punto, spingere più a fondo possibile il tasto di cucitura di ritorno, poi
premere il reostato di controllo per iniziare la cucitura a marcia indietro.
7. Rilasciare il tasto di cucitura di ritorno e iniziare a cucire a marcia avanti
premendo il reostato di controllo.
* La cucitura a marcia indietro è usata per fermare la fine di un orlo o quando
serve un rinforzo.
ATTENZIONE
Assicurarsi che l’ago non colpisca uno spillo di imbastitura, o
altri oggetti, durante la cucitura. Il filo potrebbe ingarbugliarsi o
l’ago potrebbe rompersi con possibili lesioni personali.
Puntadas rectas
Modelo de puntada
Largo de puntada
(Puntada recta
1-4
(Aguja a la izquierda))
(Puntada recta
(Aguja en el centro))
(Triple puntada pespunto
(Aguja a la izquierda))
(Triple puntada pespunto
(Aguja en el centro))
PARA EMPEZAR A COSER
1. Gire el selector de puntada hasta que la puntada que desea aparezca en
el indicador de puntada. Es necesario situar el selector de puntada en
puntada recta o en triple puntada pespunte.
2. Levante la aguja a su posición más alta y levante la palanca del
prensatelas.
3. Tire el hilo superior hacia la parte de atrás del prensatelas.
4. Coloque el tejido debajo del prensatelas y posicione la aguja a 1 cm (3/
8") de la orilla del tejido.
5. Baje el prensatelas.
6. Para retroceder, baje a fondo el pulsador de retroceso, luego presione
el pedal para empezar a coser hacia atrás.
7. Suelte el pulsador de retroceso y empiece a coser hacia delante
presionando el pedal.
* El cosido hacia atrás se utiliza para rematar el final de costuras y
cuando es necesario reforzar.
PRECAUCIÓN
Asegúrese de que la aguja no roza el alfiler o cualquier otro objeto.
El hilo podría enrollarse o la aguja podría romperse y causar
lesiones.
SS