


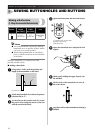
SEWING BUTTONHOLES AND BUTTONS
—
—————————————————————————————————————
—
34
SEWING BUTTONHOLES AND BUTTONS
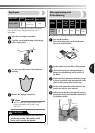
Making a Buttonhole
(1-Step Automatic Buttonhole)
Memo
● We recommend that you practice making a
buttonhole on a scrap piece of fabric before
you try it on an actual garment.
● When making buttonholes on soft fabrics,
place a stabilizer material on the underside
of the fabric.
Making a buttonhole is a simple process that
provides reliable results.
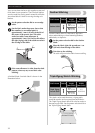
■ Making a Buttonhole
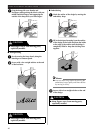
1
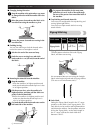
Using tailor’s chalk, mark the position and
length of the buttonhole on the fabric.
1 Marks on fabric
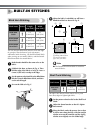
2
Attach the buttonhole foot and set the pattern
selection dial to “F”.
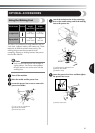
3
You need to sew the front bar tack first. Lower
the presser foot to align the marks on the foot
with the mark on the fabric.
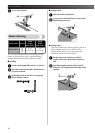
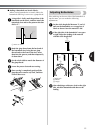
4
Open the button plate and insert the button.
1 Starting mark on the fabric
2 Marks on the foot
3 Button plate
5
Lower the buttonhole lever and push it back
slightly.
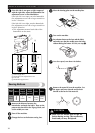
6
While gently holding the upper thread, start
the machine.
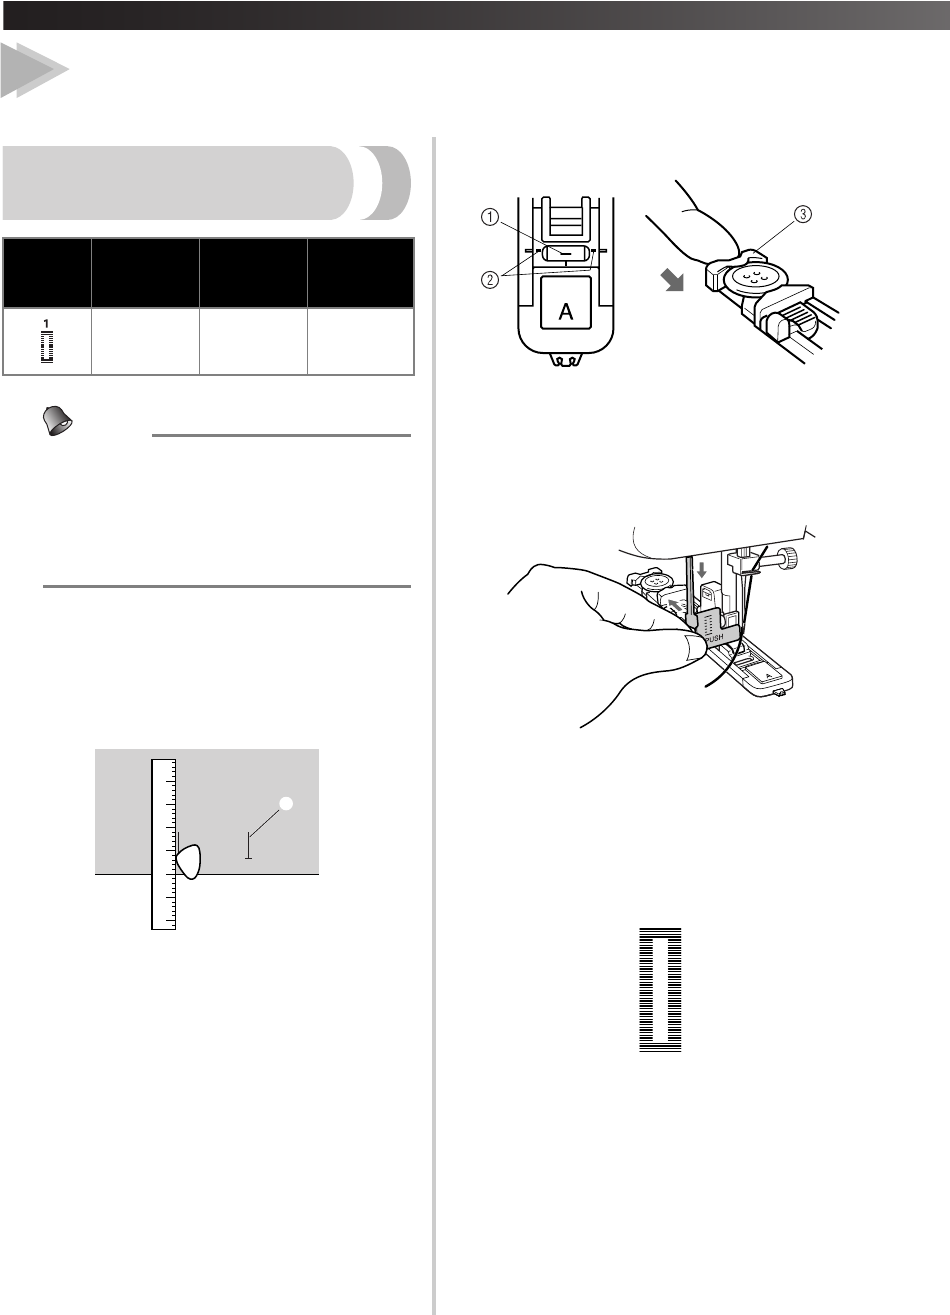
7
The bar tacks of the buttonhole are sewn in
the order shown.
8
Stop the machine when buttonhole stitching is
finished.
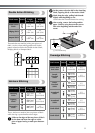
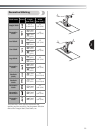
Pattern
Stitch
Length
[mm (inch)]
Stitch
Width
[mm (inch)]
Foot
F-1.5
(1/64-1/16)
3-5
(1/8-3/16)
Buttonhole
Foot
1
1
3
24
4