


63
USING ATTACHMENTS AND APPLICATIONS
USO DE ACCESORIOS Y APLICACIONES
Using the Walking Foot
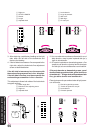
Pattern Stitch Length Stitch Width
(Straight Stitch)
1-4
0
(Zigzag Stitch) 0-5
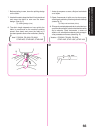
This foot is very useful for sewing materials such as
vinyl cloth, synthetic leather, thin leather, etc. These
materials are difficult to feed when sewing the walk-
ing foot prevents such materials from crumpling,
slipping or sticking between presser foot and mate-
rial due to even feeding of upper and lower materials.
Note:
You can not use this foot for sewing other patterns,
(STRAIGHT and ZIGZAG STITCH)
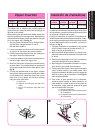
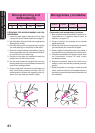
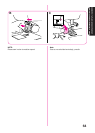
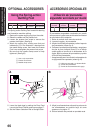
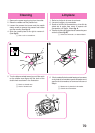
1. Remove the power supply plug from the outlet.
2. Raise the needle and the presser foot.
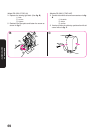
3. Loosen the presser foot screw to remove the
presser foot holder. (See fig. A)
4. Attach the forked section of the connecting lever
to the needle clamp, install the walking foot to the
presser bar. (See fig B)
5. Lower the presser foot lever and then tighten the
accessory presser bar holder fixing screw. (See
fig.C)
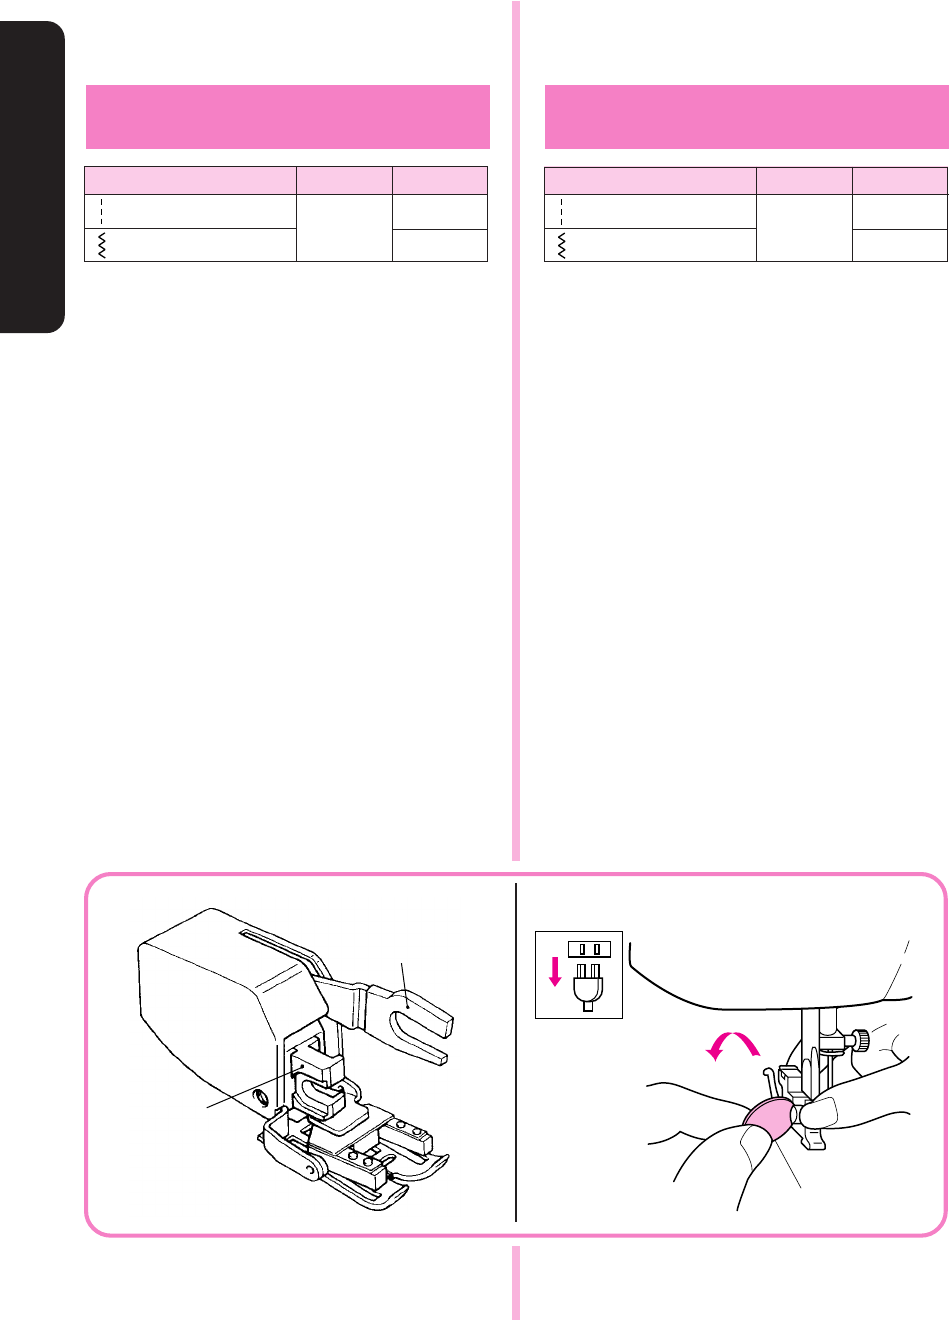
OPTIONAL ACCESSORIES
A
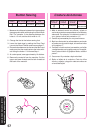
PARTS NAME
1
A
B
1 Use a coin or screwdriver
A Forked part of operation lever
B Presser bar holder
ACCESORIOS OPCIONALES
Utilización del pie caminante
Modelo de puntada
Largo de puntada
Ancho de puntada
(Puntada recta)
1-4
0
(Puntada zigazg) 0-5
Este pie resulta muy útil para coser materiales como
la tela de vinilo, el cuero sintético, cuero fino etc. Es
complicado alimentar la máquina con estos
materiales, y el pie caminante impide que se arruguen,
que resbalen o que queden trabados en el prensatelas
al coser al mismo tiempo los materiales superior e
inferior.
NOTA:
Sólo puede utilizar este pie para coser puntadas
rectas y puntadas zigzag.
1. Retire el enchufe de la toma de corriente.
2. Levante la aguja y el prensatelas.
3. Afloje el tornillo del prensatelas para retirar el
soporte del prensatelas (véase fig. A).
4. Sujete la horquilla de la palanca de conexión a la
abrazadera de la aguja e instale el pie caminante
en la barra prensadora (véase fig. B).
5. Baje la palanca del prensatelas y apriete el tornillo
de fijación del soporte de la barra prensadora
accesoria (véase fig. C).
1
Utilice una moneda o un destornillador
DENOMINACIÓN DE LAS PARTES
A
Horquilla de la palanca de operaciones.
B
Soporte de la barra prensadora.