


59
USING ATTACHMENTS AND APPLICATIONS
USO DE ACCESORIOS Y APLICACIONES
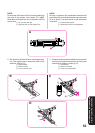
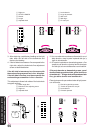
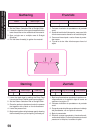
Fruncido
Modelo de puntada Largo de puntada
2
1. Coloque el selector de puntadas en la puntada
recta.
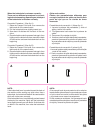
2. Suelte la tensión del hilo superior para que el hilo
inferior se encuentre tirante en el revés del tejido.
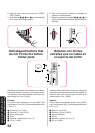
3. Cosa una línea simple o varias líneas de punta-
das rectas.
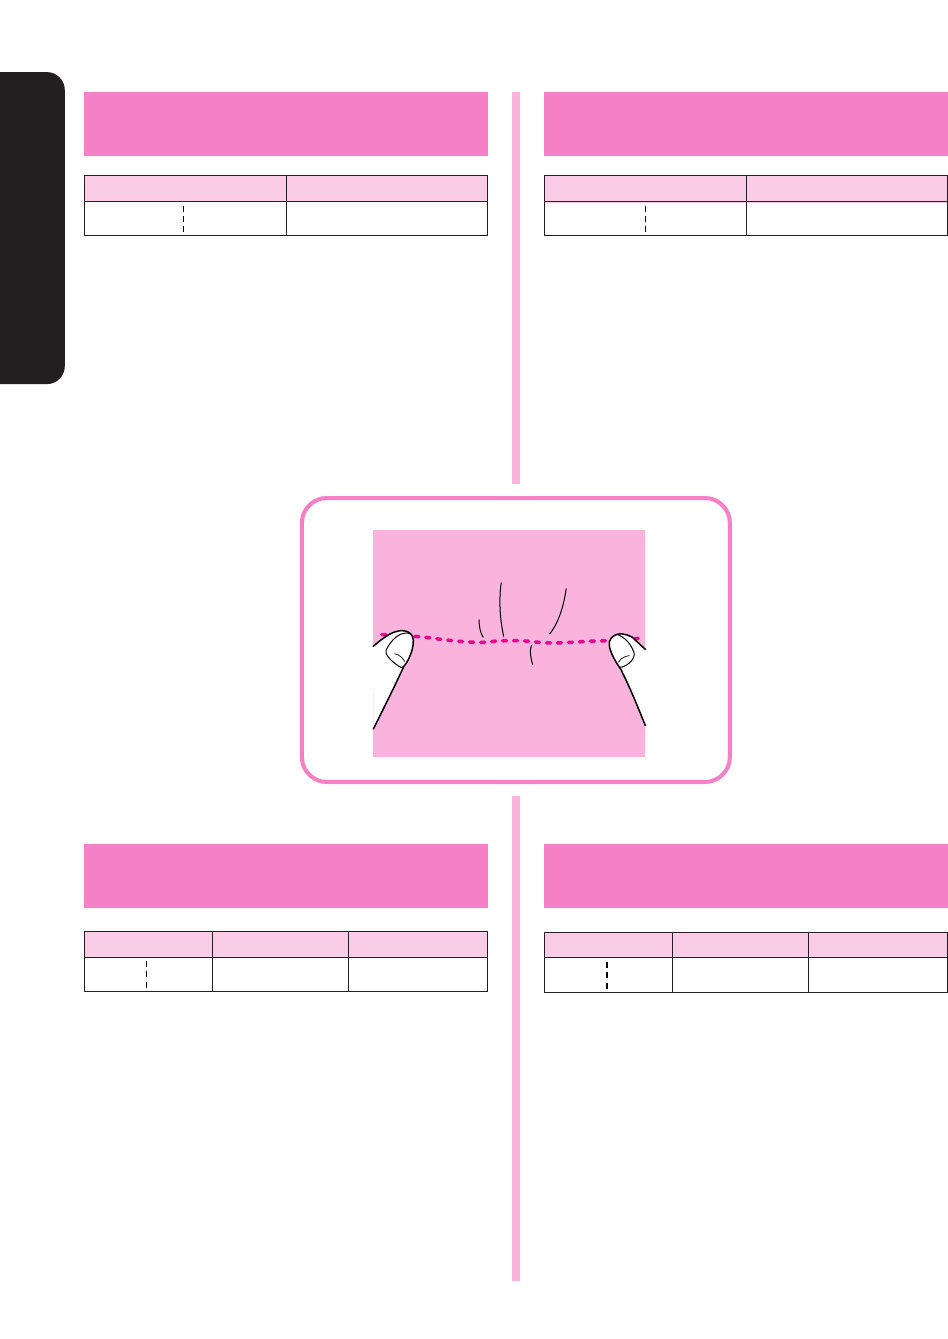
4. Tire del o de los hilos inferiores para fruncir el
tejido.
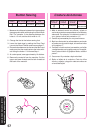
Zurcido
Modelo de puntada
Largo de puntada Alimentadores
Cualquiera Bajados
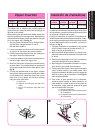
1. Baje los alimentadores poniendo la palanca co-
rrespondiente en la posición baja tal como se
explica en la página 17.
2. Coloque el selector de puntadas en la puntada
recta.
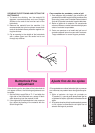
3. Ponga la parte de tejido que se debe zurcir debajo
del prensatelas, con un tejido de refuerzo.
4. Baje el prensatelas.
5. Empiece a coser empujando y tirando alternati-
vamente del tejido. Cuando la placa de zurcir está
puesta en la máquina, los sobre el tejido.
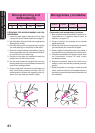
Gathering
Pattern Stitch Length
2
1. Set the Pattern Selection Dial to Straight Stitch.
2. Loosen the tension of the upper thread so that the
lower thread lies on the underside of the material.
3. Sew a single row or multiple rows of Straight
Stitch(es).
4. Pull the lower thread(s) to gather the material.
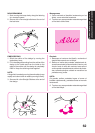
Darning
Pattern Stitch Length Feed Dog
Any Down position
1. Lower the feed dogs by setting the Drop Feed
Lever to the Down Position as shown on page 17.
2. Set the Pattern Selection Dial to Straight Stitch.
3. Place the portion to be darned under the presser
foot together with a fabric on for reinforcement.
4. Lower the presser foot.
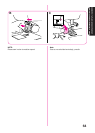
5. Begin sewing alternating between gently drawing
the work away from you and pulling it toward you.