21
2
1
2
1
NOTE:
The bobbin thread tension has already been adjusted at the
factory for general use. For most sewing applications, no
adjustment is needed.
When sewing with thin thread on thin fabrics, the thread tension
may not be adjusted adequately with the upper tension control
dial. Therefore, the thread tension must be adjusted according to
the procedure described below.
C Bobbin tension is too loose.
Locks appear on the surface of the fabric.
Decrease the thread tension by turning the dial to a lower
number. If the result is still not satisfactory, then adjust the
bobbin thread tension as explained in C-1
C-1 Bobbin
Increase the tension in the bobbin by turning the screw with
a small screwdriver in a clockwise direction. However, do
not turn the screw more than one full turn.
Remember to return the screw to its original setting before
starting your next project.
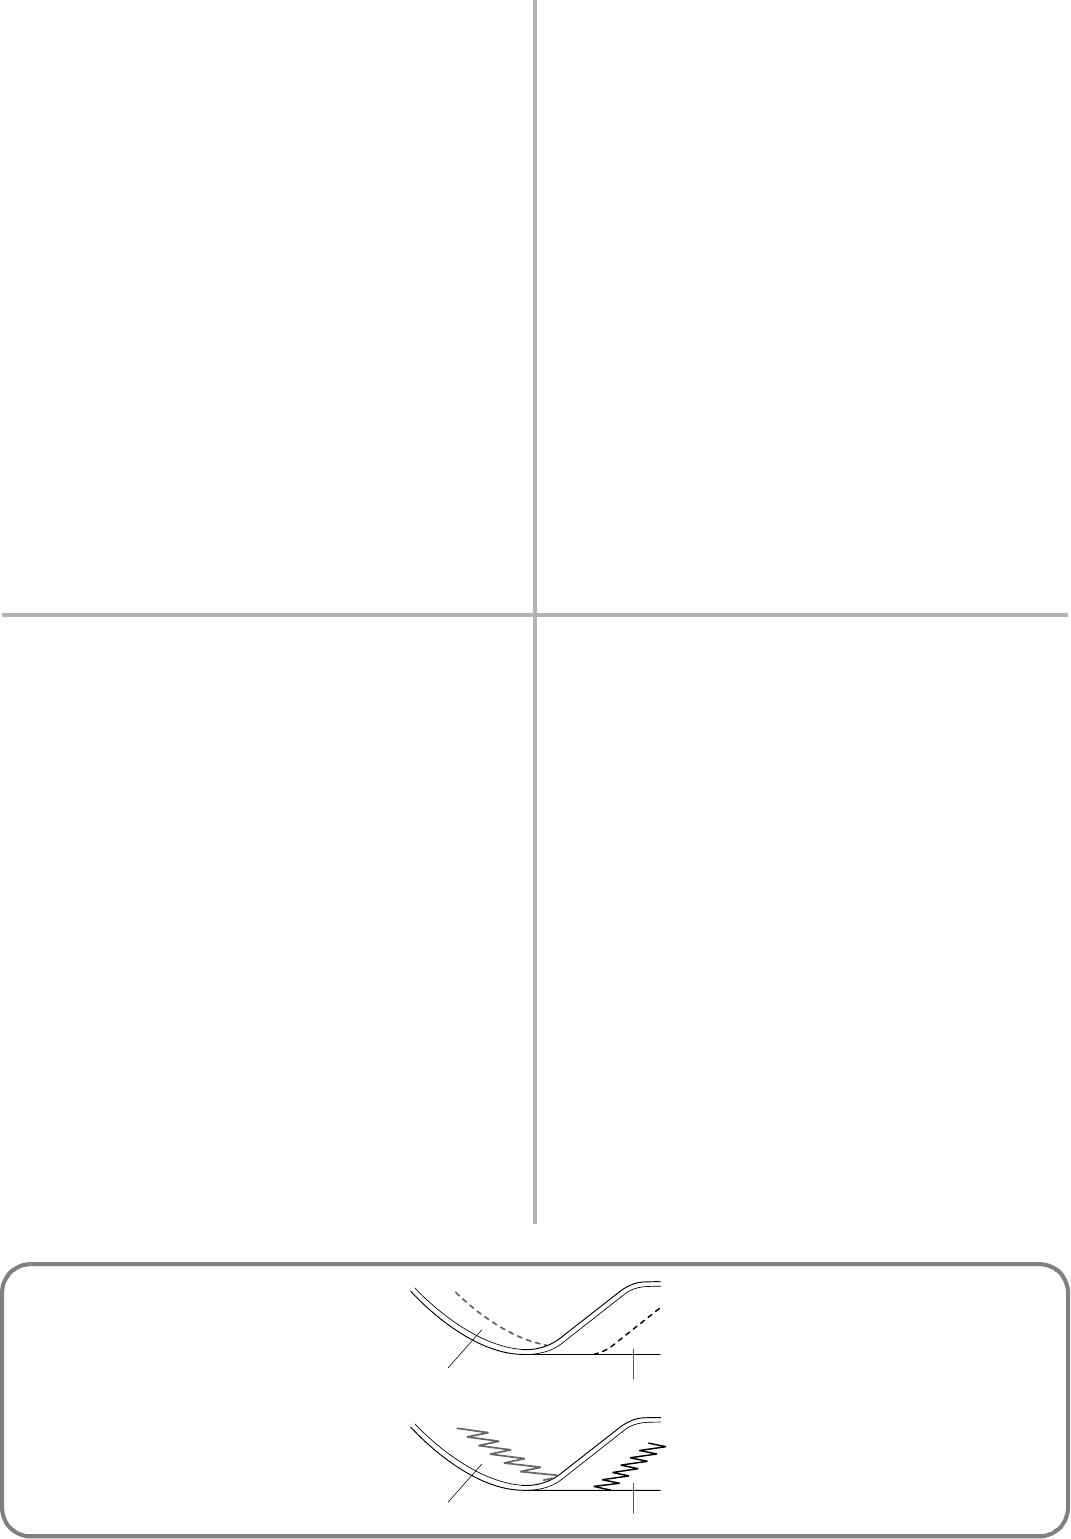
D Correct tension
Correct tension is important since too much or too little tension
will weaken your seams or cause puckers in your fabric.
a Reverse
b Surface
REMARQUE:
La tension du fil inférieur a déjà été réglée d’usine pour une
utilisation normale. Pour la plupart des applications de couture, il
ne sera dès lors pas nécessaire de la régler.
Cependant, lors de la couture avec du fil fin sur des tissus légers,
les réglages de tension du fil effectués à l’aide du disque de
contrôle de la tension supérieure sont insuffisants. Dans ce cas,
régler la tension du fil selon la méthode décrite ci-dessous.
C La tension inférieure est insuffisante.
Formation de boucles à l’endroit du tissu.
Diminuer la tension du fil en mettant le disque sur un chiffre
inférieur. Si le résultat n’est pas encore concluant, régler la
tension du fil de la canette comme expliqué au point C-1.
C-1 Canette
A l’aide d’un petit tournevis, augmenter la tension de la
canette en tournant la vis dans le sens des aiguilles d’une
montre, sans effectuer plus d’un tour complet.
Ne pas oublier de remettre la vis à sa position originale avant
d’entamer un nouvel ouvrage.
D Tension correcte
Il est essentiel de procéder à un réglage correct de la tension du
fil pour avoir des coutures solides sans que le tissu ne fronce.
1 Envers
2 Endroit
NOTA:
La tensión del hilo inferior ya se ha ajustado en fábrica para los usos
comunes. Por lo tanto, para la mayoría de las costuras, no se
requerirá ningún ajuste adicional.
Sin embargo, al coser con hilo delgado en tejidos finos, no se puede
ajustar correctamente la tensión del hilo mediante el disco de control
de la tensión superior. En esos casos, la tensión del hilo ha de ser
ajustada de acuerdo con el proceso descrito a continuación.
C La tensión del hilo inferior es insuficiente.
Aparecen bagas en la superficie del tejido.
Disminuya la tensión del hilo al girar el disco hacia un número
inferior. Si el resultado no le conviene aún, ajuste la tensión del
hilo de la canilla tal como se indica en C-1.
C-1 Canilla
Aumente la tensión en la canilla girando el tornillo, con un pequeño
destornillador, en el sentido de las manecillas de un reloj. Sin
embargo, no conviene dar más de una vuelta completa al tornillo.
No olvide volver a colocar el tornillo en su posición original
antes de empezar otro tipo de costura.
D Tensión correcta
Es importante tener una tensión correcta dado que una tensión
insuficiente o demasiada tirante va a debilitar sus costuras o
fruncir el tejido.
a Revés
b Derecho
ПРИМЕЧАНИЕ:
Натяжение нижней нити уже настроено на заводе
изготовителе для общих задач шитья. Для большинства
швейных применений настройка натяжения не требуется.
При шитье тонкой нитью тонких тканей натяжение нитей не
может быть адекватно настроено с помощью дискового
регулятора верхней нити. В этом случае натяжение нитей
необходимо настроить в соответствии с описанной ниже
процедурой
C Слишком слабое натяжение нижней нити.
На поверхности ткани появляются петли.
Уменьшите натяжение верхней нити, повернув регулятор к
меньшей цифре. Если не удается добиться
удовлетворительного результата, то настройте натяжение
нити шпульки (нижней нити) в соответствии с пунктом
C1
.
DШпулька
Увеличьте натяжение в шпульке, повернув маленькой
отверткой регулировочный винт в направлении по
часовой стрелке. Однако не проворачивайте винт более
чем на один полный оборот.
Перед началом своего следующего швейного проекта не
забудьте вернуть этот винт в первоначальное положение.
E Правильное натяжение
Правильное натяжение нитей является очень важным
фактором, поскольку слишком сильное или слишком
слабое натяжение приводит к ослаблению швов или к
образованию сборок на ткани.
a Изнаночная сторона ткани
b Лицевая сторона ткани
D


