


36
GETTING READY — — — — — — — — — — — — — — — — — — — — — — — — — — — — — — — — — — — — — — — — — — — —
Note
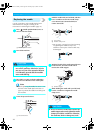
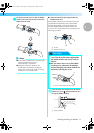
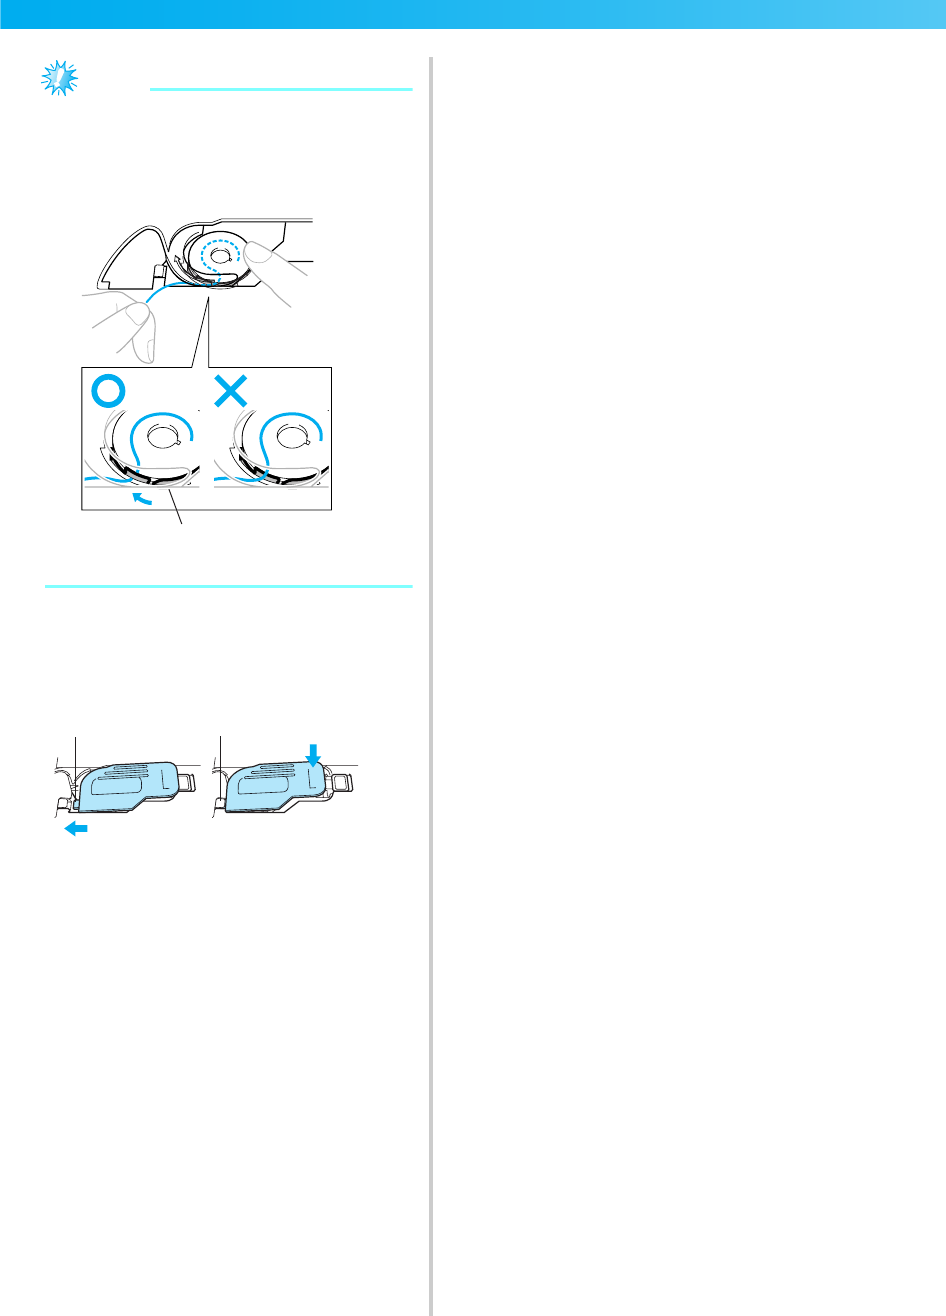
z If the thread is not correctly inserted through
the tension-adjusting spring of the bobbin
case, it may cause incorrect thread tension
(page 63).
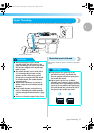
a Tension-adjusting spring
i
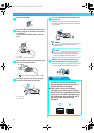
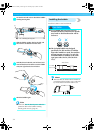
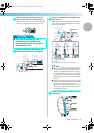
Reattach the bobbin cover.
Insert the tab in the lower-left corner of the
bobbin cover, and then lightly press down on
the right side.
a Tab
b Lower-left corner
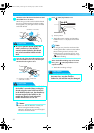
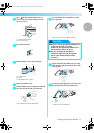
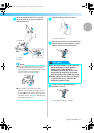
X The bobbin threading is finished. You can
begin embroidering without pulling up the
bobbin thread.
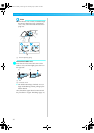
Next, thread the upper thread. Continue with
the procedure in "Upper Threading" (page 37).
a
1
2
a
b
0711-0120-C-combo_E.book Page 36 Thursday, July 24, 2008 1:46 PM