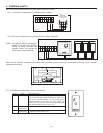
3.8 INSTALLING THE TANDEM® TRANSITION KIT (CONT’D)
3.8.1 C
ONNECTION TO TANDEM® TRANSITION
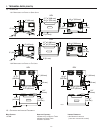
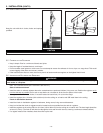
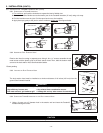
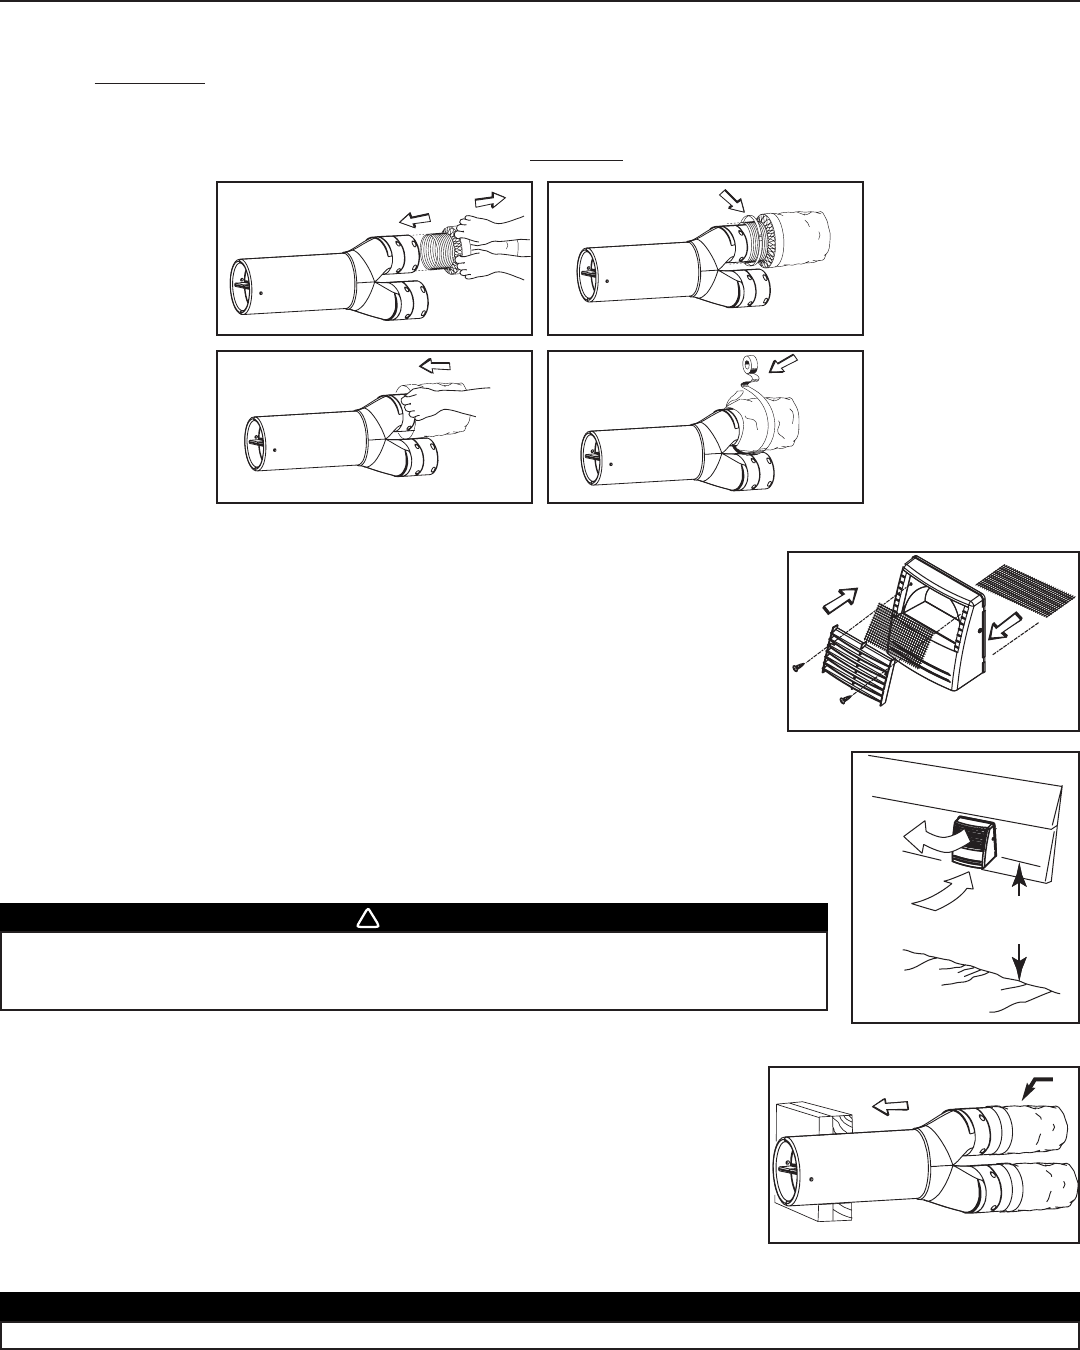
1. For each duct, pull back the insulation to expose the interior flexible duct.
2. Connect the interior flexible duct to the smaller part of the Tandem® transition (5’’ oval) using a tie wrap.
3. Pull the insulation over the joint. Pull the vapor barrier over the insulation.
4. Apply duct tape gently to the joint in order to make an airtight seal
. See figures below.
3.8.2 A
SSEMBLING DUAL EXTERIOR HOOD*
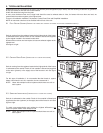
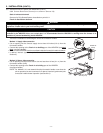
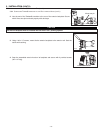
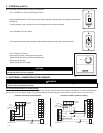
Exterior dual hood is coming in separate parts. Using 2 #8 x
3
¼4” screws, assemble the top
metal screen and the plastic grille to the dual exterior hood. Then, slide the bottom metal
screen to the dual exterior hood. See illustration beside.
*Patent pending
3.8.3 L
OCATING THE DUAL EXTERIOR HOOD
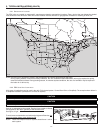
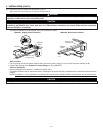
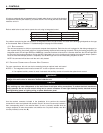
The dual exterior hood must be installed at a minimum distance of 18 inches (457 mm) from the
ground. See illustration beside.
3.8.4 C
ONNECTING TANDEM® TRANSITION TO THE DUAL EXTERIOR HOOD
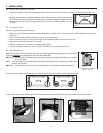
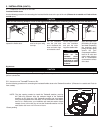
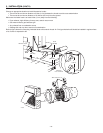
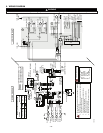
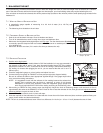
1. Using a jig saw, cut a 6’’ diameter hole in the exterior wall and insert the Tandem®
transition through this hole.
1) Exhaust air to outside duct
3. INSTALLATION (CONT’D)
VJ0025
VJ0022
VJ0023
VJ0024
1
2
3
4
EXHAUST AIR TO OUTSIDE
DUCT ON TOP
VO0024
WARNING
Make sure this hood is at least 3 feet (0.9 m) away from any of the following:
• High efficiency furnace vent. • Any exhaust from a combustion source.
• Gas meter exhaust, gas barbecue-grill. • Garbage bin and any other source of contamination.
!
VD0083
18''
(457 mm)
VD0084
1
CAUTION
The Tandem® transition must be inserted in such a way that the
Exhaust air to outside
duct will be located on the top.
- 14 -


