


7
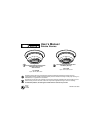
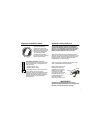
Important Installation Parts
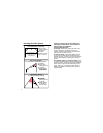
The Mounting Bracket
: To
remove the mounting
bracket from the smoke
alarm base, hold the smoke
alarm base firmly and twist
the mounting bracket off.
The mounting bracket
installs onto the junction
box. It has a variety of screw
slots to fit most boxes.
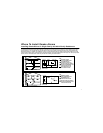
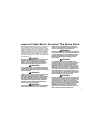
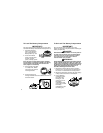
The Power Connector:
The power
connector plugs into a power input block
on the smoke alarm. It supplies the unit
with AC power.
•The black wire is “hot.”
•The white wire is neutral.
•The orange wire is used for interconnect.
If you need to remove the power
connector, insert a flat screwdriver blade
between the power connector and the
security tab inside the power input block.
Gently pry back the tab and pull the
connector free.
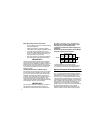
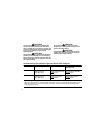
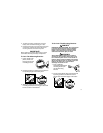
Optional Locking Features
The optional locking features are designed to
prevent unauthorized removal of the battery or
alarm. It is not necessary to activate the locks in
single-family households where unauthorized
battery or alarm removal is not a concern.
These smoke alarms have two separate locking
features: one to lock the battery compartment, and
the other to lock the smoke alarm to the mounting
bracket. You can choose to use either feature
independently, or use them both.
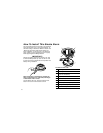
Tools you will need: • Needle-nose pliers or utility
knife • Standard/Flathead screwdriver.
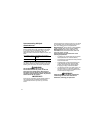
Both locking features use
locking pins, which are
molded into the mounting
bracket. Using needle
nose pliers or a utility
knife, remove one or both
pins from the mounting
bracket, depending on
how many locking
features you want to use.
IMPORTANT!
To permanently remove either lock insert a
flathead screwdriver between the locking pin and
the lock, and pry the pin out of the lock.
Locking Pin