


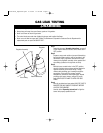
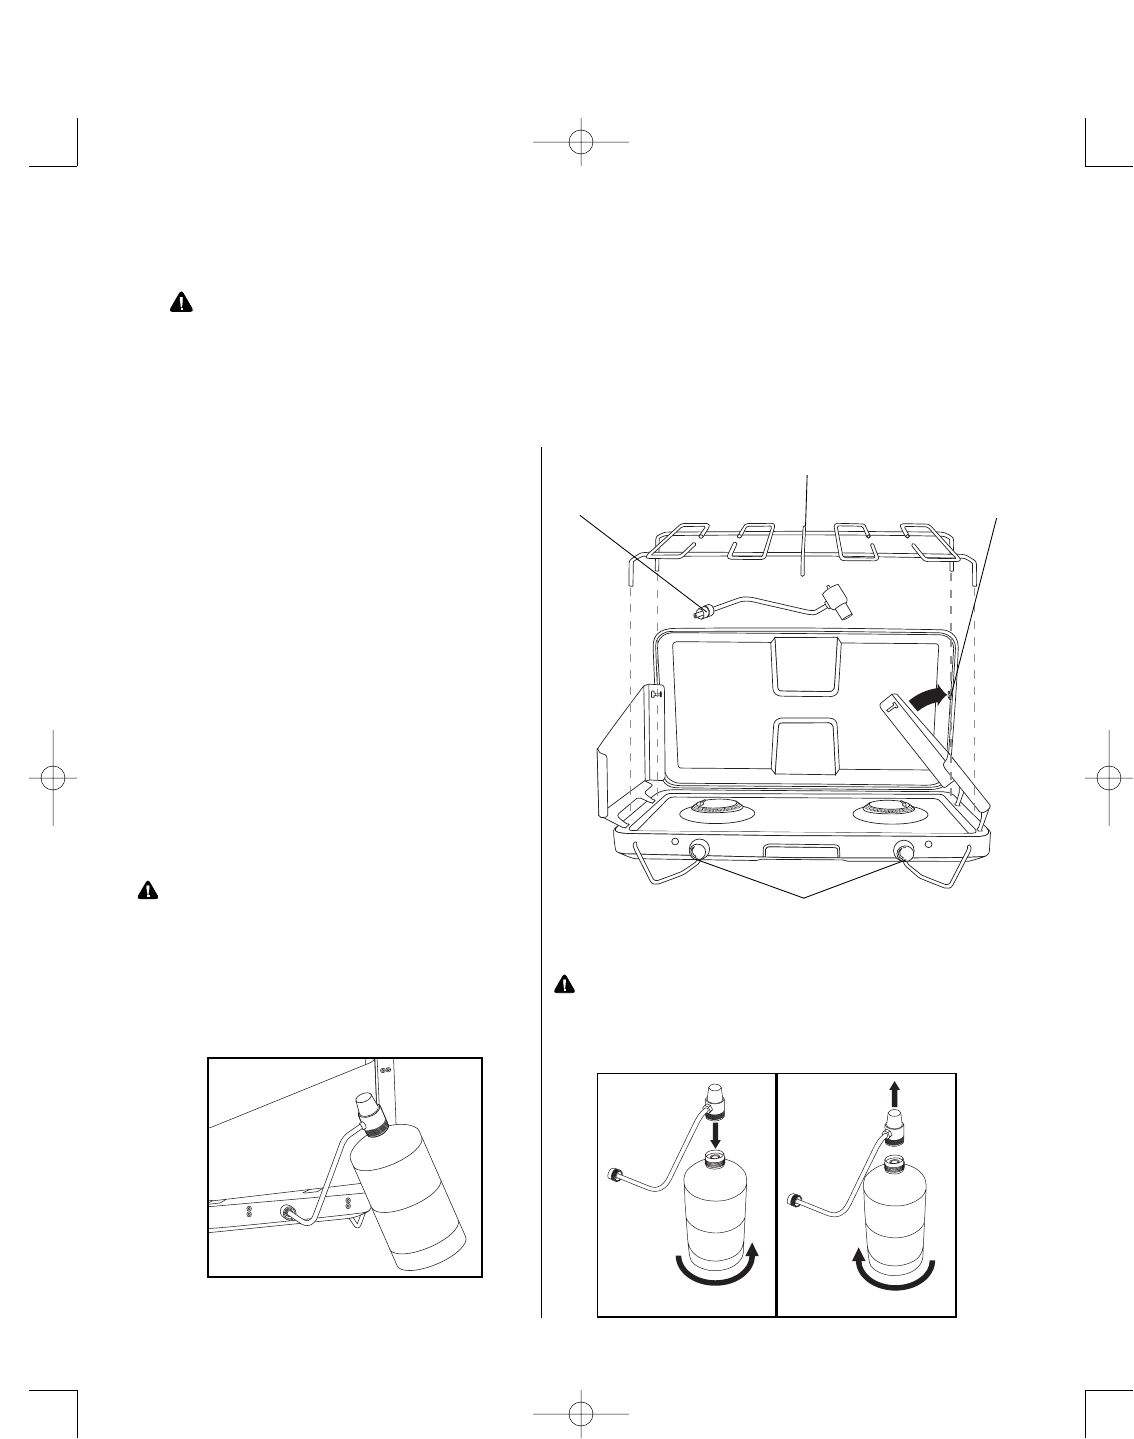
Counter-Clockwise
Attach
Detach
Clockwise
ASSEMBLY INSTRUCTIONS
READ ALL SAFETY WARNINGS & ASSEMBLY INSTRUCTIONS
CAREFULLY BEFORE ASSEMBLING OR OPERATING YOUR STOVE.
Inspect contents of the box to ensure all parts are included and undamaged.
FOR MISSING PARTS, PLEASE CALL CUSTOMER SERVICE AT 800-527-0717.
(Proof of purchase will be required.)
3
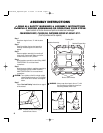
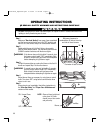
Step 1
Snap down legs to form a "V" with the stove
base.
Step 2
Open lid and align the two wind guards by
inserting notched support arms into wind
guards.
Step 3
Remove regulator assembly from under grill
inside stove. Replace grill. Make sure burner
control knobs are in "OFF" position.
Step 4
Attach regulator assembly to stove fitting. HAND
TIGHTEN ONLY. Do not cross-thread
connections.
Step 5
Attach propane cylinder to regulator assembly by
turning propane cylinder counter-clockwise.
HAND TIGHTEN ONLY. Do not cross-thread
connections.
CAUTION: Turn cylinder so that it is almost upright,
slanted slightly towards you. The cylinder
does not sit flat on surface. See diagram
below.
Step 6
Follow "Gas Leak Testing" instructions on page 4
of this manual.
Notched Support Arm
Cooking Grill
Regulator Assembly
WARNING: Always snap down legs to form a "V" with
the stove base to prevent the stove from
becoming unstable while in use.
Burner Control Knobs
NOTE: Propane canister slants slightly
towards front of stove.
842-A100-S_CmpStove.qxd 2/10/06 11:20 AM Page 4