


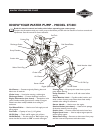


9
ASSEMBLY
Add Fuel
NOTE: This gasoline engine is certified to operate on
gasoline. Exhaust Emission Control System: EM (Engine
Modifications).
1. Use clean, fresh, regular UNLEADED fuel with a
minimum of 85 octane. DO NOT use fuel which
contains Methanol. DO NOT mix oil with fuel.
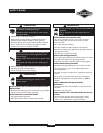
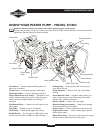
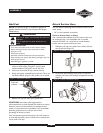
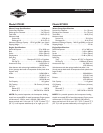
2. Clean area around fuel fill cap, remove fuel cap.
3. Slowly add regular unleaded fuel to fuel tank. Fill to red
fuel level indicator (Figure 1). Be careful not to overfill.
4. Replace fuel cap and wipe up any spilled fuel.
CAUTION! Some fuels, called oxygenated or
reformulated fuel, are fuels blended with alcohols or ethers.
Excessive amounts of these blends can damage the fuel
system or cause performance problems. If any undesirable
operating symptoms occur, use fuel with a lower
percentage of alcohol or ether.
Fresh fuel prevents gum from forming in the fuel system or
on essential carburetor parts. Purchase fuel in quantity that
can be used in 30 days.
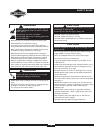
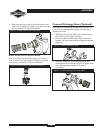
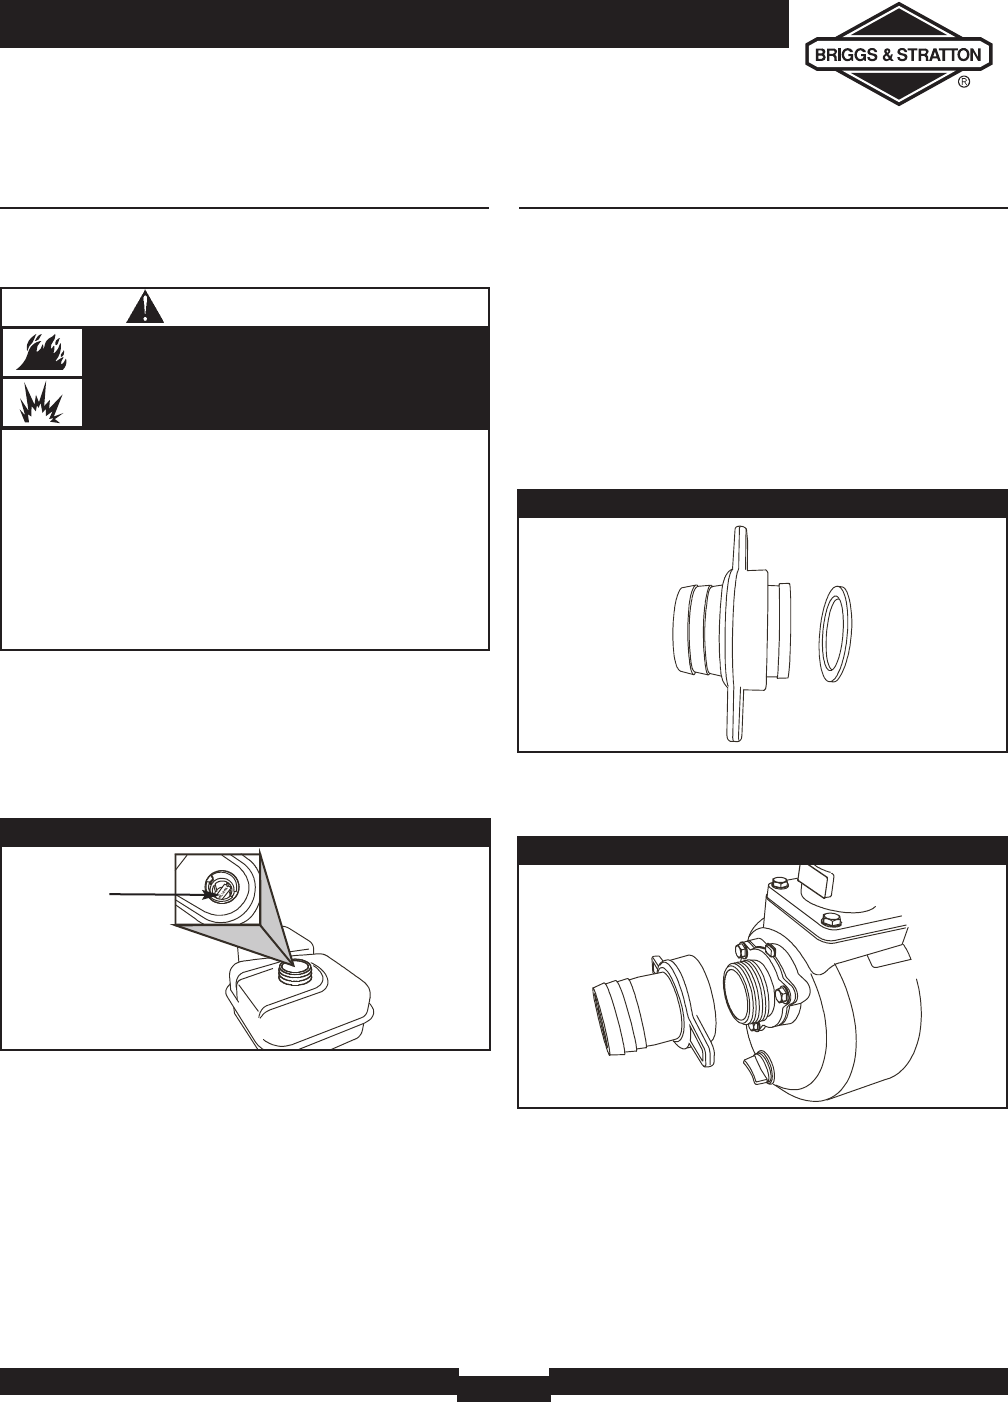
Attach Suction Hose
You will need the following tool to install the hoses to the
water pump:
• 1/4" or 6mm standard screwdriver
Connect Suction Hose to Pump
Use a commercially available hose.The suction hose must
be reinforced with a non-collapsible wall or braided
material. DO NOT use a hose with an inside diameter
smaller than the pumps suction port size.
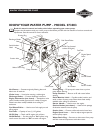
1. Slide barb cuff over hose barb. Insert rubber seal into
end of barb cuff (Figure 2).
2. Screw hose barb assembly onto pump in clockwise
rotation until hose barb assembly is tightened securely
(Figure 3).
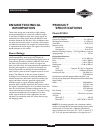
WHEN ADDING FUEL
• Turn water pump OFF and let it cool at least 2 minutes
before removing fuel cap. Loosen cap slowly to relieve
pressure in tank.
• Fill fuel tank outdoors.
• DO NOT overfill tank.Allow space for fuel expansion.
• Keep fuel away from sparks, open flames, pilot lights,heat, and
other ignition sources.
• DO NOT light a cigarette or smoke.
Fuel and its vapors are extremely flammable and
explosive.
Fire or explosion can cause severe burns or
death.
WARNING
Figure 1 - Add Fuel to Indicator
Figure 2 - Assemble Hose Barb
Figure 3 - Connect Hose Barb to Pump
Fuel Level
Indicator