


Contact 1.800.762.1142 for assistance.
Do not return to place of purchase.
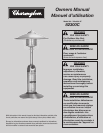
8Owner’s manual: model 82300C portable outdoor heater
Caution
Before you attempt to use a
propane cylinder, understand
all cylinder and propane
related precautions in Section
#1 – “Safety First.”
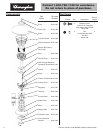
Step 6 – Gas Hook-up
Note: For best results, use heater with a 20 lb. cylinder.
The pressure regulator and hose assembly supplied with the appliance
must be used and replacements must be those specified by the
manufacturer.
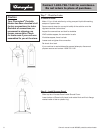
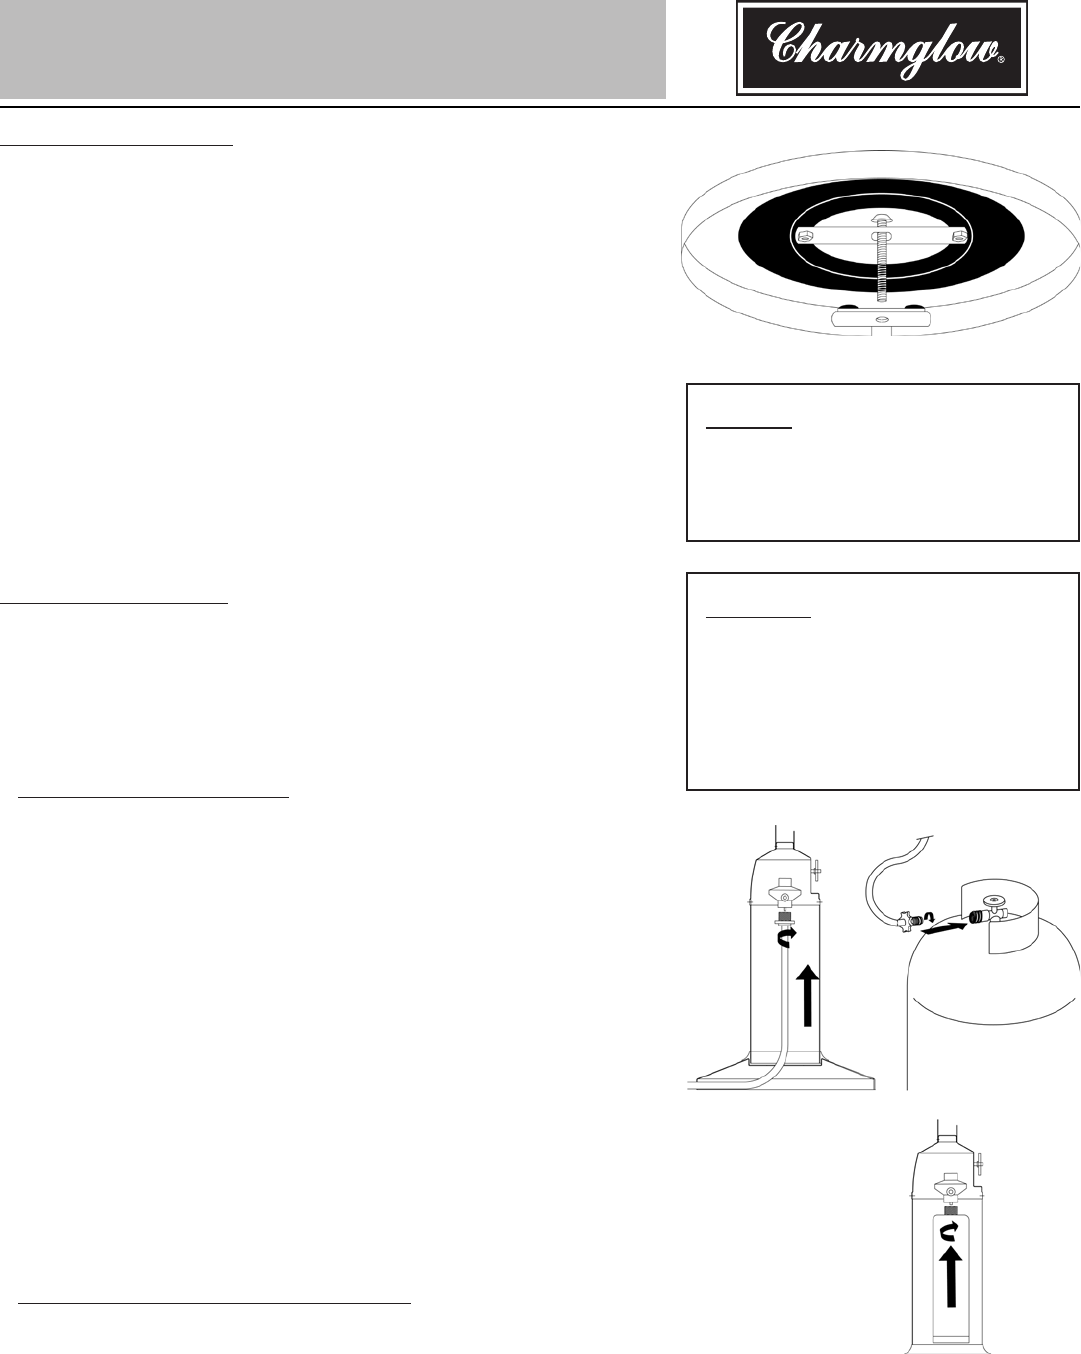
To connect 20 lb. Cylinder
Slip end of flexible gas line with brass fitting through center hole of Base
and up to threaded portion of regulator.
Line up threads on fitting with those on regulator and rotate clockwise
until snug. HAND TIGHTEN ONLY. DO NOT USE ANY HAND TOOLS
TO MAKE THIS CONNECTION. Be careful not to cross threads when
screwing in FITTING.
Note: if heater uses center clamp, hose can be routed through opening
in base and table.
Set heater on base, making sure that flexible gas line is routed through
small slot in base.
Attach gas line to cylinder by turning black plastic knob counter
clockwise into cylinder valve until tight.
Note: Be careful not to kink flexible gas line.
When using the gas extension hose always locate the hose out of
pathways where people may trip over it or in areas where the hose may
be subject to accidental damage.
To connect 14.1 oz or 16.4 oz cylinder
Only cylinders marked “propane” may be used.
Note: Some 1-lb cylinders may form frost when near empty.
Line up threads on canister with those on regulator, insert and rotate
canister clockwise until they fit snugly together. HAND TIGHTEN ONLY.
Be careful not to cross threads when screwing in canister.
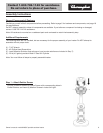
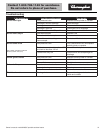
Step 5–Center Lockup
Slide the threaded portion of the large thumbscrew through the slot in
the center of the bracket mounted to the base.
Thread the bottom bracket on to the thumbscrew with the round flat
rubber pads facing up.
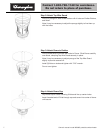
To mount the heater to a hole in your table, tilt the bottom bracket/
thumbscrew assembly until it fits through the hole. Straighten the
thumbscrew, and pull it up until the rubber pads contact the underside
of the table. Hand tighten only.
Note: If the hole in the surface you are mounting your heater to is less
than 1-1/2” in diameter, it will be necessary to center your heater over
the hole and slide the thumbscrew through the slot in the bracket and
the hole in the table. Attach the bottom bracket from underneath, and
tighten from the top with the thumbscrew.
Notice
Do not use tools to tighten the
thumbscrew. Hand tighten only. Do not
over tighten to prevent possible damage
to table surface.