7
Owner’s manual and assembly instructions: model 200209 outdoor patio heater 1/15/03
Contact 1-800-762-1142 for assistance.
Do not return to place of purchase.
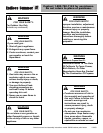
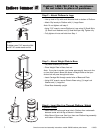
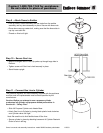
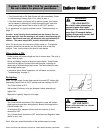
Step 2 – Attach Platform to Legs
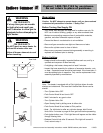
• Line up hole in Clip with small threaded hole on bottom of Platform.
• Attach Clip loosely to Platform with (1) Large Screw.
Note: Do not tighten until step 9.
• Using 7/16” wrench, secure Platform to Legs using (2) Small Bolts,
(2) Small Lock Washers and (2) Small Nuts per Leg. Tighten fully.
• Fully tighten all nuts and bolts from Step 1.
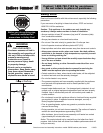
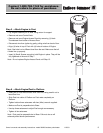
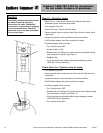
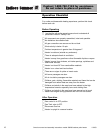
Step 3 – Attach Weight Plate to Base
• Lay Base Assembly on its side.
• Place Weight Plate in Base, feet out.
Note: If you plan to anchor your heater permanently, be sure to line
up two outer holes in Base with those in Weight Plate so that your
anchor bolt will pass through both holes.
• Insert Carriage Bolt through center holes of Base and Plate.
• Using 9/16” wrench, secure Plate to Base using (1) Large Lock
Washer and (1) Large Nut.
• Place Base Assembly upright.
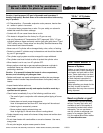
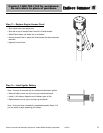
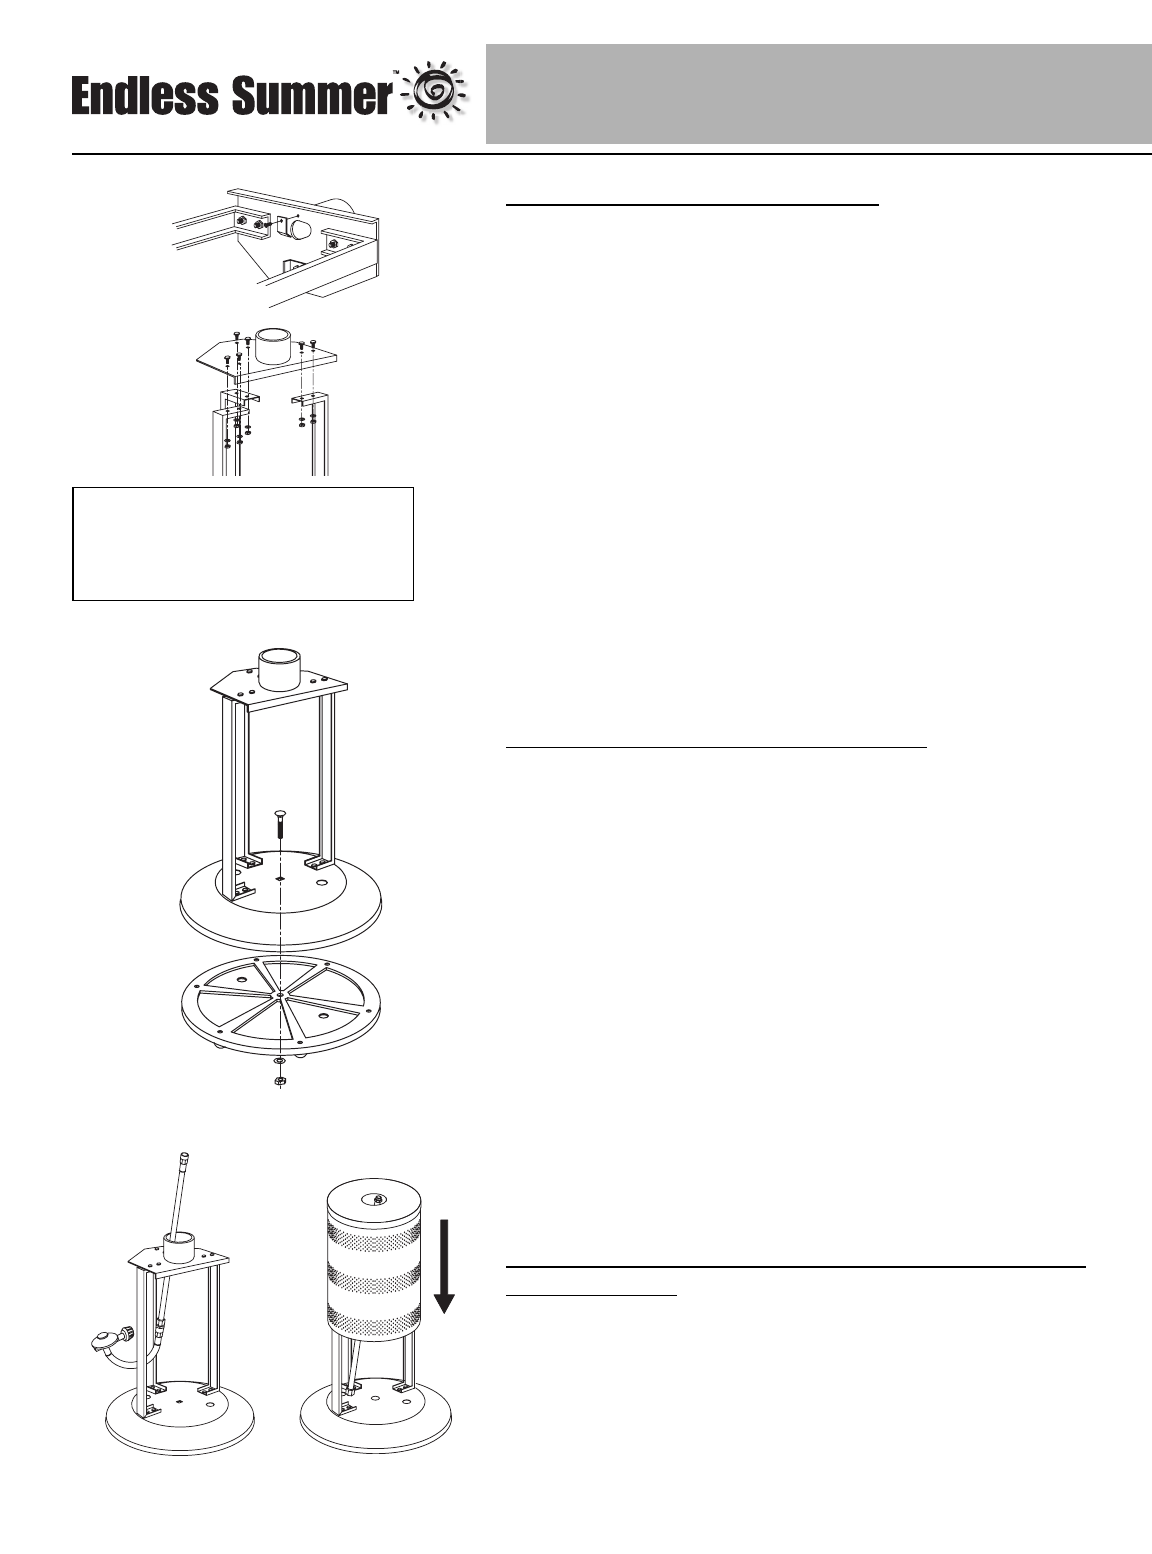
Step 4 – Insert Gas Line Through Platform /
Attach
Cylinder Cover
• Insert Gas Line up through large hole in Platform from underneath
between center and left leg as shown in illustration.
• Slide Shroud Cover over Gas Line, then over Platform/Leg assembly
until bottom of Shroud rests on Base.
TIP:
To tighten use a 7/16” wrench on Bolt
and a 7/16” socket wrench on Nut.


