o
®
o
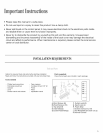
Please keep this manual in a safe place,
Do not use liquid or a spray to clean this product. Use a damp cloth.
Never spill liquid on the control panel; it may cause electrical shock to the electronic parts inside
and disable them or cause them to function improperly.
Never try, to dismantle the product by yourself as this will void the warranty. Unsupervised
dismantling and incorrect reassembly of the inside of the back cover may damage the electrical
circuit and affect its performance. When maintenance is required, please contact the local service
center or local distributor.
INSTALLATIONREQUIREMENTS
Gather the required tools and parts before starting installation.
Read and follow the instructions provided with any tools listed here.
Tools needed
Phillips head screwdriver Tape measure
Flat-blade screwdriver Cordless drill and 1/8" bit
Scissors : Pencil
Level : Pliers
Socket wrench and sockets Adjustable wrench
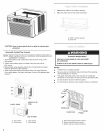
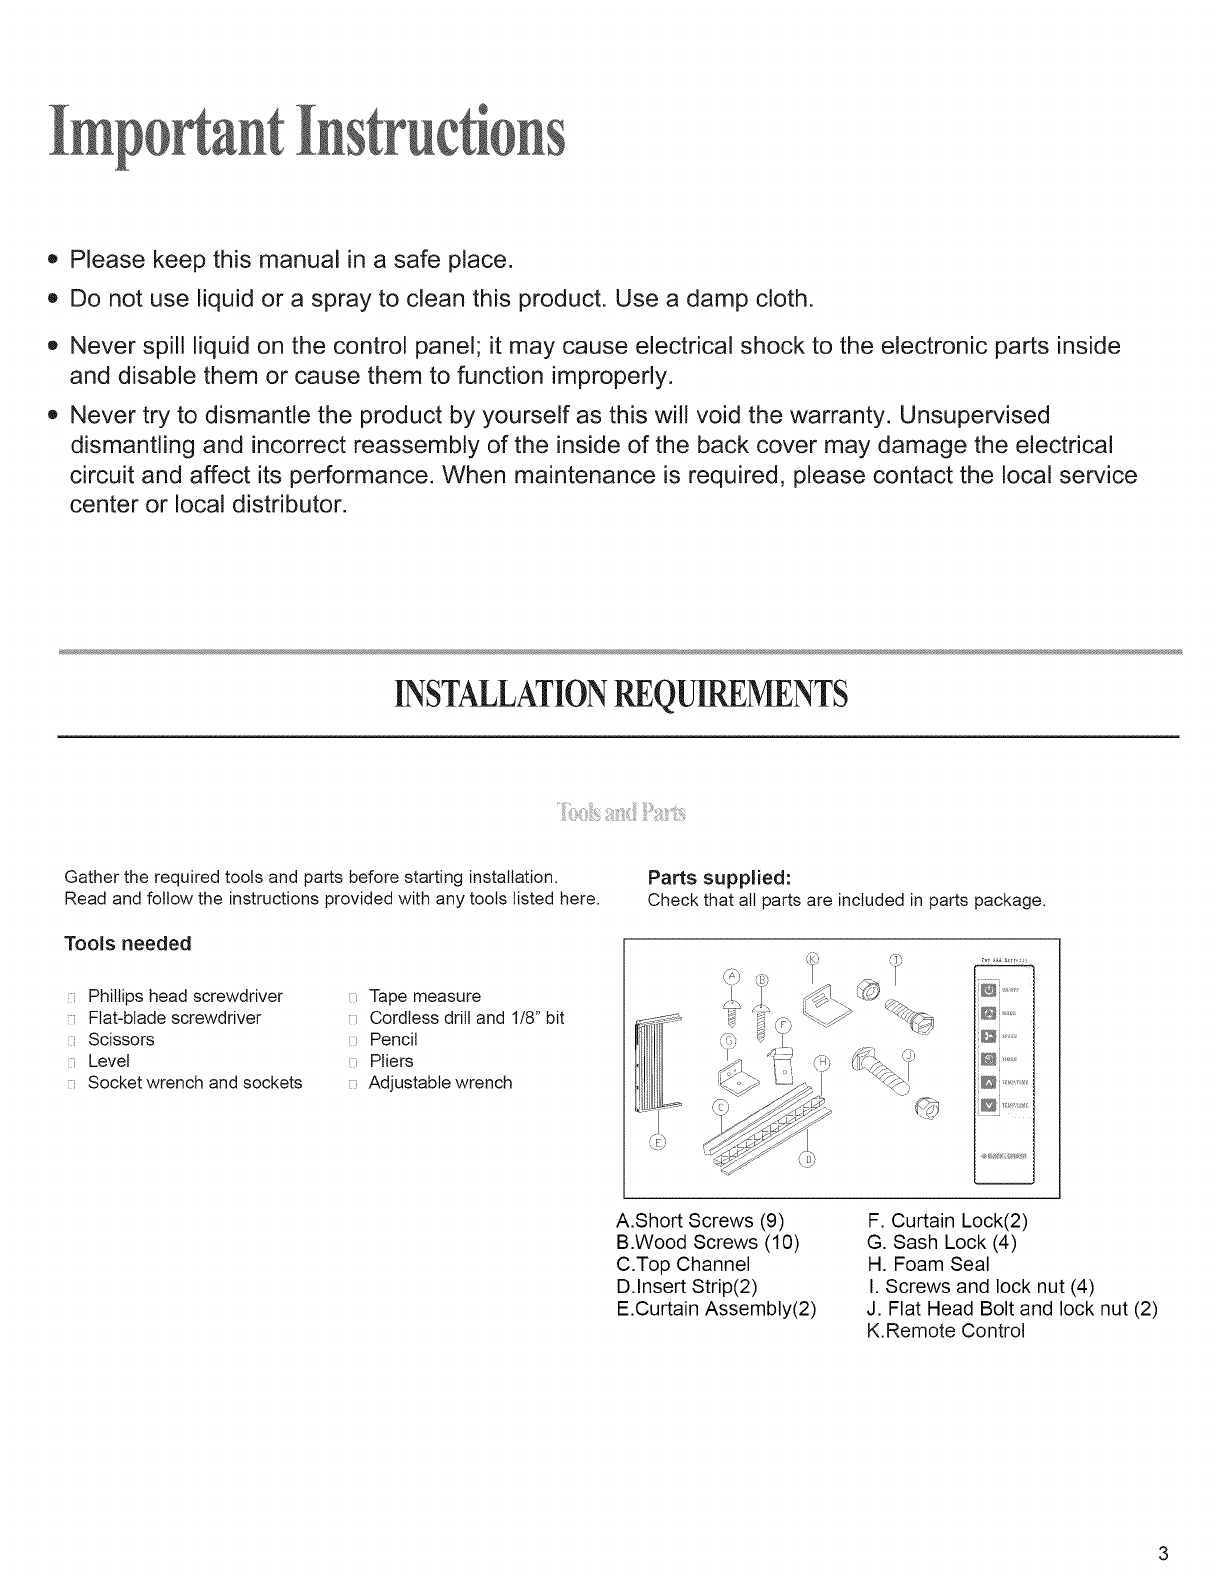
Parts supplied:
Check that all parts are includedin parts package.
iB.......i
@........i
, J
A.Short Screws (9)
B.Wood Screws (10)
C.Top Channel
D.Insert Strip(2)
E.Curtain Assembly(2)
F. Curtain Lock(2)
G. Sash Lock (4)
H. Foam Seal
I. Screws and lock nut (4)
J. Flat Head Bolt and lock nut (2)
K.Remote Control


