Maintenance and care
Machine storage
Once your cleaning is complete, make sure
the 2-in-1 water tank is emptied, rinsed out,
and dried before the next use. The formula
tank can remain filled and ready to go, or it
can simply be emptied back into the formula
bottle if that is more convenient.
Note: Store cleaner in a protected, dry area.
Since this product uses water, it must not
be stored where there is a danger of freez-
ing. Freezing will damage internal compo-
nents and void the warranty.
Machine care
For best results, a few simple steps can assure
your machine is well maintained after your
cleaning is complete.
1. Turn power and heater switches OFF (O).
Unplug the machine and wrap the power cord.
2. After emptying the 2-in-1 water tank, rinse
it out at a faucet with running hot tap water,
taking care to clean underneath the heavy
duty bladder, and all around it.
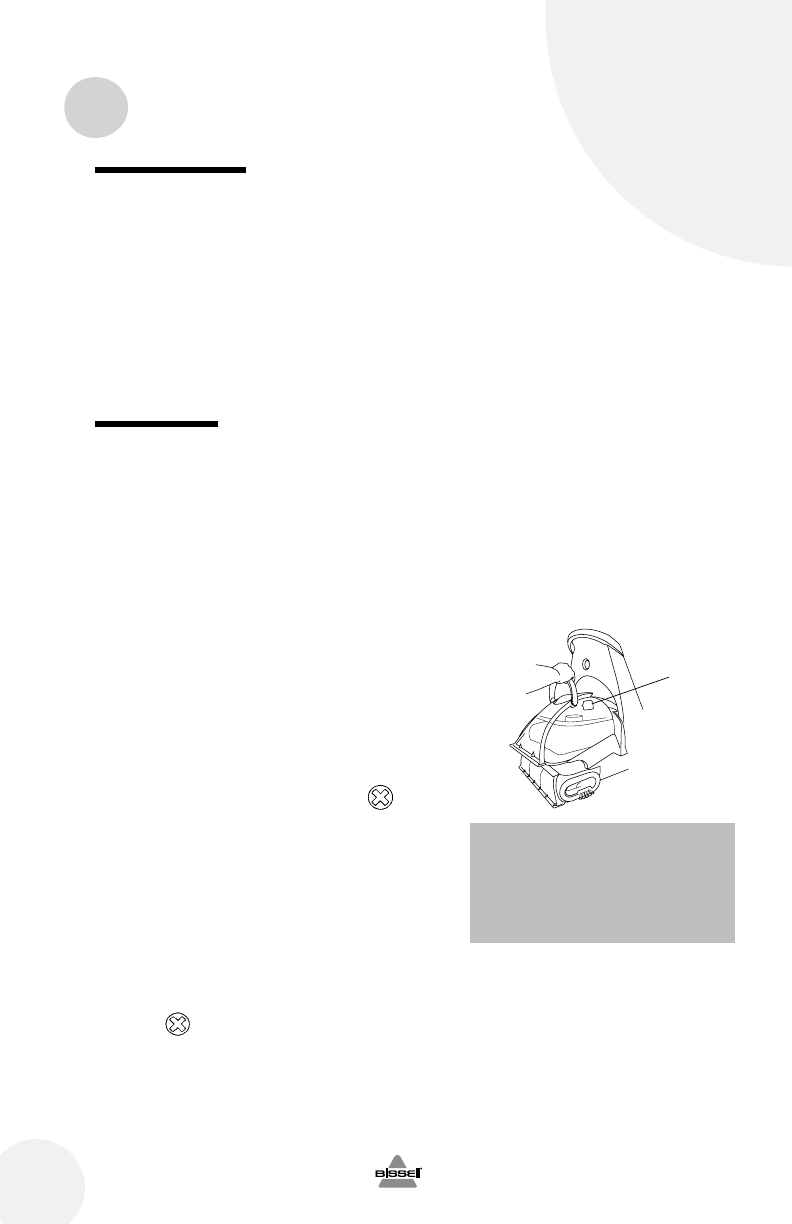
3. The top half of the tank can be rinsed clean
through the nozzle area. Also, pop out the red
filter underneath the top half of the tank and
rinse that out. Replace before putting the top
and bottom halves of the tank together.
4. Before you place the cleaned 2-in-1 water
tank back onto the machine, simply unscrew
the floor nozzle using a Phillips head
screwdriver. This can be rinsed out at the
faucet. Then replace back onto the machine
by starting from the bottom of the nozzle and
hooking the tabs into the holes on the bottom
sides of the machine. Secure into place with
the screw.
5. The inside of the end caps by the brush rolls
can be wiped out with a clean paper towel,
or, if a more thorough cleaning is desired, the
end caps can be taken off using a Phillips
head screwdriver and rinsed clean.
Replace after cleaning.
6. Any loose hair or debris can be pulled from the
brush rolls and thrown away. For the most
thorough clean before storage, follow directions
on pages 17 & 18 for removal and replacement
of the brush rolls and belts.
16
w ww.b is se ll .c om 8 00 .2 37 .7 69 1
Filter
Tip:
Let all parts dry completely
before storing
3.


