


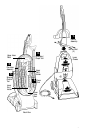
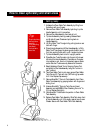
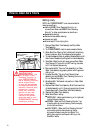
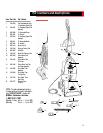
1. Unfasten the Clean Water Tank Assembly by lifting from
the bottom with your fingers.
2. Remove Clean Water Tank Assembly by sliding it up the
Handle Assembly until it comes free.
3. Remove Flex Hose Assembly from back of unit.
4. Tip Handle Assembly back by pressing Release Pedal
on left side of Lower Chassis and pulling back on
Handle Assembly.
5. Lift Dirty Water Tank Triangle Lid by pulling back on rear
latch with finger.
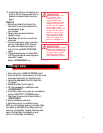
6. Place triangle-shaped end of Flex Hose Assembly in Dirty
Water Tank Triangle port by placing wide (bottom) end in
first, then pushing latch end in until it snaps into place.
7. Tip Handle Assembly back to its full upright position.
8. Place Solution Tube Connector into the port at the lower
left side of the Handle Assembly. Place tabs on Connector
into notches in port, then turn clockwise to secure. Make
certain Solution Tube is securely fastened to Connector.
9. Select Upholstery/Carpet Tool or Spraying Crevice Tool,
and attach to Flex Hose Assembly using the “button-in-
hole” method.
10. Take Clean Water Tank to sink area, remove Clean Water
Tank Cap and fill Tank with hot (NOT boiling) tap water
to fill line. Replace Cap securely.
11. Remove SmartMix
TM
Formula Tank Assembly from Clean
Water Tank Assembly by grasping bottom with fingers and
sliding it out.
12. Unscrew SmartMix
TM
Formula Tank Cap and Insert
Assembly and add BISSELL Fiber Cleansing Formula
TM
to
fill line. Reclose Cap tightly
13. Slide SmartMix
TM
bottle back into position in Clean Water
Tank Assembly.
14. Replace Clean Water Tank Assembly. Slide Tank down front
of Handle Assembly until it fits snugly against top of Lower
Chassis. Secure with Clean Water Tank Latch Assembly.
Getting ready
8
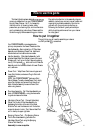
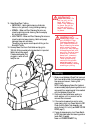
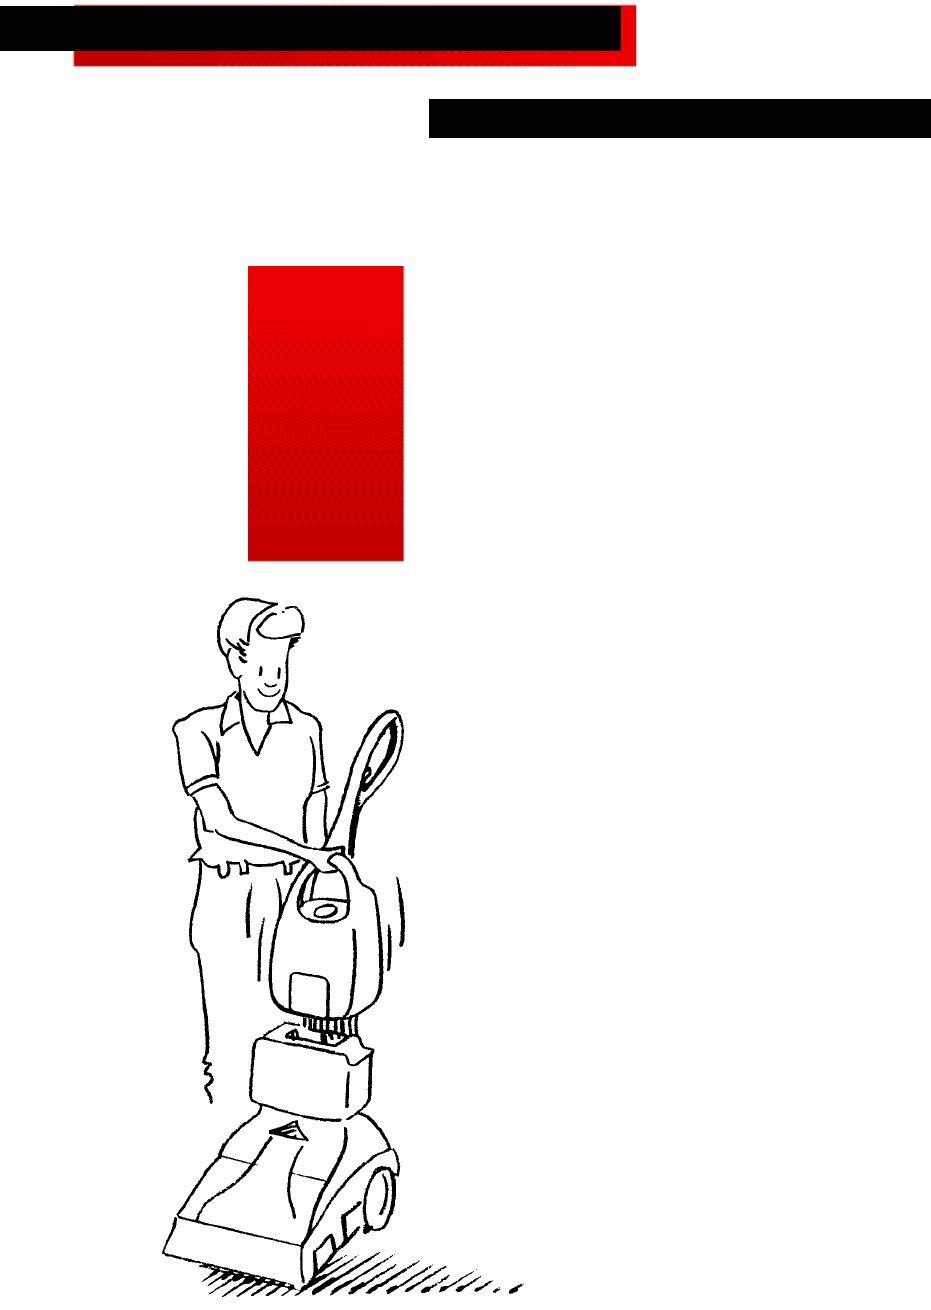
Tip:
Check upholstery
stuffing before
cleaning.
Colored stuffing
may bleed
through fabric
when wet.
How to clean upholstery and small areas