Part No 790321
Form No F012307C
10
QL2300KOEU Owner’s Manual
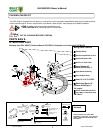
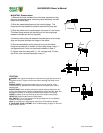
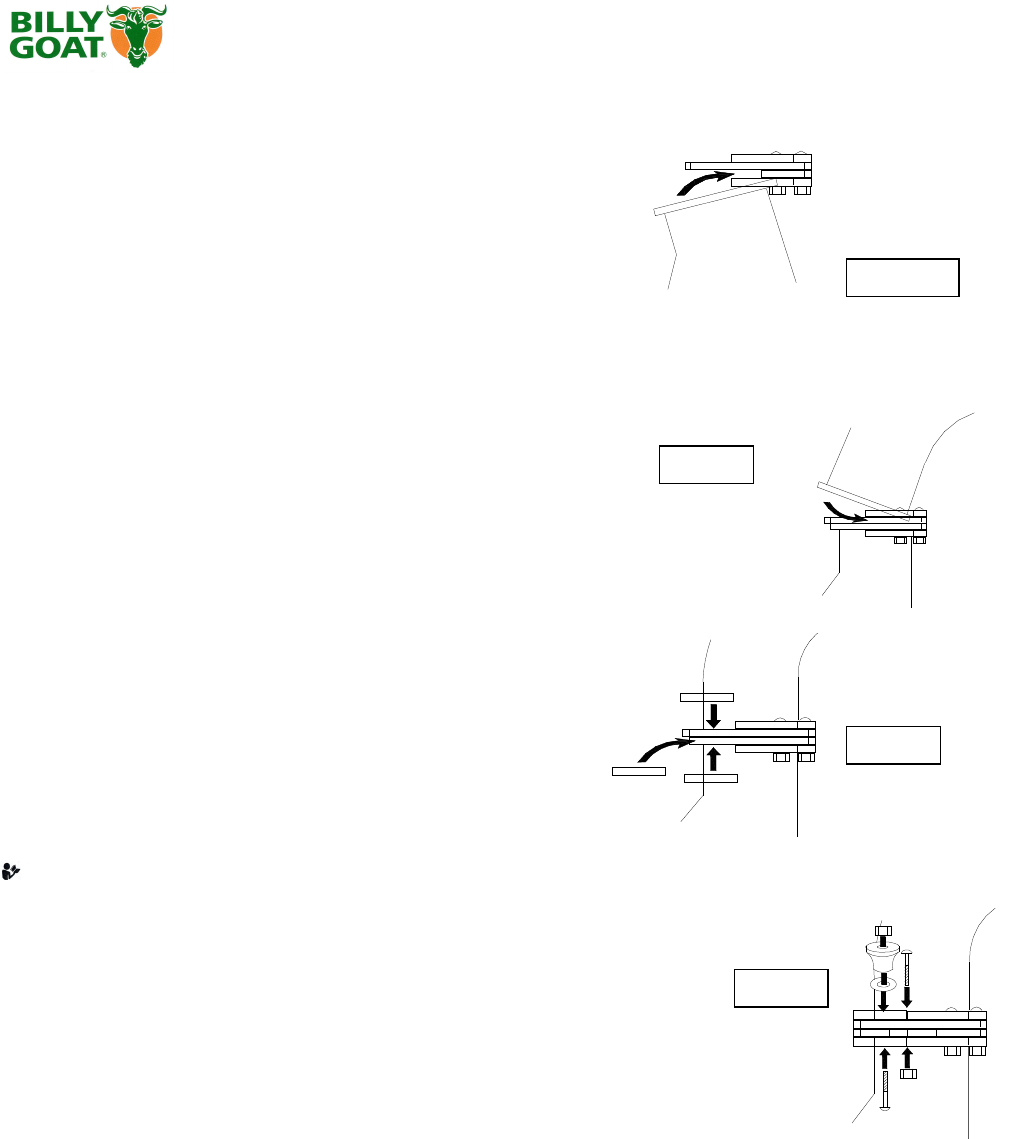
MOUNTING: Exhaust elbow
1) Remove the loose hardware from the clamp assembly so that
there are 4 separate pieces (remaining clamp assembly, two half
plates, and a plate split).
2) Slide the assembled plates over the housing flange. The
flange should rest between the bottom plate and the plate split.
3) Slide the elbow over the plate spacer and center it in the
clamp.
The elbow flange should now be resting on the housing flange
between the plate split and the top plate.
4) Insert the other plate split beneath the plate spacer so
the holes
align and the plate overlaps the flange on the elbow.
5) Secure the assembly with a plate half on top of the elbow
flange and a plate half on bottom of the housing flange using 3, 1"
carriage bolts and 3 lock nuts (removed hardware in step 1).
6) Tighten down the clamp with 2, 1 3/4" carriage bolts, 2 knobs,
and 2 lock nuts (removed hardware in step 1).
Housing
Elbow
Step 1&2
Step 3
Step 4
Fig. 5&6
STARTING
ENGINE: See engine manufacturer’s instructions for type and amount of oil
and gasoline used. Engine must be level when checking and filling oil and
gasoline.
ENGINE SPEED: Controlled by throttle lever on the vac housing. Under
normal conditions, operate at minimum throttle to accomplish your current
cleaning task.
INTAKE HOSE: Hose mounting assembly must be properly attached to vac
housing and safety switch must be engaged before engine will start. Note: Any
damage to the switch or wiring harness will prevent engine from starting.
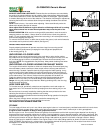
CHOKE: Located on the vac housing as part of the engine control panel.
THROTTLE: Move throttle control to fast position.
KEY SWITCH: Turn to start position until engine begins to fire, immediately
release the key to the run position.
Note: Do not hold key in start position more than 10 seconds per attempt.
IF YOUR UNIT FAILS TO START:
See Troubleshooting on page 13. Also see
engine owner's manual.


