Part No. 890255 Form No. F021695C
Page 3 of 8
Engine
Manual
Per Model
GENERAL SAFETY
& ASSEMBLY
3
Check
Check
{
PUT OIL IN ENGINE BEFORE STARTING
Read all safety and operating instructions
before assembling or starting this unit.
Briggs & Stratton
P/N 272262 English
Per Model
Honda
P/N 31ZE6030 00X31-
ZE6-0300 English
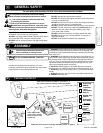
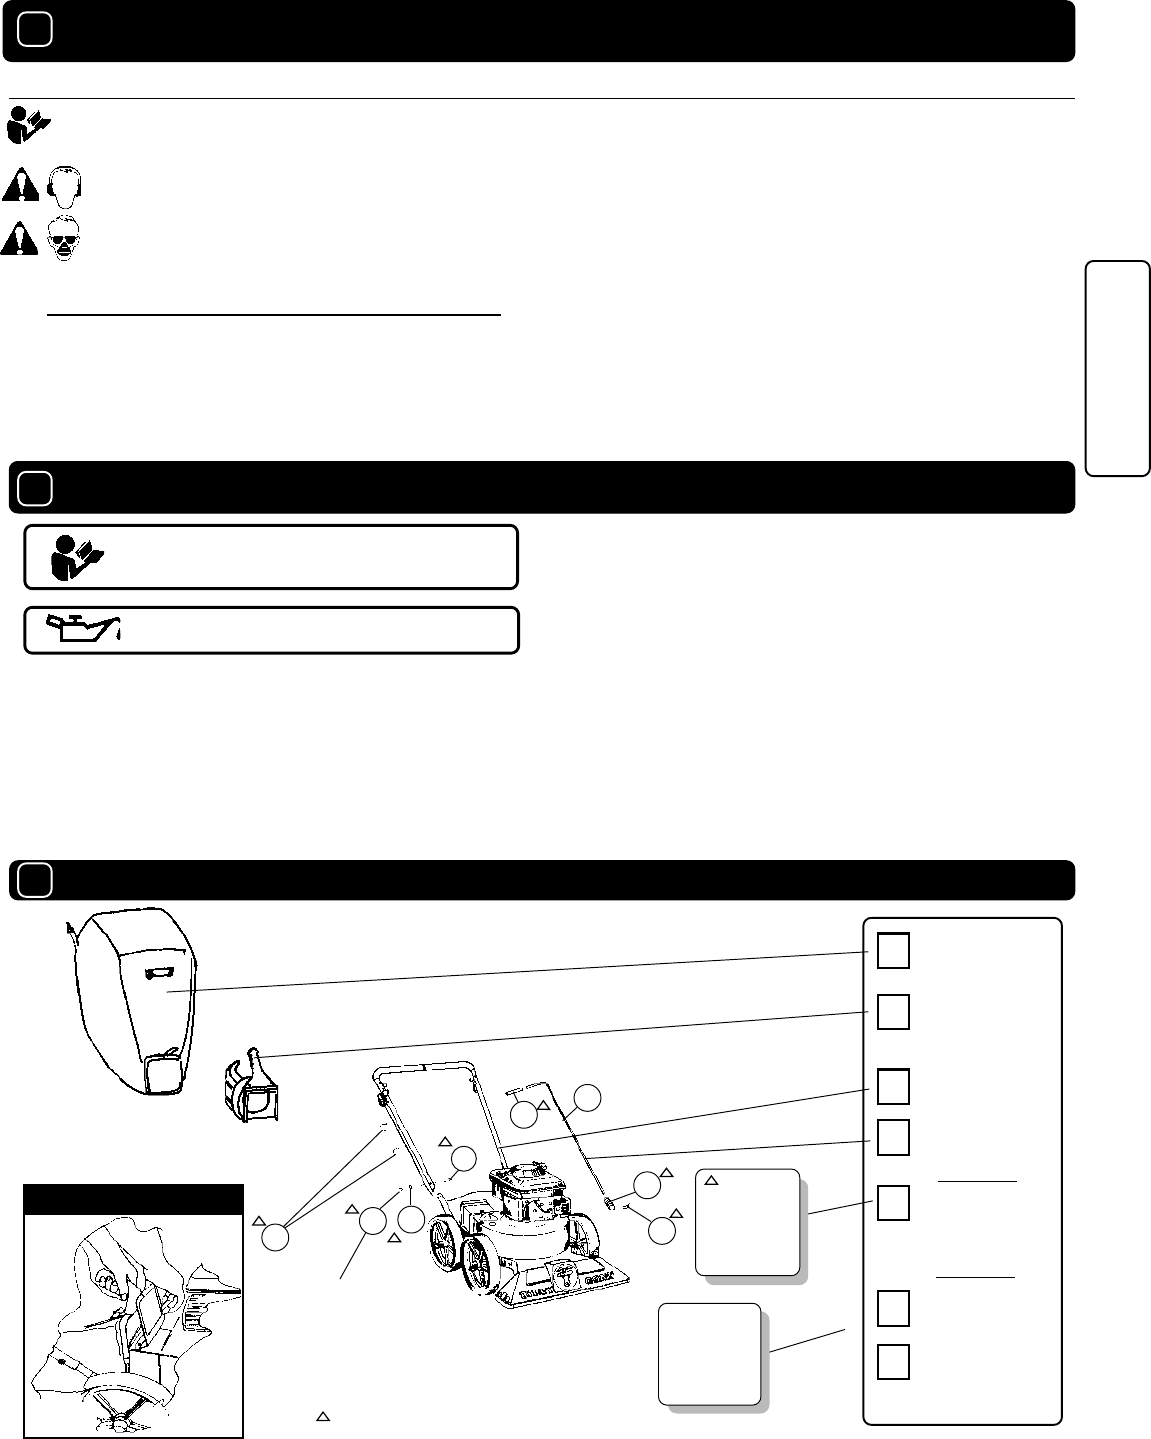
These items should be included in your carton. If
any of these parts are missing, contact your dealer.
Denotes parts found in Parts Bag Assembly (shown on page 4).
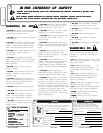
For your safety and the safety of others, these directions should be followed:
Use of Ear Protection is recommended while
operating this machine.
Do not operate this machine without first reading
owner's manual and engine manufacturer's manual.
Use of Eye and Breathing protection is recom--
mended when using this machine, especially in dry
and dusty conditions. Optional bag cover directs dust
toward ground, away from the operator.
·DO NOT operate during excessive vibration.
·DO NOT remove bag until engine has been turned off and has
come to a complete stop.
·DO NOT remove hose kit cap on nozzle until engine has been
turned off and has come to a complete stop.
·DO NOT operate machine with hose cap, bag or hose removed.
·DO NOT use this machine for vacuuming exclusively sand,
dust, fine dirt, rock, glass, string like material, grain, rags,
cans, metal, bark or water.
·DO NOT operate this machine on slopes greater than 20%.
·DO NOT pick up any hot or burning debris, or any toxic or
explosive material.
·DO NOT allow children to operate this equipment.
QUICK DISCONNECT
Fig. 2
Check
Parts Bag &
Literature
Assembly
900934
Per Model
Debris Bag
900802
Check
Connector
Quick
Disconnect
890176
Check
Handle Assy
900910
Check
Rod Height
Adj. 900978
Check
Parts Bag
& Literature
Assembly
9
8
25
26
20
22
16
GENERAL SAFETY
99
99
9
1010
1010
10
PACKING CHECKLIST
1111
1111
11
·DO NOT place hands or feet inside nozzle intake opening
neardebris outlet or near any moving parts.
·DO NOT start engine without debris bag and quick discon
nect connected firmly in place to exhaust outlet.
·DO NOT start or operate machine with debris bag zipper
open.
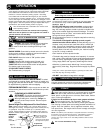
ASSEMBLY
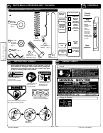
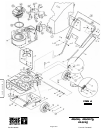
1. ASSEMBLE upper handle securely to lower handle stubs using handle
screws (item 8), washers (item 25) and nut lock 5/16-18 (item 26), with
screw heads facing inward toward debris bag. Otherwise, premature bag
wear could result.
2. ASSEMBLE height adjustment rod (item 23), thru eye bolt (item 15), on
upper handle and thru upper flange of height adjustment bracket (item18),
thru spring (item 20), and thru lower flange of height adjustment bracket
(item 18). Insert pin (item 22), between spring and lower flange of height
adjustment bracket (see VIEW A on page 6). Slide grip (item 16), onto
upper end of height adjustment rod (item 23).
3. UNFOLD the debris bag (item 1) and fasten bag neck to bag quick
disconnect (item 12). Attach firmly to housing exhaust (item 52) see fig. 2.
4. ATTACH bag hanger straps to loops (item 11), preassembled to upper
handle.
5. ATTACH throttle assy. (item 2), to handle using cable clamps (item 9).
6. CONNECT spark plug wire.
Your Billy Goat is shipped from the factory in one carton,
completely assembled except for the debris bag, upper handle,
height adjustment rod and bag quick disconnect.
Attach upper handle
using screws, washers
and lock nuts provided
in parts bag.
23


