Operating the appliance
After checking if the voltage meets the
rated voltage, plug in the appliance.
Press on/off switch (2) located on the
top of the appliance.
If the water becomes very dirty during
cleaning, replace it as described in the
“Maintenance and Cleaning the
Appliance” section.
Blower Function
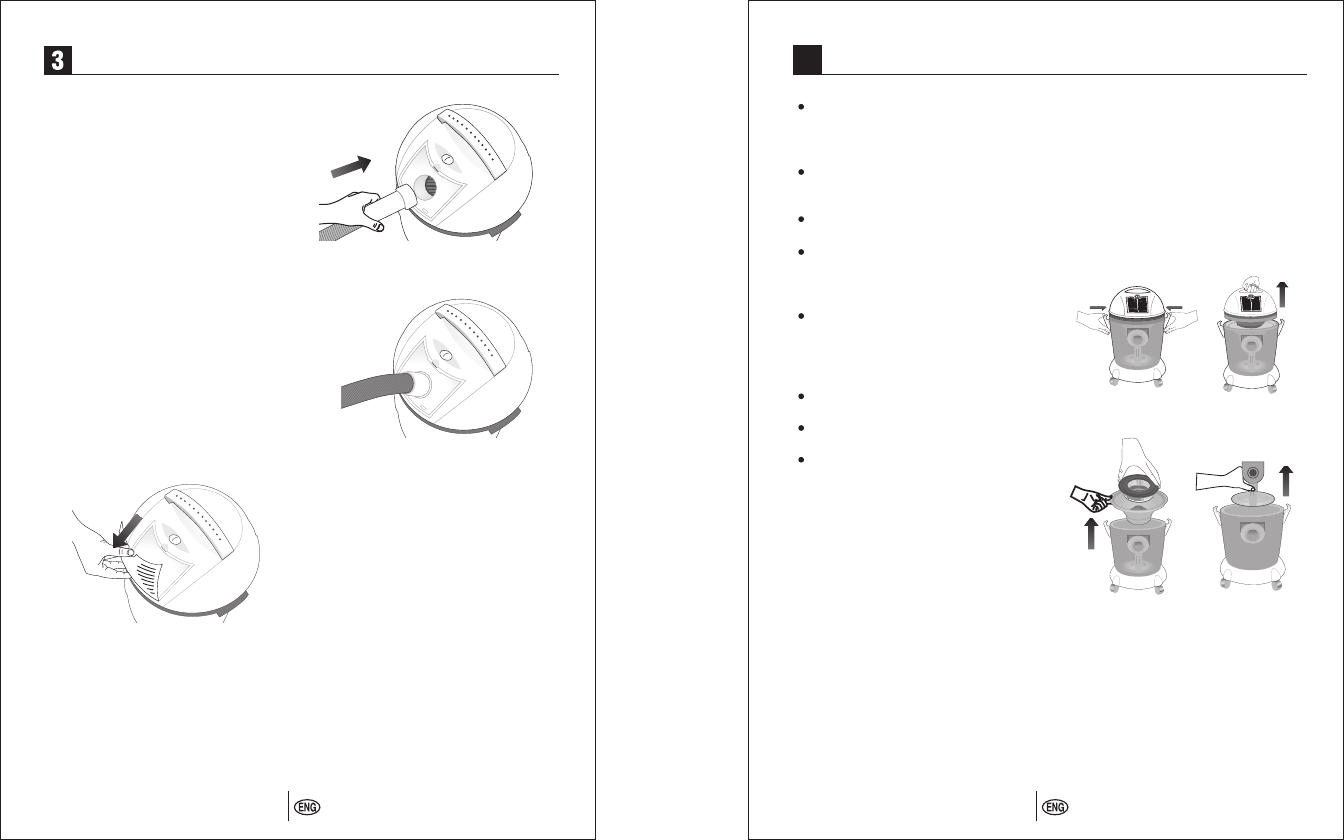
Remove the blower cover lid and insert
the hose into the opening on the body.
CAUTION : This appliance is not a
wet&dry vacuum cleaner, but a dry
vacuum cleaner with water filtration.
Avoid sucking any type of liquid with
this vacuum cleaner.
5
(Figure 15)
(Figure 16)
(Figure 17)
4
Maintenance and Cleaning
To empty the water inside the container,
switch off the appliance by pushing on
the On/Off switch and disconnect the
power supply cable from the mains.
Remove the motor unit after unlocking
the container locking/unlocking parts
on each side of the container.
Remove the water separator and the
air distributing part.
Empty the water inside the container
by tilting it towards the opposite side
of the inlet socket. You can use the
handle of the container.
It is strongly recommended to dump
the water inside the container and to
wash out any dirt that might be
remaining inside the container after
each use.
It is recommended to wipe inside the
container with a dry cloth after washed.
You may wash the HEPA filter under
the water.
It is recommended that the vacuum
cleaner is stored without water inside
the container. It is best to fill the filtration
water (1,5 l) right before the use.
Warnings
Please make sure that the air
distributing part and water separator
parts are always in place when the
vacuum cleaner is operated.
If the vacuum cleaner overturns
accidentally during operation, switch
the unit off and unplug immediately.
Dump the water inside the container
and follow the cleaning procedure
described in “Maintenance and
Cleaning the Appliance” section, above.
Make sure that all the parts have been
dried before using the appliance again.
6
Using your machine
(Figure 1) (Figure 2)
(Figure 3) (Figure 4)


