2
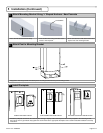
Attach Mounting Bracket Using Expansion Anchors - Existing Concrete
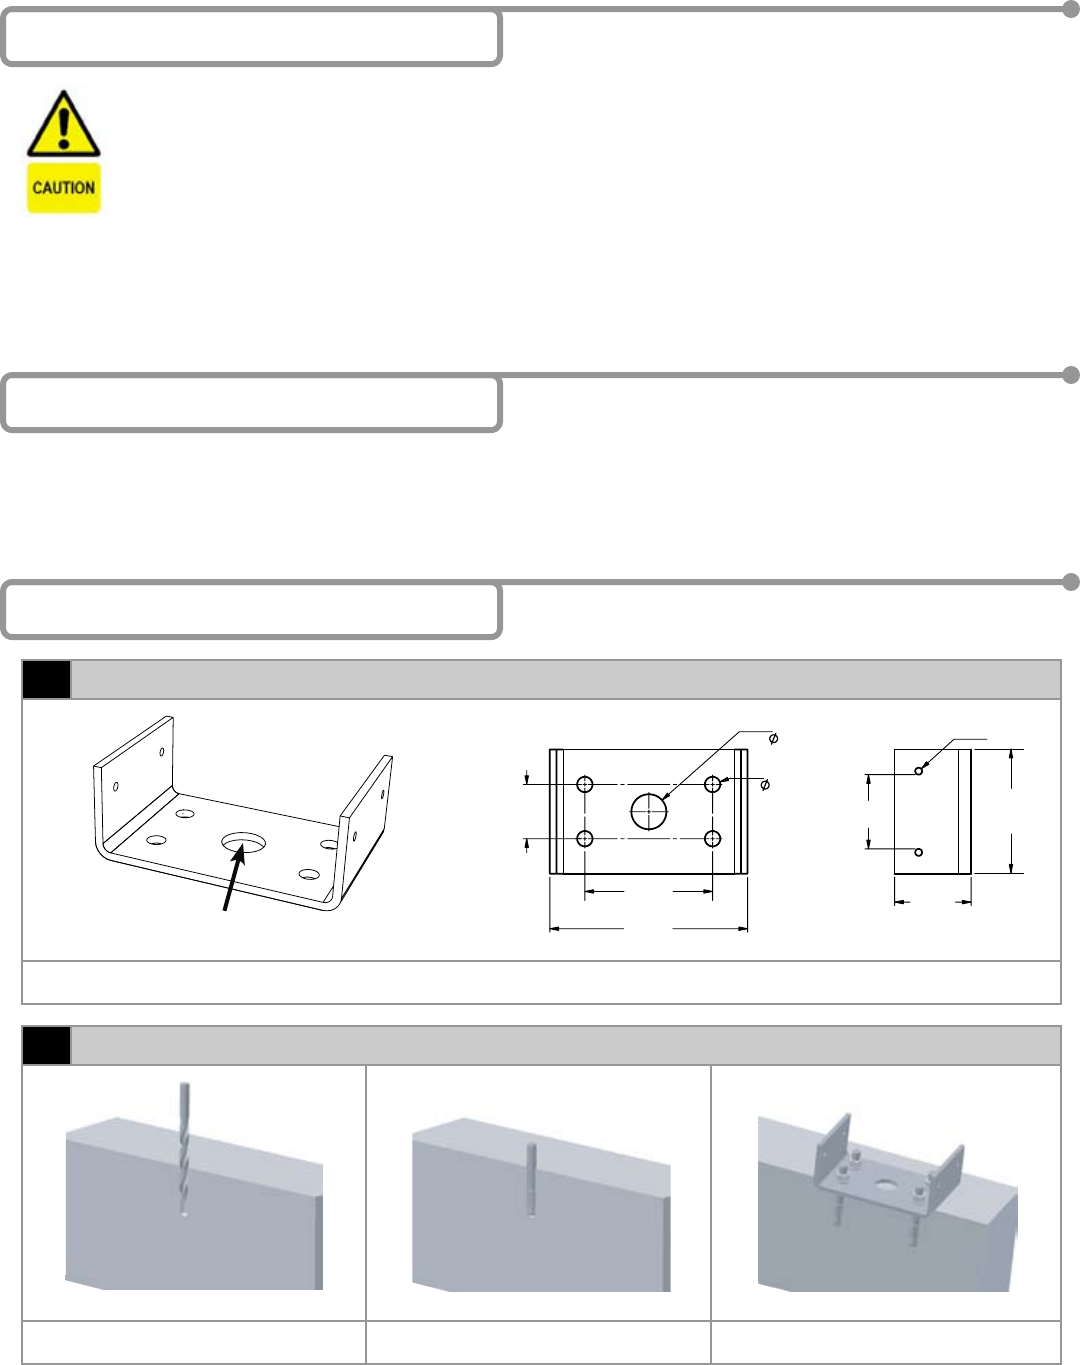
1. Mark and drill 3/8” diameter hole in four
locations.
2. Hammer in and set anchor in four hole
locations.
3. Install and tighten nuts to secure mounting
bracket.
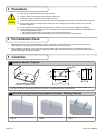
3 Precautions
Shut off all power before attempting any wiring procedures.
Maintain a clean & safe environment when working in public areas.
Constantly be aware of pedestrian trafc around the door area.
Always stop pedestrian trafc through the doorway when performing tests that may result in unexpected reactions by the door.
Always check placement of all wiring before powering up to insure moving door parts will not catch any wires and cause
damage to equipment.
Ensure compliance with all applicable safety standards (i.e. ANSI A156.19 / A156.10) upon completion of installation.
DO NOT attempt any internal repair of the sensor. All repairs and/or component replacements must be performed by BEA, Inc.
Unauthorized disassembly or repair:
1. May jeopardize personal safety and may expose one to the risk of electrical shock.
2. May adversely affect the safe and reliable performance of the product resulting in a voided warranty.
4 Pre Installation Check
1. When preparing to wire multiple devices together for a ‘system’ conguration, it is best to ensure the correct operation of each device
independently before starting to help reduce troubleshooting time later in the event of a discrepancy.
2. Prior to installing any equipment, ensure correct line voltage and stability. When applying equipment on a new installation utilizing new
electrical supply circuits, always ensure correct line voltage exists and is stable. Remember to shut the power back off after this is checked
and before performing any wiring to the system.
5 Installation
1
Hardwire Bracket - Optional
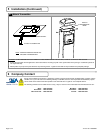
1. The Bollard is designed to house a pushplate used to activate a door by either a remote controlled transmitter or hardwired directly to the
door control. If the door is hardwired, pass the wire through the 1 inch diameter hole in the mounting bracket.
FOR HARDWIRING RUN WIRE
THROUGH 1” DIAMETER HOLE
Page 2 of 4 75.0131.05 20080606
2.19 in
55.58 mm
1/4-20
53.95 mm
2.12 in
3.65 in
25.40 mm
143.51 mm
5.65 in
0.44 in
11.11 mm
92.71 mm
1.00 in
39.37 mm
1.55 in
3.55 in
92.10 mm


