6
Troubleshooting
Service or Repair
Service, if necessary, must be performed by an Authorized Household Appliance
Service Center. The Service Center nearest you can be found in the yellow pages of
your phone book under “Appliances – Small” or on the Service Center list in this book.
For 220V models: In a double-insulated appliance, two systems of insulation are
provided instead of grounding. No grounding means is provided on a double-insulated
appliance, nor should a means for grounding be added to the appliance. Servicing a
double-insulated appliance requires extreme care and knowledge of the system, and
should be done only by qualified service personnel. Replacement parts for a double-
insulated appliance must be identical to the parts they replace.
NOTE: If the power supply cord is damaged, it must be replaced by the manufacturer or
its service agent or a similarly qualified person in order to avoid a hazard.
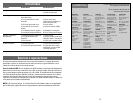
Problem Possible Cause Possible Solution
Vacuum won’t start Not plugged in Plug in firmly; press On/Off
foot pedal
Poor dirt pick up 1. Full or clogged Dust Bag 1. Empty Dust Bag
2. Clogged airflow 2. Check if something is stuck
in the hose, tubes, or air
passages
3. Dirty Dust Filter 3. Clean the filter
4. Open suction control (VC80) 4. Adjust the suction (VC80 )
5. Hole in Hose 5. Replace Hose
6. Canister Lid open 6. Close & latch shut
Dust Bag “Full” 1. Full or clogged Dust Bag 1. Empty Dust Bag
indicator visible 2. Blocked airflow 2. Remove blockage from hose,
tubes, or air passages
3. Dust Filter 3. Clean, wash, or change Filter
Cord won’t rewind 1. Dirty power cord 1. Clean the power cord
2. Cord twisted/jammed 2. Pull out cord, straighten,
push retract pedal
8.
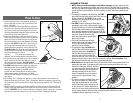
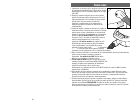
To clean or
change the
Micro-Filter,
press the
release at the
back of the
unit. Remove
the Filter
Cover (Vent),
(E1 & E2) take
out the old
filter, brush it
clean or wash it as explained in “To Clean the Dust Filter.” Allow to dry completely
before slipping it back into the Filter Cover. Fit the Tabs at the bottom on the Filter
Cover into the lip of the vacuum, then snap the Filter Cover into place.
WARNING: Do not operate the Vacuum without the Dust Bag and Filters properly
installed.
9.
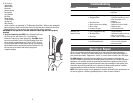
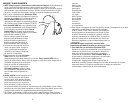
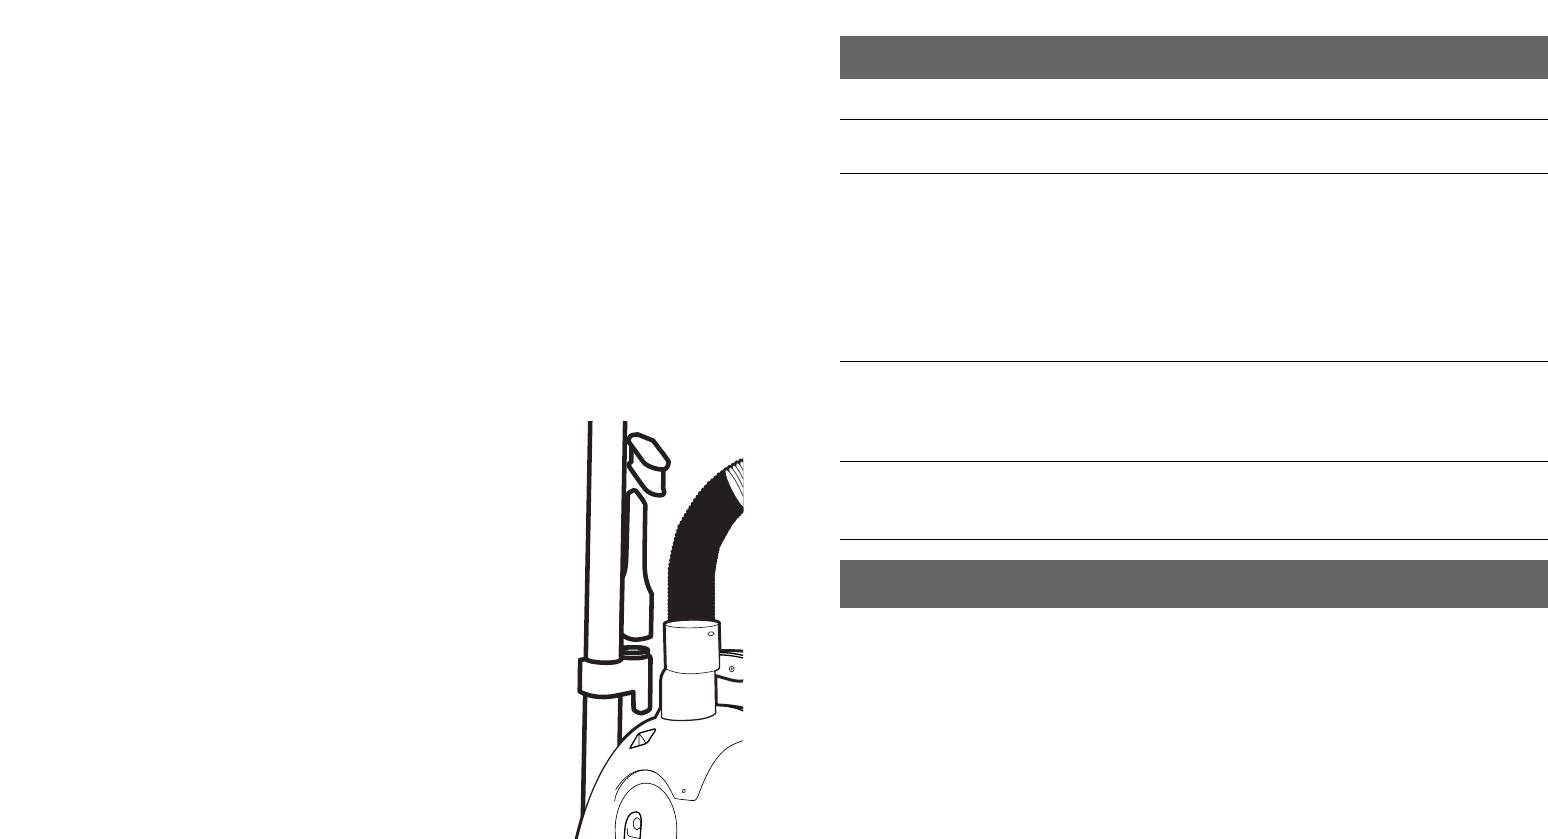
To store accessories for VC50:
Fit the Dusting Brush over
the Crevice Tool and slip the 2-in-1 tool onto the
Extension Tube clip for easy storage (F).
For VC80:
Lift the
top cover and fit the Crevice Tool and Dusting Brush into
the on-board compartments (see “Parts” Illus.). Be sure
you have retracted the cord before storing. Clip the hose
and extension tubes onto the back of the canister (F). Lift
the vacuum by its handle and stand it upright for
compact storage.


