3
4. Loosen the screw on the cover of the controller and remove the plastic cover, exposing
the wiring pigtails. (When reassembling cover, do not over-tighten screw.)
5. The wire conduit hub is to be connected to the conduit before the hub is connected
to the enclosure. The maximum hub diameter cannot exceed 1.15". Larger hub will
interfere with cover closure.
6. The opening of the enclosure shall be closed with hubs rated 3, 3S, 3SX, 3X, 4, 4X, 6
or 6P.
NOTE: Steps 5 and 6 are required for outdoor installations only.
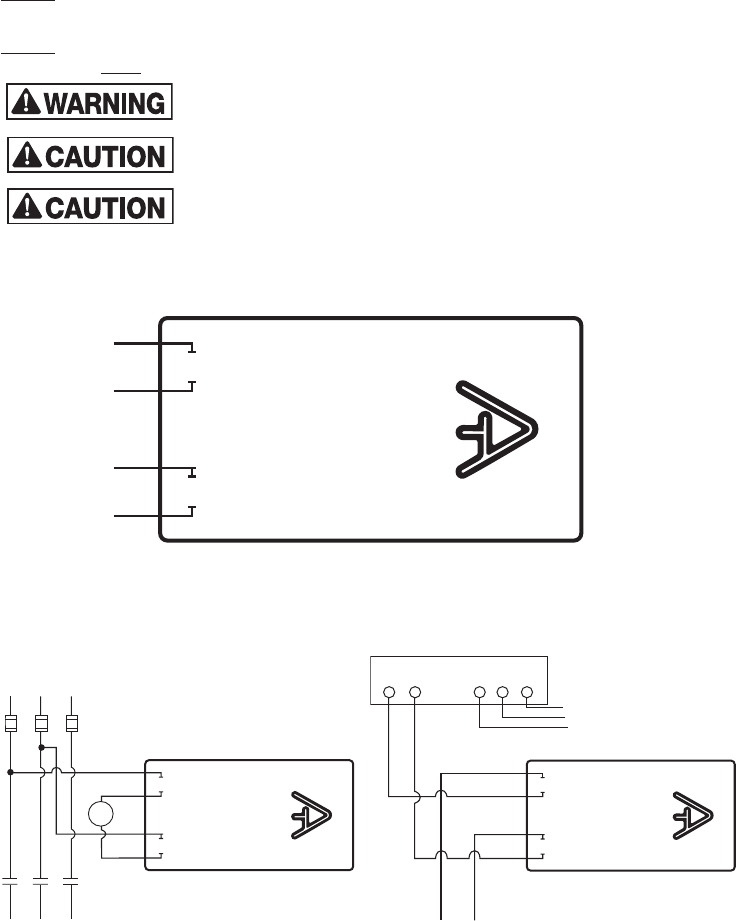
7. Following all electrical codes, wire the DC2 using the wiring diagram below (Figure 3).
NOTE: The DC2 has openings to accept standard conduit terminations. Outdoor
installations must use watertight connections.
UNIT MUST NOT BE SUPPORTED SOLELY BY THE ELECTRICAL
CONDUIT.
WATERTIGHT CONDUIT CONNECTIONS MUST BE USED WHEN
EXPOSED TO DIRECT WEATHER, MOISTURE OR HIGH HUMIDITY.
ELECTRICAL BONDING BETWEEN CONDUIT CONNECTIONS IS
NOT AUTOMATIC AND MUST BE PROVIDED AS PART OF THE
INSTALLATION. BONDING KIT, PART #146-2350 CAN BE ORDERED SEPERATELY.
L1
L2 YBR
Guardian CP™
LINE IN
3-WIRE, SINGLE PHASE CONTROL BOX
TO
MOTOR
Black
Blue
White
White
w/Black
L1
L2 L3
Guardian CP™
TO MOTOR
CONTACTS
TYPICAL 3-PHASE CONTROL BOX
FUSES
Black
Blue
White
White
w/Black
COIL
LINE
LOAD
LINE
LOAD
Fig. 3
Guardian CP™
BASIC WIRING
Black
Blue
White
White
w/Black


