24
Care and Cleaning (contd)
To keep your smoothtop looking like new, Amana recommends routine cleaning. The following general instructions for routine
and tough spot cleaning are based on the performance of Amana recommended products. To order these products, contact the
Consumer Affairs department at 1-800-843-0304.
CAUTION
!
To avoid risk of personal injury,
Wear gloves to protect hands
from accidental bulb breakage.
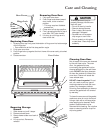
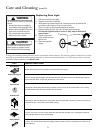
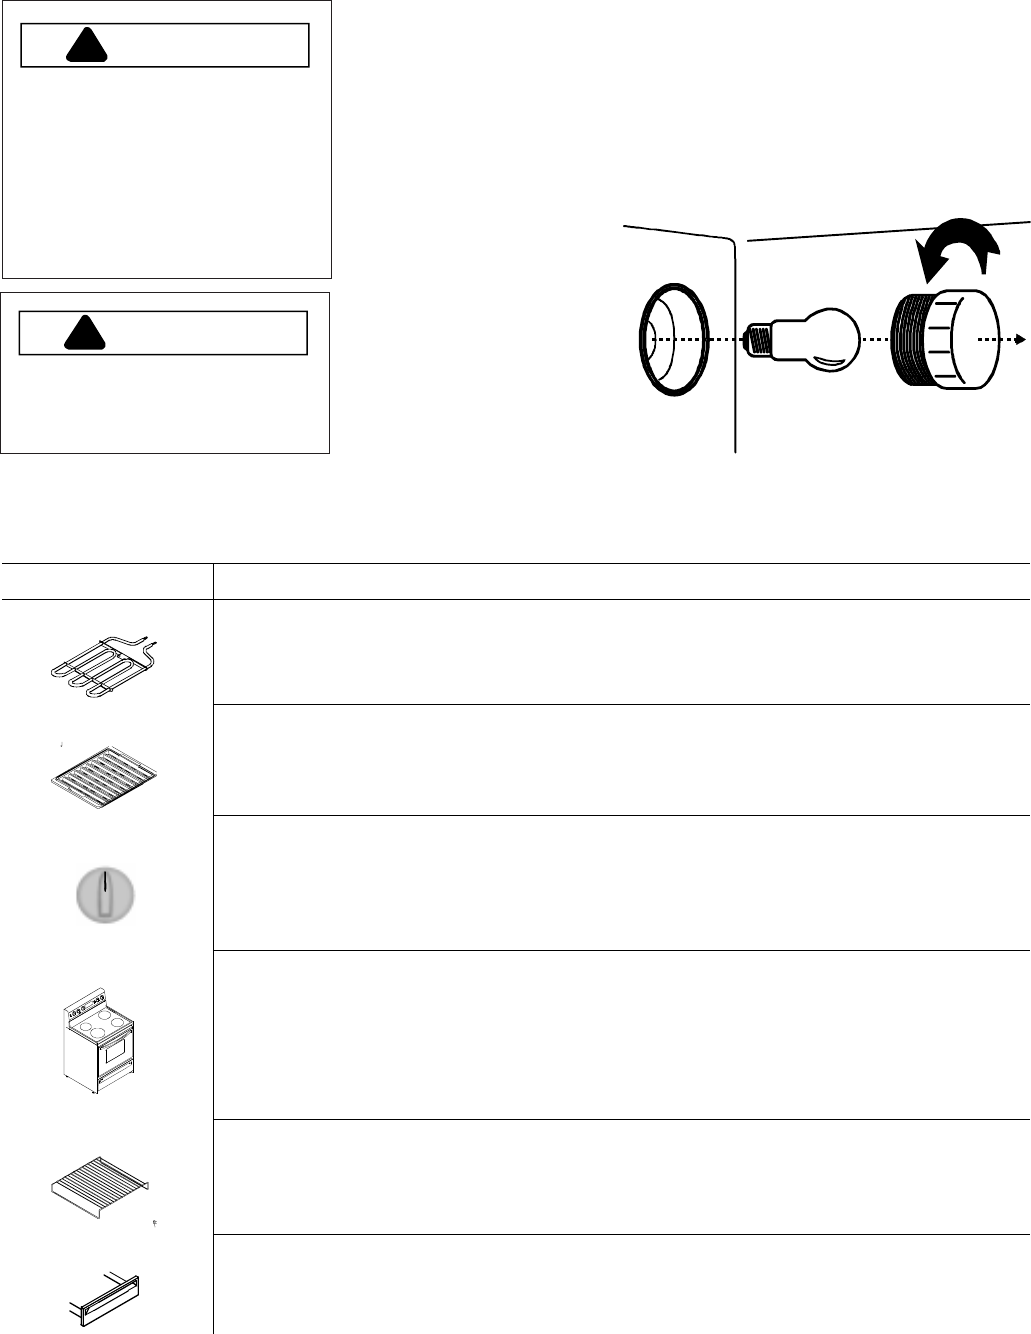
Replacing Oven Light
1. Disconnect electrical supply.
2. Remove oven door if desired.
3. While wearing protective gloves, unscrew counter clockwise the
light bulb cover located in rear of oven cavity.
Then turn light bulb counterclockwise to remove.
4. Replace light bulb with 120-volt, 40-watt appliance bulb.
Do not over tighten bulb or cover or they may be difficult to
remove later.
5. Replace light bulb
cover and oven door
before use.
6. Reconnect power
supply.
WARNI NG
!
To avoid risk of burns or electrical
shock:
• disconnect electrical supply to
oven before changing light bulb.
• before replacing light bulb make
sure oven and bulb are cool.
• Do not operate oven without
bulb and cover in place.
PART GENERAL DIRECTIONS
Broil element
Do not
clean broil element. Any soil will burn off when element is heated.
Broiler pan and grid
Drain fat, cool pan and grid slightly. (Do not stand soiled pan and grid in oven to cool.) Sprinkle with soap. Fill
the pan with warm water. Let pan and grid stand for a few minutes
Control knobs
Pull off knobs. Wash gently with mild soap and water but do not soak. Dry and return knobs to oven, making
sure to match flat area on the knob to the flat area on the shaft.
Outside finish
Wash all glass with cloth dampened in soapy water. Rinse and polish with a dry cloth. If knobs are removed, do
not allow water to run down inside surface while cleaning.
Oven racks
For heavy soil, place oven racks in large plastic bag with ammonia and water in cup. Seal tightly and allow to
stand overnight. Wash and rinse, dry thoroughly.
Storage drawer
For heavy soil, clean by hand and rinse thoroughly. Remove drawer for ease in cleaning. Be sure drawer is dry
before replacing.


