


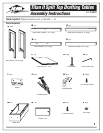
To A
ttach Tabletop to
Base Frame
10
11
12
13
14
15
16
17
18
6
9
8
7
Inspect large board piece carefully and choose which
side you want facing up for use. This side should be
placed face-down on a carpeted or otherwise protected
fl oor to avoid scratches.
Set the smaller board piece on fl oor next to large one.
Pay close attention to correct orientation of wood rails
that come pre-attached to small board, as shown in
diagram. Note that wood rails closest to the edge should
be positioned next to big board.
Insert thin shims on a temporary basis between large
and small boards to create about 1/16" space between
them. A few quarters will work well.
Square and align the two boards with one another.
Hint: Place the boards up against a wall to assist
with alignment.
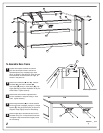
Carefully turn the base frame assembly upside down and
place on top of boards. This will require two people. Be
sure front of base frame is aligned with front of boards.
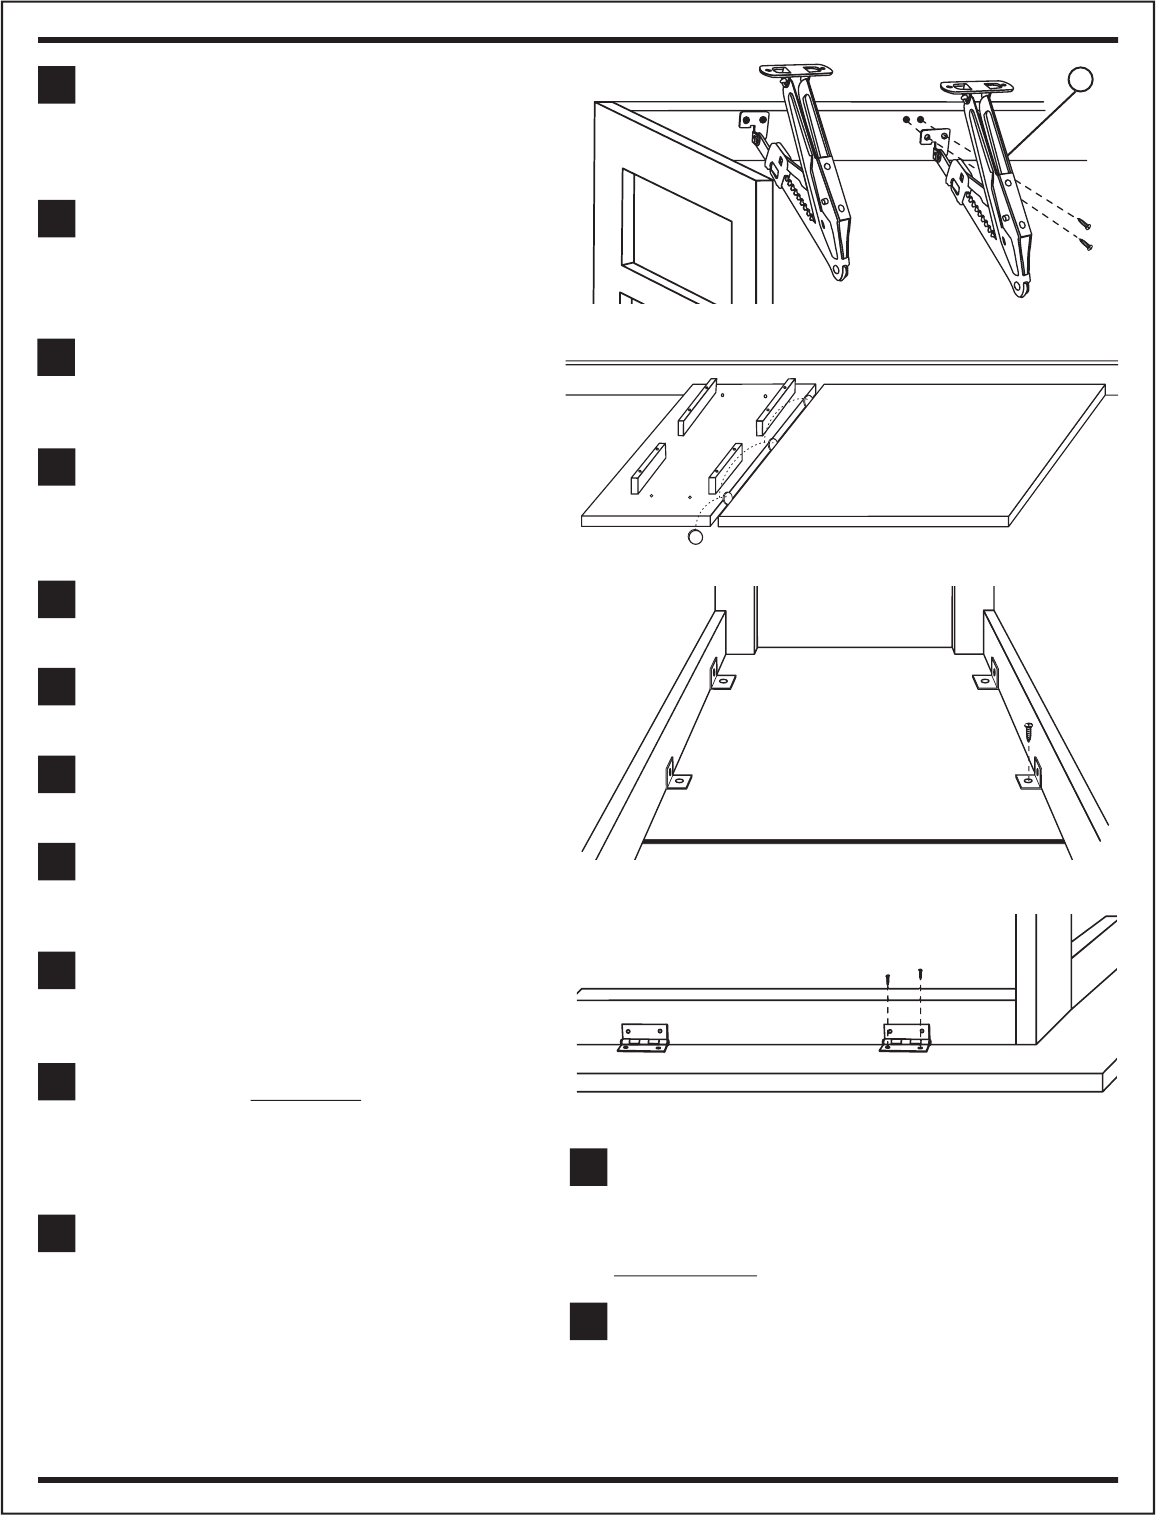
Position base frame so that the four angle brackets align
with pre-drilled holes in small board. Attach using 3/4"
Phillips screws. Keep all screws slightly loose for the
time being.
It is critical that the base frame is square, true, and fl ush
to the small board before tightening the angle bracket
screws. Pay close attention to the following steps to
ensure that your table functions properly.
The fi rst screws to tighten are the four that attach the
angle brackets to the
oak crossbars
. Before tightening,
you must ensure that the wood frame is sitting fl ush on
the surface of the small board. Adjust the angle brackets
as necessary to ensure no space is left between these
surfaces, then tighten these four screws securely.
Before tightening the four angle bracket screws that go
into the small board, you must align the base frame to
be square and true to the two boards. Double check that
the big board is still straight and square with the small
board and that the spacing shims are in place between
them. Use a measuring tool to ensure that the outside
edge of the small board is parallel to the oak side frame
and that front edge of the big board is parallel to the
front crossbar. Once everything is OK, tighten these
four angle bracket screws securely. Use care not to over
tighten and strip.
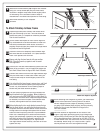
Before attaching front hinges to big board, you must ensure
that the front wood frame is sitting fl ush on the board
surface. Adjust the front hinges as necessary to ensure
no space is left between these surfaces, and then securely
tighten the four screws that attach the hinges to the
front oak crossbar
.
Mark the locations in large board for four holes in front
hinges. Check again that the big board is still straight and
square with the small board and also that the spacing shims
are in place between them. Use an awl or drill with 1/16" bit
to make starter holes. Use care not to drill all the way through
the tabletop. Attach using 3/4" Phillips screws. Tighten
securely but use care not to over tighten and strip.
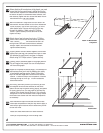
Attach both tilt mechanisms (
J
) to upper rear crossbar
using 3/4" Phillips screws (
L
) into pre-drilled holes,
as shown in diagram. Keep these screws slightly loose
for time being. Hint: Use elastic bands to keep tilt
mechanisms in the folded-close position for time being.
Base frame assembly is now complete.
Set aside.
25¢
FRONT
A
ttach Tilt Mechanisms to upper rear crossbar
Align boards against wall
Attach front hinges to big board
3
J
A
ttach
angle brackets to board