Clarke
®
Model 590/590B Operator's Manual Page 9
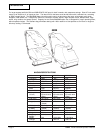
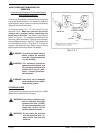
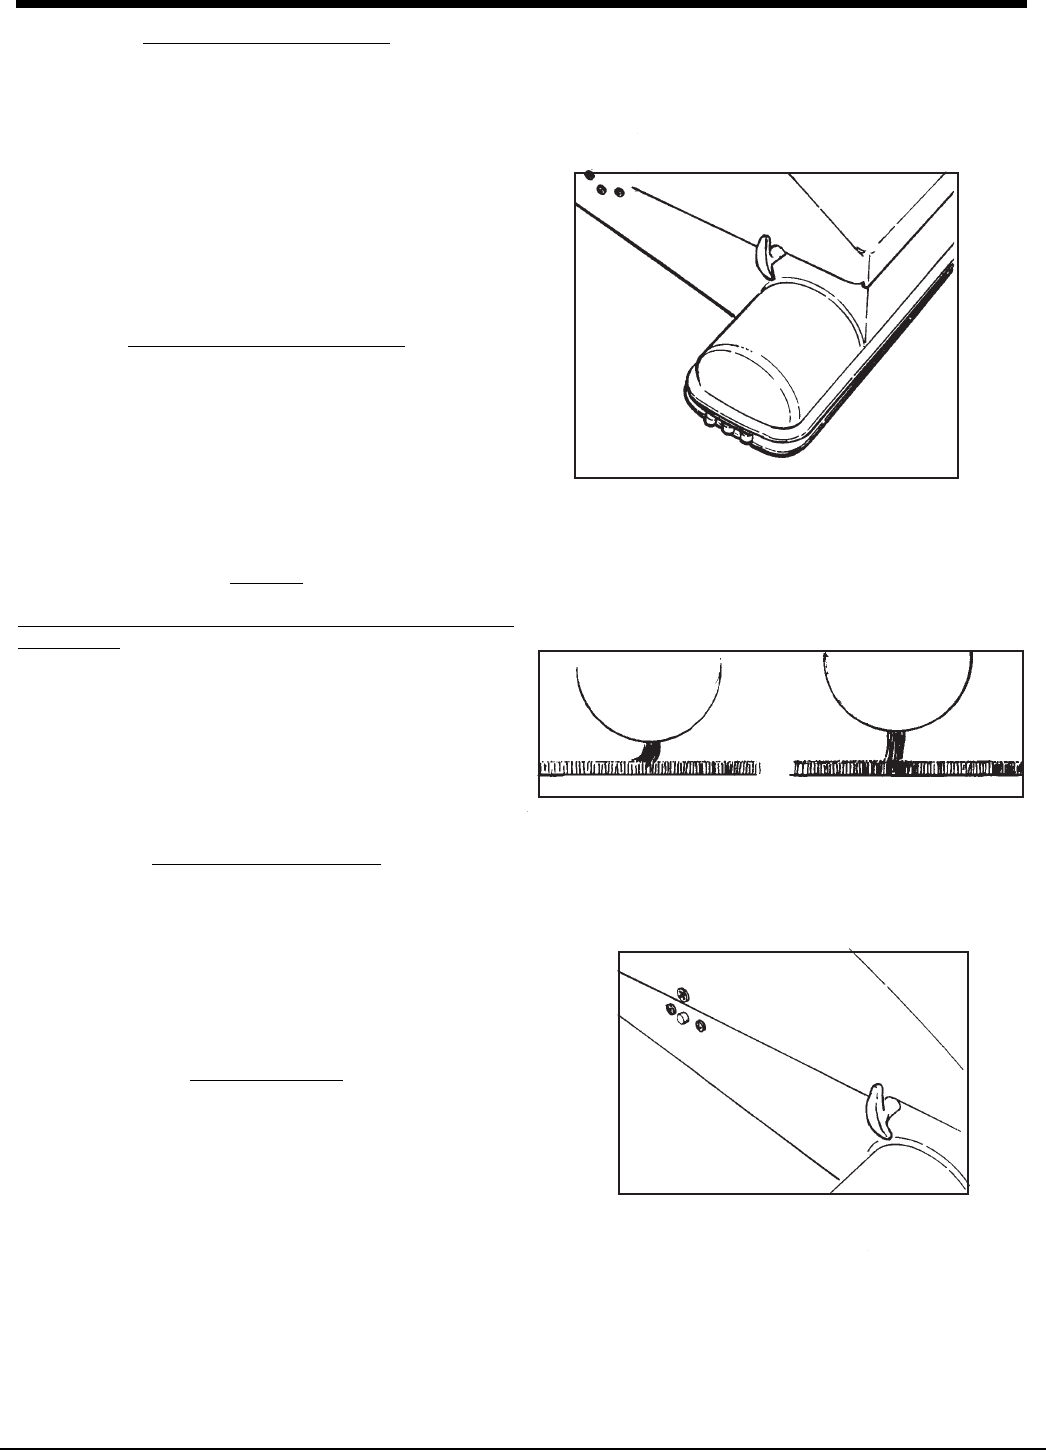
HOW TO ADJUST THE BRUSH
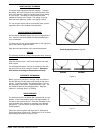
The brush height adjustment has four settings. To adjust
the setting, pull out the handle on the right-hand side of the
front of the machine. Move the handle to the correct setting
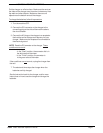
for your carpet. The setting is correct when the brush
sweeps the surface of the carpet. The setting is too low
when the brush wipes the carpet. See figures 3 and 4
For very low pile carpet, and for hard surface floors, put the
adjustment lever in the farthest forward position.
HOW TO OPERATE THE MACHINE
Use the Models 590/590B Space Vac only on large areas of
floor. Move the machine steadily forward and backward in
short movements.
To clean near the wall, put the guide wheel on the right-hand
side of the machine against the wall.
Stop when the performance of the machine decreases.
SERVICE
The following should be done by the operator when servicing
the machine:
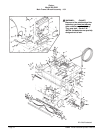
Keep the machine clean. It will have longer life and need
fewer repairs.
For the best performance, remove the contents of the filter
bag each time you finish using the machine. Sweep the
inner surface of the bag for the best filter efficiency.
STORAGE OF THE MACHINE
Before you put the machine in storage, clean the machine
and the filter bag. Put the power cord around the top of the
handle. To put the handle in the storage position, pull out
the two knobs on the handle. Rotate the knobs ¼ turn. Put
the handle forward into the storage position. Keep the
machine in a storage area in a building.
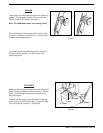
CIRCUIT BREAKER
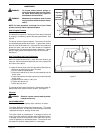
The electrical circuit in the Model 590 is protected by a circuit
breaker. If the circuit breaker opens, wait approximately 10
minutes for the machine to cool. Press the red button on the
right-hand side of the machine to reset the circuit breaker.
See figure 5. You can feel the circuit breaker lock into the
closed position.
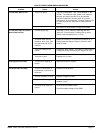
Check the vacuum system and the brush for obstructions.
Check the settings of the brush. Obstructions or an incorrect
brush setting can make the motor too hot.
Figure 5
Brush Height Adjustment - Figure 3
WRONG CORRECT
Figure 4


