


13. Filter Bag - Clogged (some models) - Read the Operations section of this manual for information on
how to remove and clean your filter bag.
14. Dirt Canister Lid - Off - On those models with lift off dirt canister lids, (check the Operations section
of this manual) the lid must be replaced squarely on top of the canister or it will allow a vacuum leak.
15. Dirt Canister Gasket - Loose - If the dirt canister gasket has been pulled loose, it will allow a
vacuum leak. The gasket may be reattached with contact cement or any of the so called “super glues”.
16. Outside Exhaust - Blocked - Check the exhaust system by removing the tubing from the motor
blower exhaust and comparing the airflow at this point versus the airflow reaching the outside. If
blockage is detected and cannot be removed, contact you service technician.
17. Dirt Canister - Not Attached - If the dirt canister latches (some models) are not properly closed, it
will cause an air leak along the gasket and reduce your cleaning ability.
18. Another Wall Inlet Door - Open - Check all the inlet valves to make sure that only one inlet is in use
at a time. Attempting to clean from two or more inlets at a time will reduce the airflow below the level
required to deep clean your carpets.
19. Motor Protection Screen - Clogged - This usually occurs due to allowing the dirt canister to over
fill, or a broken filter bag (some models). Refer to the Operations section of this manual for instructions
on cleaning the blower protection screen.
20. Relay Stuck - On - Refer to Number 9. If after using the procedures described in Number 9 it appears
that the relay is sticking on, unplug the power cord to cut off all electricity to the power unit. Caution:
Checking the wiring in the power unit should only be attempted by a qualified service technician.
21. Relay Stuck - Off - If the procedures described in Numbers 1, 2, 3, 4, 5, 6 or 7, do not correct the
power unit not starting, then it could be a malfunction of the relay, the low voltage transformer could
be burned out, or there could be a loose wire in the power unit. If you suspect a malfunction in the
power unit, contact your service technician.
22. Transformer - Burned Out - Refer to Number 21.
23. Loose Wire In the Power Unit - Refer to Number 21.
24. A Hose Plugged Into Another Inlet Valve - Cleaning from more than one inlet at a time will reduce
the airflow to less than is required to deep clean your carpets.
25. P.C. Board Relay stuck on - Refer to Number 9. If after using the procedures described in
Number 8 it appears that the relay is sticking on, unplug the power cord to cut off all electricity to
the power unit. Caution: Checking the wiring in the power unit should only be attempted by a qualified
service technician.
26. P.C. Board Transformer burned out - If the procedures described in Numbers 1, 2, 3, 4, 5, 6 or 7,
do not correct the power unit not starting, then it could be a malfunction of the relay, the low voltage
transformer could be burned out, or there could be a loose wire in the power unit. If you suspect a
malfunction in the power unit, contact your service technician.
27. LED Light- Some units have an LED light at the unit. If the LED light is not on, refer to number 5. If you
have power at the unit but LED light is off, contact your local service technician.
IF YOU CANNOT DIAGNOSE OR REPAIR YOUR TROUBLE, CONTACT THE NEAREST DISTRIBUTOR.
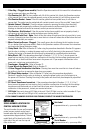
IMPORTANT -
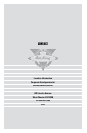
SERIAL NUMBER LOCATION FOR
CENTRAL VACUUM SYSTEM
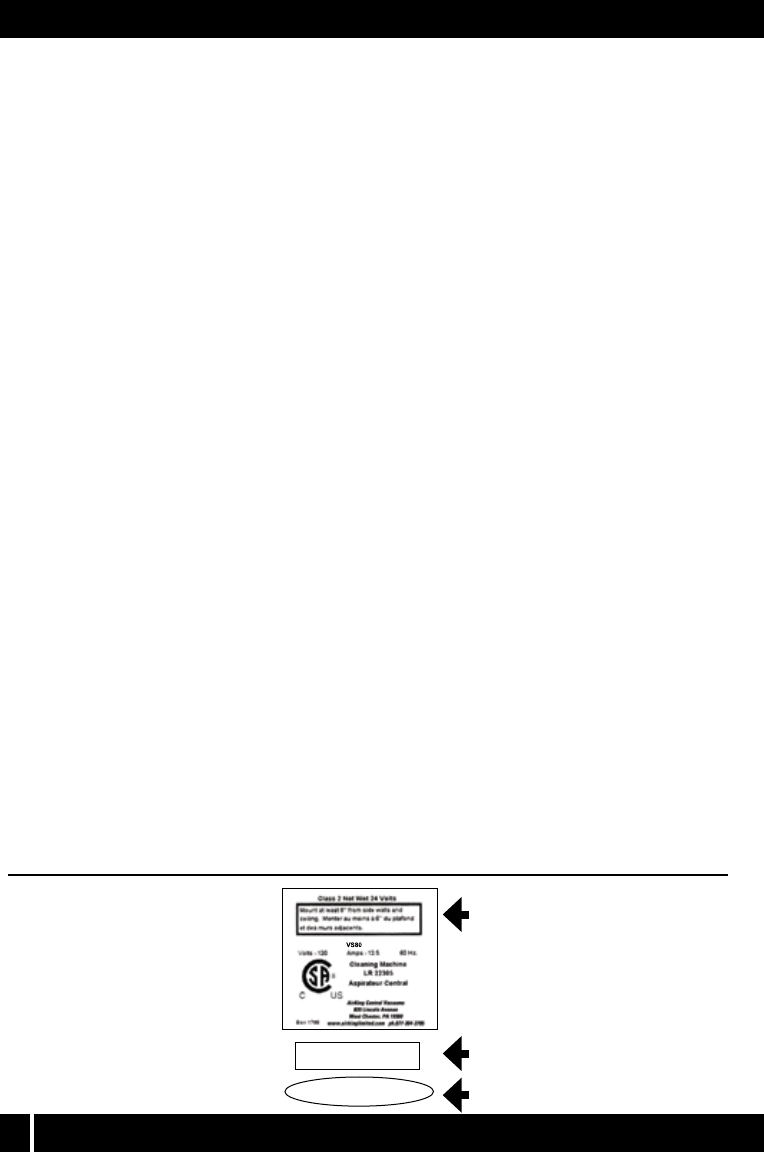
Unit Label
(representative only - yours may differ)
Date Code
(representative only - yours may differ)
Serial Number
(representative only - yours may differ)
XXXX
XXXXXXXXXXX
68
The serial number for your wall mounted
central vacuum system can be found
located under the unit model label (see
representative diagram below). The unit
model label will be found on the left or
right side of the unit near the top and
close to the wall.