Installation Procedure
To reduce the risk associated with property damage due to water leakage:
• Installation must comply with existing state or local plumbing codes;
• Read and follow Use Instructions before installation and use of this system.
Positioning Equipment
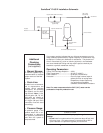
Prior to installing the ScaleGard
™
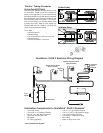
PLUS 2 system, review the installation schematic (page 4) and carefully
plan the installation location for all system components. Obtain all additional hardware for plumbing connec-
tions. This will help provide proper positioning and improve serviceability during routine maintenance.
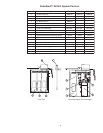
1. Position the storage tank in desired location. (See storage tank installation procedure, page 6.)
2. The ScaleGard PLUS 2 system should be installed within 15 ft (4.6 m) of the storage tank.
3. The ScaleGard PLUS 2 system must be installed within 6 ft (1.8 m) of an electrical outlet. The bypass
solenoid valve should be installed within 6 ft. (1.8 m) of the storage tank.
4. All components should be accessible and have at least 6 inches (15 cm) of clearance on all sides of
ScaleGard PLUS 2 system to facilitate servicing.
5. Access to feedwater and drain connection are also required.
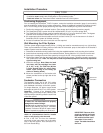
Wall Mounting the Filter System
The filter system weighs approximately 30 lbs. (13.6 kg) and must be mounted securely to a rigid surface.
There are two additional mounting holes on both sides of the booster pump at the bottom of the bracket if
needed. System must be installed vertically.
1. Determine the desired mounting location and using the supplied template, mark mounting hole locations.
2. Install the three mounting screws in the marked locations, leaving about an 1/8” (3.2 mm) from the wall.
3. Remove the cartridges from the filter system by turning to the left 1/4 turn and pull down to remove.
4. Lift the filter system and align the keyhole slots over the mounting screws. Tighten the screws, securing the
filter system to the wall. Note: You may have to slide the permeate pump to the left to fully expose the
right mounting hole.
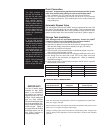
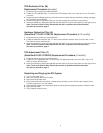
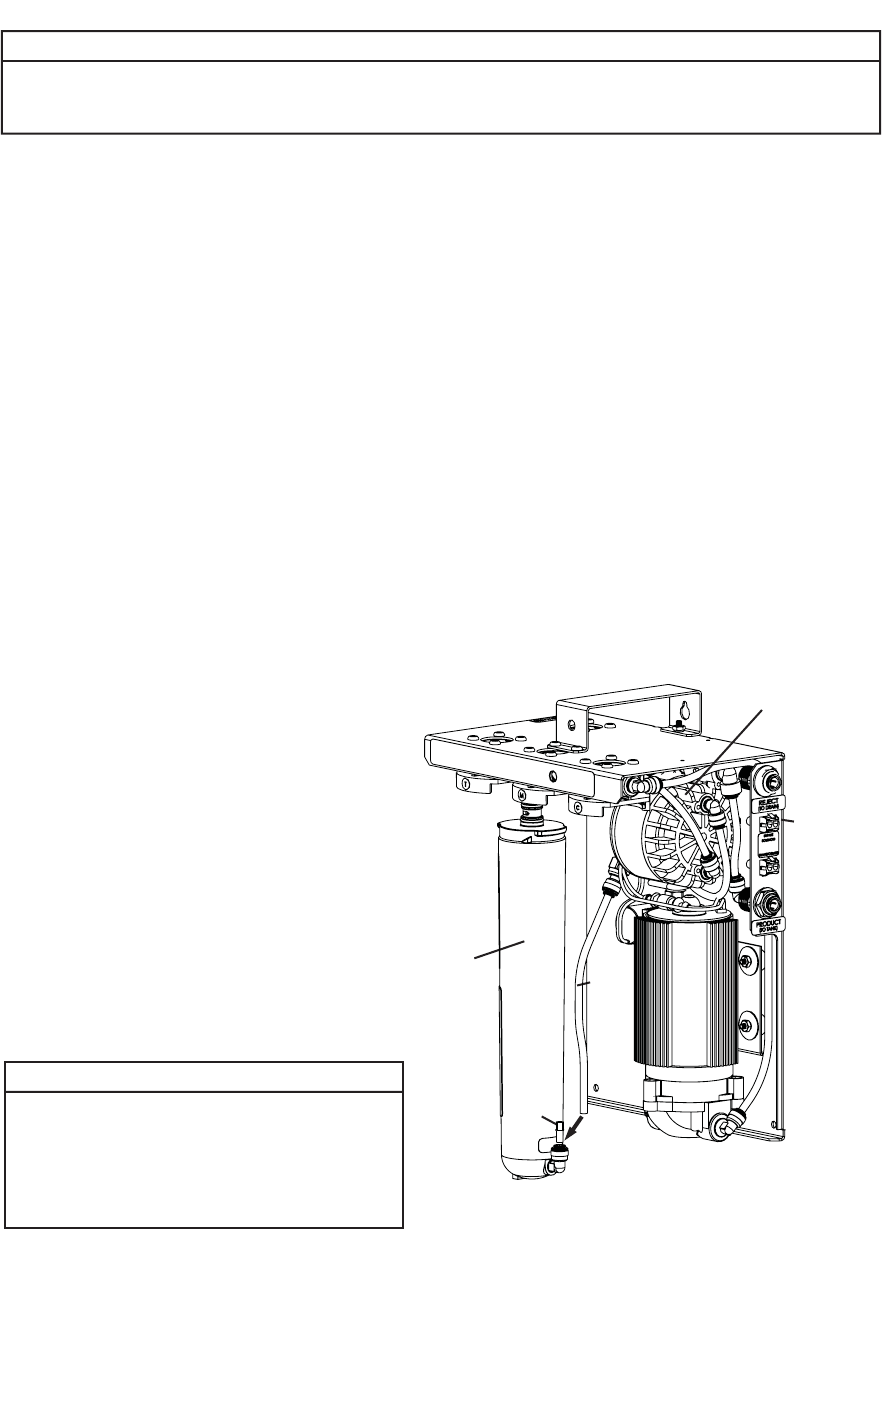
5. Install the cartridges. Note: Mate the head
icon letter with the cartridge icon letter
(S, C, M, T or H). The TDS filter (M) has
a John Guest® fitting for reject water.
Attach reject tubing to the fitting (as
shown in drawing below).
6. Mount the transformer to the bracket with
screws provided to the top right side of the
bracket.
Feedwater Connection
The feedwater supply line is 3/8” O.D. tubing
and should not exceed 20 ft (6.1 m) from the
main feedwater connection to the filter system.
For longer distances, 1/2” pipe or larger should
be brought to within 20 ft (6.1 m) of the system.
Important: Connect to an adequate water
supply having a minimum 20 psi (138 kPa) and
maximum 65 psi (448 kPa) pressure at the inlet
of the filter system.
To reduce the risk associated with property
damage due to water leakage:
• Do not install on systems where line pressures
above 65 psi (448 kPa) may occur. Line water
pressure in excess of 65 psi will require instal-
lation of a pressure regulator prior to the unit.
1. Connect a shut-off valve to main water line.
Under no circumstances should a needle
valve or self piercing valve be used.
2. Run a 3/8” O.D. line from the feedwater
connection at the main water line to the water
inlet on the filter system. Inlet connection is a
3/8” John Guest fitting.
5
TDS Filter M
(RO Module)
Reject
Tub e
Plug
IMPORTANT: Remove white
plug from module and insert
black tube as shown. Insert
RO module into fi lter head
and rotate 1/4 turn until it
stops. The label should face
the front.
CAUTION
Permeate
Pump
Transformer
Connection
CAUTION


