


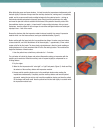


Troubleshooting — Using Existing Denture as Tray for Final Impression
• Avoid using Rapid Repair Tabs over entire borders of denture.
– This is usually not necessary, and you will likely throw off the occlusion.
• Avoid using only light body or extra-light body impression material in a single stage
technique without relieving denture off tissues with Rapid Repair Tabs— 3 small
pea-sized pieces, softened, acting as a tripod similar to tissue stops in a custom tray.
– This will result in undercut issues! An extremely thin wash of impression will result
without relieving the denture.
• Avoid using only heavy body impression material in a single stage technique.
– This will result in excessive compression of the tissues and excessive adjustments.
• Avoid using alginate as final impression inside denture.
– This material is too flimsy and the impression will distort when re-inserted into
the mouth.
Always use appropriate adhesive liberally around the borders in a two-stage impression.
If Impression is Missed
Cut away tissue surface, leaving the borders and remake impression. It takes the same time as
simply adding to missed area. This is one reason not to add adhesive over entire tissue surface of
denture in a two-stage impression.
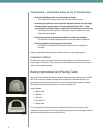
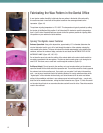
Boxing Impressions and Pouring Casts
Typically the dental assistant performs the boxing of impressions and pouring the cast. The Celara
Refill Kit has everything necessary packaged and pre-measured for the dental assistant. The
procedure to box the impression and pour the cast is very simple and easy to perform, however,
the assistant should practice several times prior to doing an actual case.
Supplies Needed:
• 2 Mixing Bowls
• 2 Spatulas
• 1 Dull Knife
• Celara Refill Kit
• 1 Rubber band
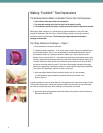
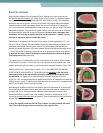
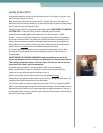
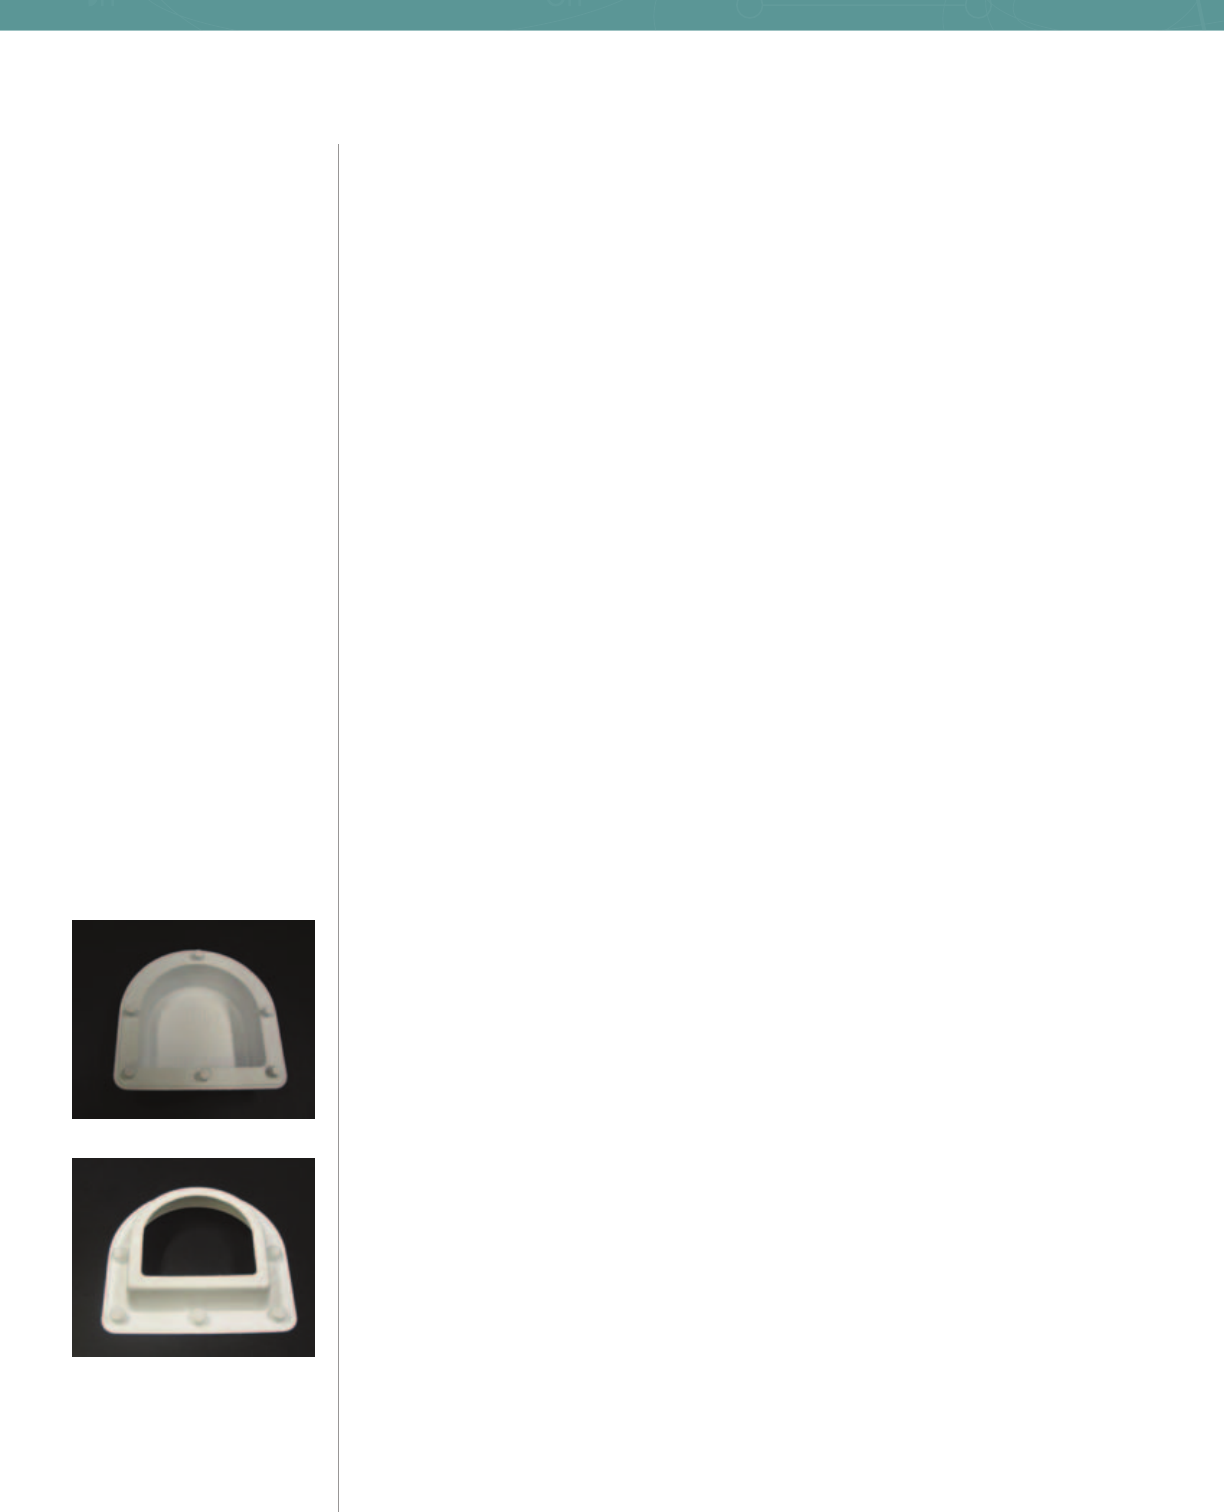
To box the impression and pour the cast, the assistant will need the Celara container, which
consists of an upper and lower half. The lower half has an open top and a closed bottom, while the
upper half has an open bottom and top (Figure 8A, 8B).
8
Figure 8A
Figure 8A