78-0013-6978-0-B
3
1.0 Connector and Tool Diagram
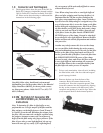
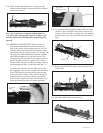
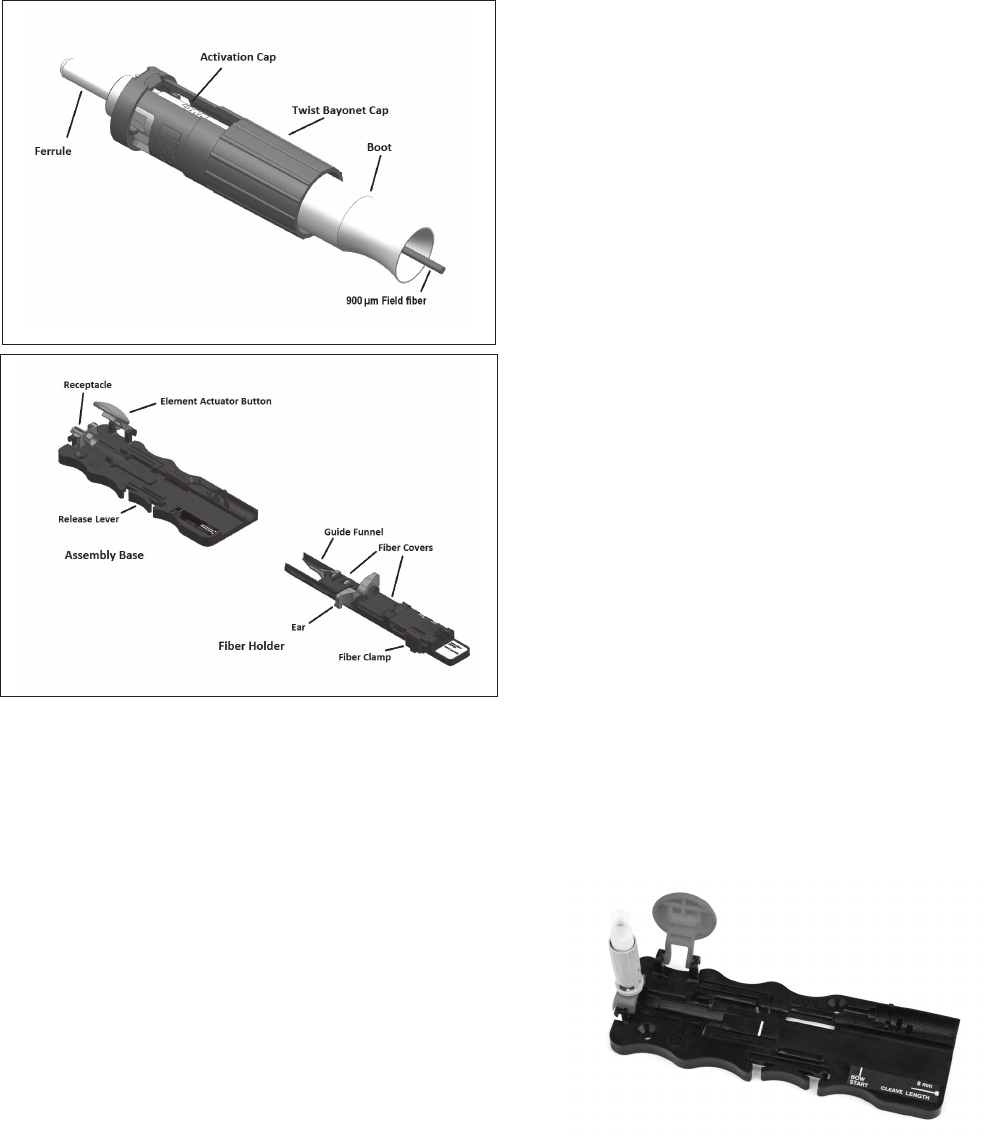
1.1 The diagrams below show the parts of the 3M
™
No
Polish ST Connector (singlemode pictured) and the
3M
™
No Polish ST Connector Assembly Tool 8835-
AT. Please review these drawings to understand the
instructions in the following pages.
Carefully follow safety, health and environmental
information given on the product label or the Material
Safety Data Sheet (MSDS) for the no polish connec-
tor. Emergency phone: 1-800-364-3577 or (651) 737-
6501 (24 hours).
2.0 3M
™
No Polish ST Connector SM
and MM 250/900 µm, Termination
Instructions
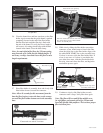
Note: To determine if a fiber is tight buffer or not,
perform this test. Using a sample of the fiber and the
fiber stripper, cut the buffer between 5 and 50 mm (.2
to 2 inches) from the end. Withdraw the stripper from
the fiber. (Do not remove the cut buffer segment using
the stripper.) Attempt to remove the cut segment of
buffer from the fiber using only finger pressure. If the
fiber is loose tube or semi-tight buffered, the cut seg-
ment will come off very easily. If it is tight buffered,
the cut segment will be noticeably difficult to remove
without the aid of a tool.
Note: When using loose tube or semi-tight buffered
fiber, and after stripping and cleaving the fiber, it is
important that the 250 µm acrylate coating on the
bare glass not protrude more than 1 mm (.04 inches)
beyond where the 900 µm buffer is stripped away. One
way to help ensure this is to use the clamp on the fiber
holder during the stripping process. Here’s how. Place
the fiber holder on the fiber facing backwards (clamp
closet to cut end) and 20 cm (8 inches) from the end
of the fiber. Secure the fiber into the SEMI-TIGHT
BUFFER groove of the clamp. Proceed to strip the fi-
ber as though it were tight buffered. Remove the fiber
holder and proceed with the preparation and termina-
tion processes.
Another way to help ensure this is to use the clamp
on a second fiber holder during the entire prepara-
tion and termination processes. Place the second fiber
holder on the fiber facing backwards and 20 cm (8
inches) from the end of the fiber. Secure the fiber into
the SEMI-TIGHT BUFFER groove of the clamp.
Proceed to strip, clean, and cleave the fiber as though
it were tight buffered, and terminate the connector
onto the fiber. Remove the second fiber holder from
the fiber after the entire process is complete.
2.1 Prior to each termination, clean all tools, including
the fiber holder, with a lint-free cloth and reagent
grade isopropyl alcohol.
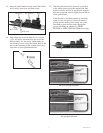
2.2 Remove the dust cap from the front of the
connector. Raise the actuator button on the
assembly tool. Pivot the receptacle upward. Then
insert the connector into the receptacle by aligning
the key on the connector with the keyway in the
receptacle and pushing it in until it stops. Move the
pivot receptacle back to the horizontal position.


