SUGGESTIONS FOR BURNING ANTHRACITE COAL
1. With coal it is important to maintain a
clean chimney. The chimney connector
and chimney should be inspected at least
twice monthly during heating season.
2. Keep the grate clear of ash and cinders.
Use the shaker grate to keep the ashes
from building up in the firebox.
3. Do not operate the unit with the ash
door, feed door, or cabinet door open.
4. Anthracite coal burns with a short, blue
flame with the coals having a glowing, red
color. Before adding coal, when starting
the fire, have a good hot log fire burning.
5. After having a log fire burning, add
small amounts of coal until a bed of coal is
built up.
6. A draft reading of -.05 to -.06 in w.c. is
required for anthracite to burn.
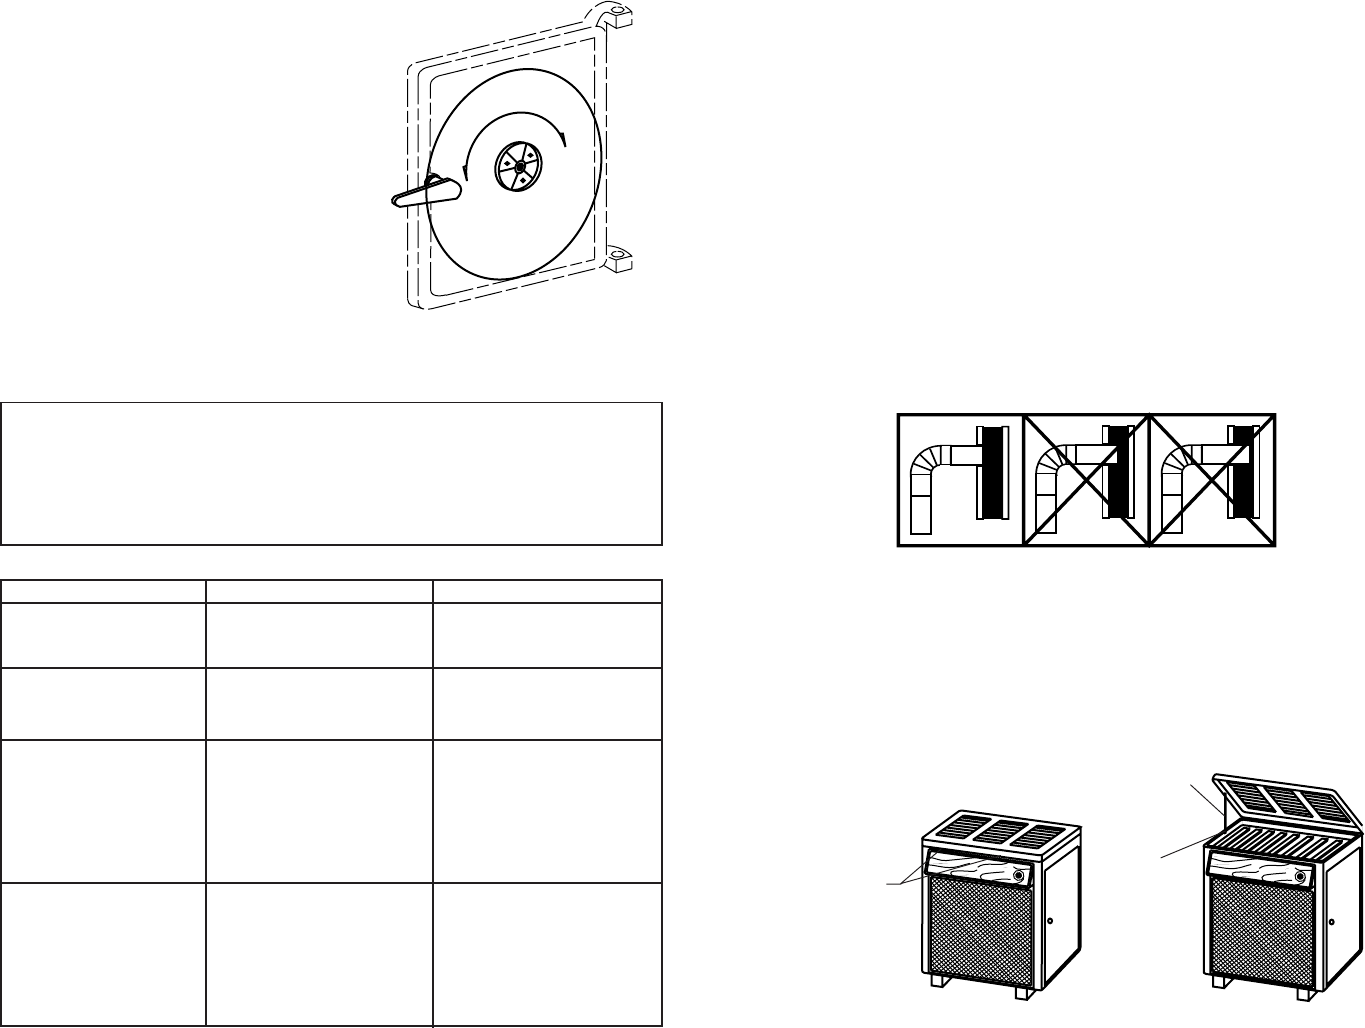
The draft wheel located on the feed door should be opened when burning coal. The
draft wheel provides a source of secondary air that is needed when burning coal.
Secondary air is needed because when coal burns, it gives off large quantities of
volatile gases that need additional air before complete combustion can occur. This
draft wheel may be adjusted to give the best performance depending on the
particular needs of the user.
TROUBLE SHOOTING TIPS FOR MODEL 2827
LIST OF PROBLEMS POSSIBLE CAUSE SOLUTION
1. Smoking when feed A) Insufficient Draft. A) Set Thermostat high
door is open. B) Clogged chimney or B) Clean Chimney
chimney connector. C) Add raincap to chimney
2. Flame spillage when A) Insufficient Draft. A) Set Thermostat high
feed door is open. B) Smothering fire when B) Add fuel so as not to
adding fresh fuel. smother fire.
3. Creosote build-up A) Burning green wood A) Burn only seasoned
wood.
B) Thermostat setting too B) Set thermostat higher to
low type fuel. attain higher fuel temp-
eratures. This will aid in
preventing build-up of
creosote.
4. Heater does not heat. A) Wood not seasoned A) Allow wood to season
in
a dry, well ventilated
area for 6 months.
B) Blower control set too B) Set blower control to a
low. higher temperature.
C) Insufficient flue draft. C) Set flue draft
(See Page 9)
RULES FOR CONNECTOR PIPE INSTALLATION
1. The crimped end of the stovepipe fits
inside the heater flue collar. Install addi-
tional pipe and elbow with the CRIMPED
END TOWARD THE HEATER. This will
allow any condensation in the flue to run
back into the heater.
2. Slope any horizontal pipe upward
toward the chimney at least 1/4 inch for
each foot of horizontal run.
3. You must have at least 18 inches of
clearance between any horizontal pip-
ing and the ceiling.
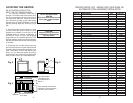
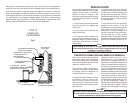
4. The pipe cannot extend into the
chimney flue. (Fig. 8)
5. Seal each connector pipe joint with
furnace cement. Also seal the pipe at
the chimney.
6. Use 3 Sheet Metal screws at each
joint to make the piping rigid.
7. It is recommended that no more than
two 90 degree bends be used in the
stovepipe installation as more than two
may decrease the amount of draw and
possible, use only corrugated (non-ad-
justable) elbows. They are much more
airtight.
8. The chimney connector must not
pass through an attic or roof space,
closet, or any concealed space, or floor,
ceiling, wall or combustive construction.
12
C
L
O
S
E
D
O
P
E
N
Fig. 11
RIGHT WRONG WRONG
Fig. 8
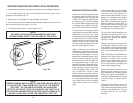
HOW TO LIFT THE TOP
CAUTION - DO NOT OPEN OR CLOSE TOP WHEN HEATER IS HOT!
To open, grasp TOP at front and lift all the way, then gently lower the TOP
SUPPORT ROD latches to hold the TOP (Fig. A).
To close, lift TOP until the TOP SUPPORT ROD is unlatched. Pull the ROD
forward and lower the TOP (Fig. B).
WONDERCOAL
WONDERCOAL
GRASP TOP
HERE
TO OPEN
SUPPORT ROD
TOP
SUPPORT
SEAT
Fig. 9
A
B
9


