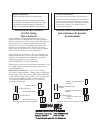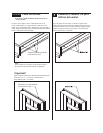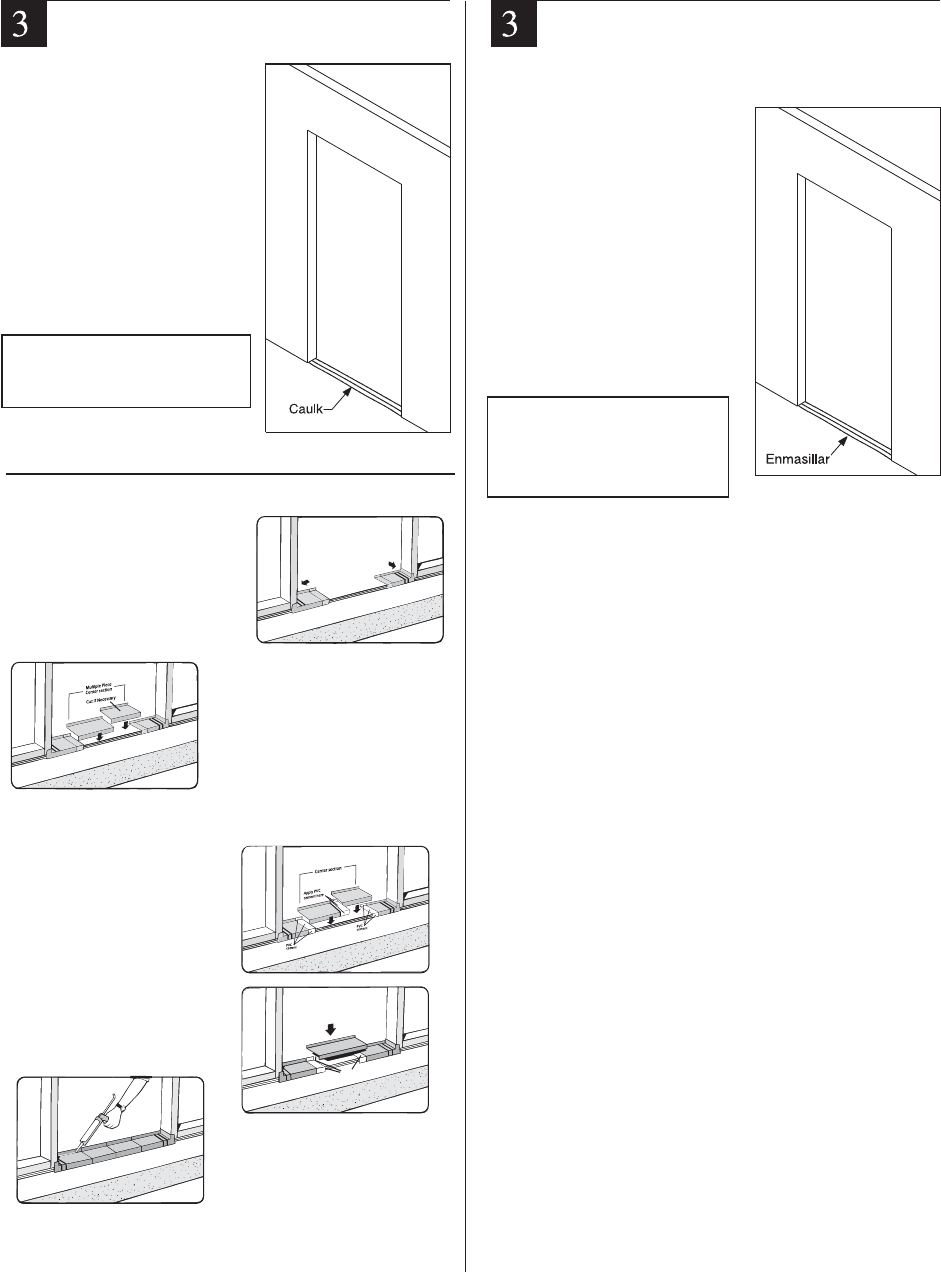
On subfloor at opening, place
very large beads of caulk.
Run beads full width
of opening.
Elastomeric or
Polyurethane sealant.
Use Only
Nota:
Si se usa unprolongador de umbral,
aplique una gran cantidad de masi-
lla en la union entre el prolongador
de umbral, aplique una gran cantidad
de masilla en la union entre el
prolongador y el umbral.
En el subsuelo que esta debajo del
umbral, aplique masilla en abunda-
ancia y de modo que coincida con la
que aplico en el umbral. Las lineas
de masilla deben abarcar todo el
ancho de la abertura.
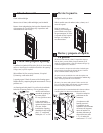
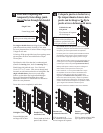
Caulk subfloor.
Enmasille el subsuelo y la parte
infferior del umbral.
Avoid call backs due to leaks!
Use an entire tube of caulking
to seal between sill and subfloor.
Evitese el problema de las filt-
raciones! Use todo el tubo de
masilla para sellar entre el
umbral y el subsuelo.
`
`
`
`
`
!
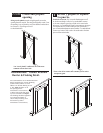
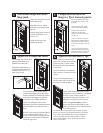
Check center section for proper
length, if necessary cut with a
hacksaw or tin snips Be sure to
allow at least 2” of overlap at
joint
For openings less than
52-1/2”, only one center section
is required. Cut as necessary as
described above.
2.
Note:
To prevent air infiltration.
Run a bead of caulking along
the lower interior edge of the sill
pan. Additional caulking could
affect the performance of the sill
pan.
4.
Recommended: Sill Pan Installation.
3. (Multiple Center Piece)
3. (Single Center Piece)
Openings less than 52 1/2"
PVC
cement
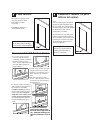
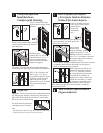
If you are using a sill pan
you will caulk the sill pan
to subfloor instead of caulking
the sill as shown in step 3
below. Lay the right and left sill
pan ends tightly against the
rough opening.
1.
Liberally coat the overlapped
areas and the recessed areas of
the end pieces with
and hold or
clamp together long enough to
ensure a good bond.
For added protection spread a
bead of caulking along glue
joints.
3.
PVC
CEMENT ONLY
Keep in
mind that cooler temperatures
require longer bonding times.
2.
4.
1.
To prevent air infiltration.
Run a bead of caulking along
the lower interior edge of the sill
pan. Additional caulking could
affect the performance of the sill
pan.
4.


