RECEIVER INSTALLATION
Kits 91558-01A and 91562-01 only
1. Unplug the power cord from the garage door drive unit to
prevent door activation during installation.
2. Select an unswitched 110V power outlet in the garage
located either highest in the garage, closest to the front
of the garage, or both. Plug the Harley-Davidson remote
control garage door opener receiver (14) into this outlet.
NOTE
For some brands of garage door opener systems, it may
be necessary to plug in the Harley-Davidson receiver at a
location some distance from the door opener.With those
systems, if the Harley-Davidson receiver is plugged in too
close to the original opener receiver, the effective trans-
mission range may be significantly reduced on both sys-
tems.
3. Find the two garage door activation switch terminals at
one of the following locations:
• The existing wall-mounted, hard-wired garage door opener
button.
• The garage door drive unit to which the garage door
opener button is connected.
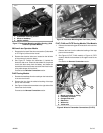
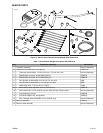
4. See Figure 27. Fasten the stripped end of the Harley-
Davidson garage door opener receiver cable assembly
(15) to the door opener terminals that activate the door
opener drive unit. Refer to the door opener manufacturer's
documentation for terminal locations and connections.
NOTE
Do not remove the wires originally connected to the door
opener button or drive unit terminals.
5. Assemble and install the garage door opener button or
door opener drive unit in the original location.
6. Route the Harley-Davidson garage door opener receiver
cable assembly connected in Step 4 to the power outlet
selected in Step 2.
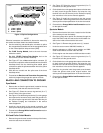
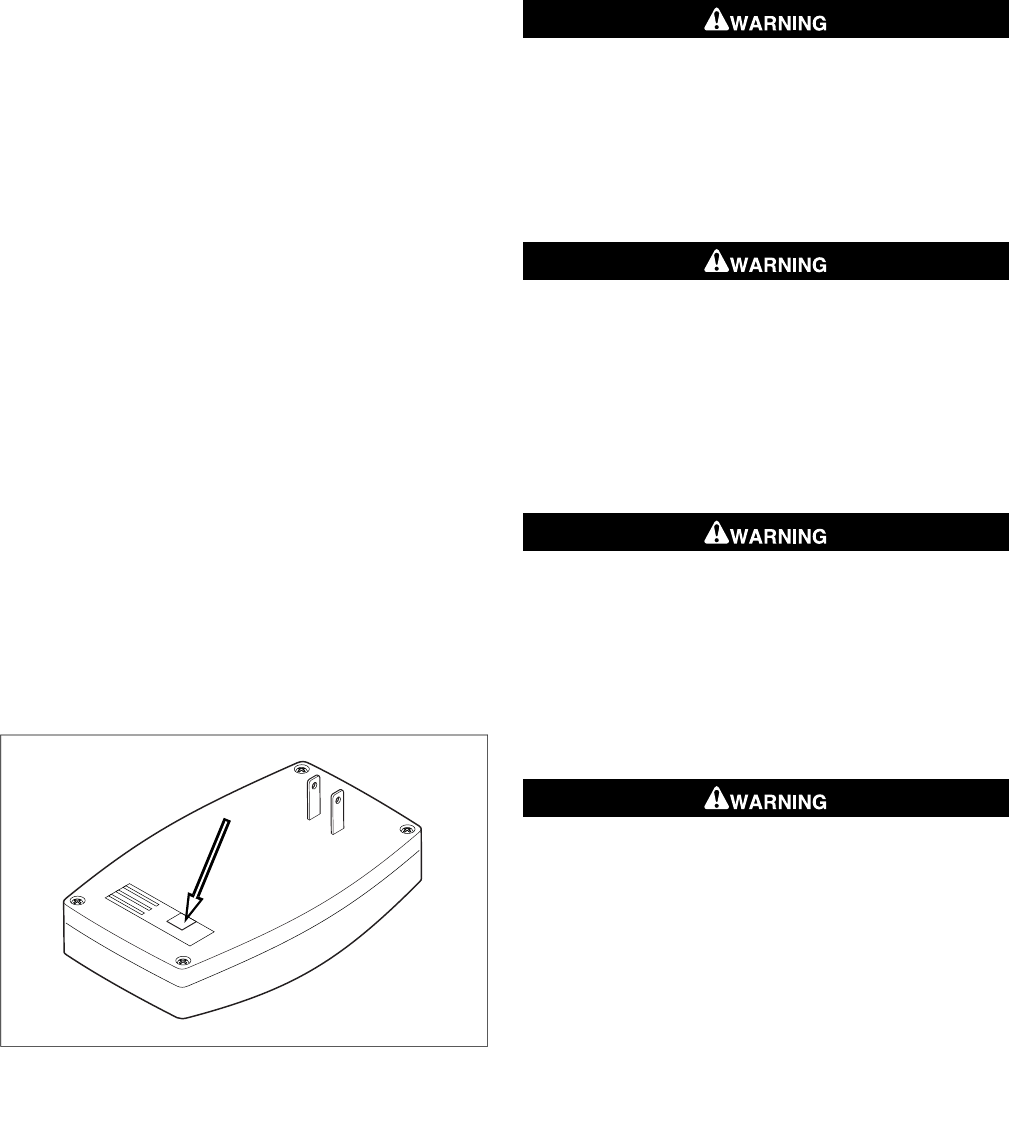
7. See Figure 1. Plug the connector on the Harley-Davidson
garage door opener receiver cable assembly into the back
of the Harley-Davidson garage door opener receiver in
the location shown.
8. Plug the garage door opener receiver into the selected
power outlet. Plug the power cord from the garage door
drive unit into the power outlet.
is06654
Figure 1. Garage Door Opener Receiver, Back View
9. Press the wall-mounted garage door opener button to test
the button operation.
VEHICLE PREPARATION
NOTE
For vehicles equipped with security siren:
• Verify that the Hands-Free Fob is present.
• Turn the ignition key switch to IGNITION.
For V-Rod models only:
Remove the air box aluminum cover per service manual
instructions.
For EFI models EXCEPT V-Rod:
To prevent spray of fuel, purge system of high-pressure
fuel before supply line is disconnected. Gasoline is
extremely flammable and highly explosive, which could
result in death or serious injury. (00275a)
Follow service manual instructions to purge the fuel supply of
high pressure gasoline and remove the fuel supply line.
For ALL vehicles with main fuse:
To prevent accidental vehicle start-up, which could cause
death or serious injury, remove main fuse before pro-
ceeding. (00251b)
1. Refer to the service manual and follow the instructions to
remove the main fuse.
All models except V-Rod: Remove and retain the seat
and all mounting hardware.
For vehicles with main circuit breaker:
To prevent accidental vehicle start-up, which could cause
death or serious injury, disconnect negative (-) battery
cable before proceeding. (00048a)
1. Refer to the service manual and follow the instructions to
remove the seat and disconnect the negative (black) bat-
tery cable from the negative (-) battery terminal. Retain all
seat mounting hardware.
For Carbureted Models:
Gasoline can drain from the carburetor fuel line when
disconnected from fuel valve fitting. Gasoline is extremely
flammable and highly explosive, which could result in
death or serious injury. Wipe up spilled fuel immediately
and dispose of rags in a suitable manner. (00256a)
2. Turn the fuel supply valve to OFF. Remove the fuel line
from the valve.
-J02028 2 of 16


