


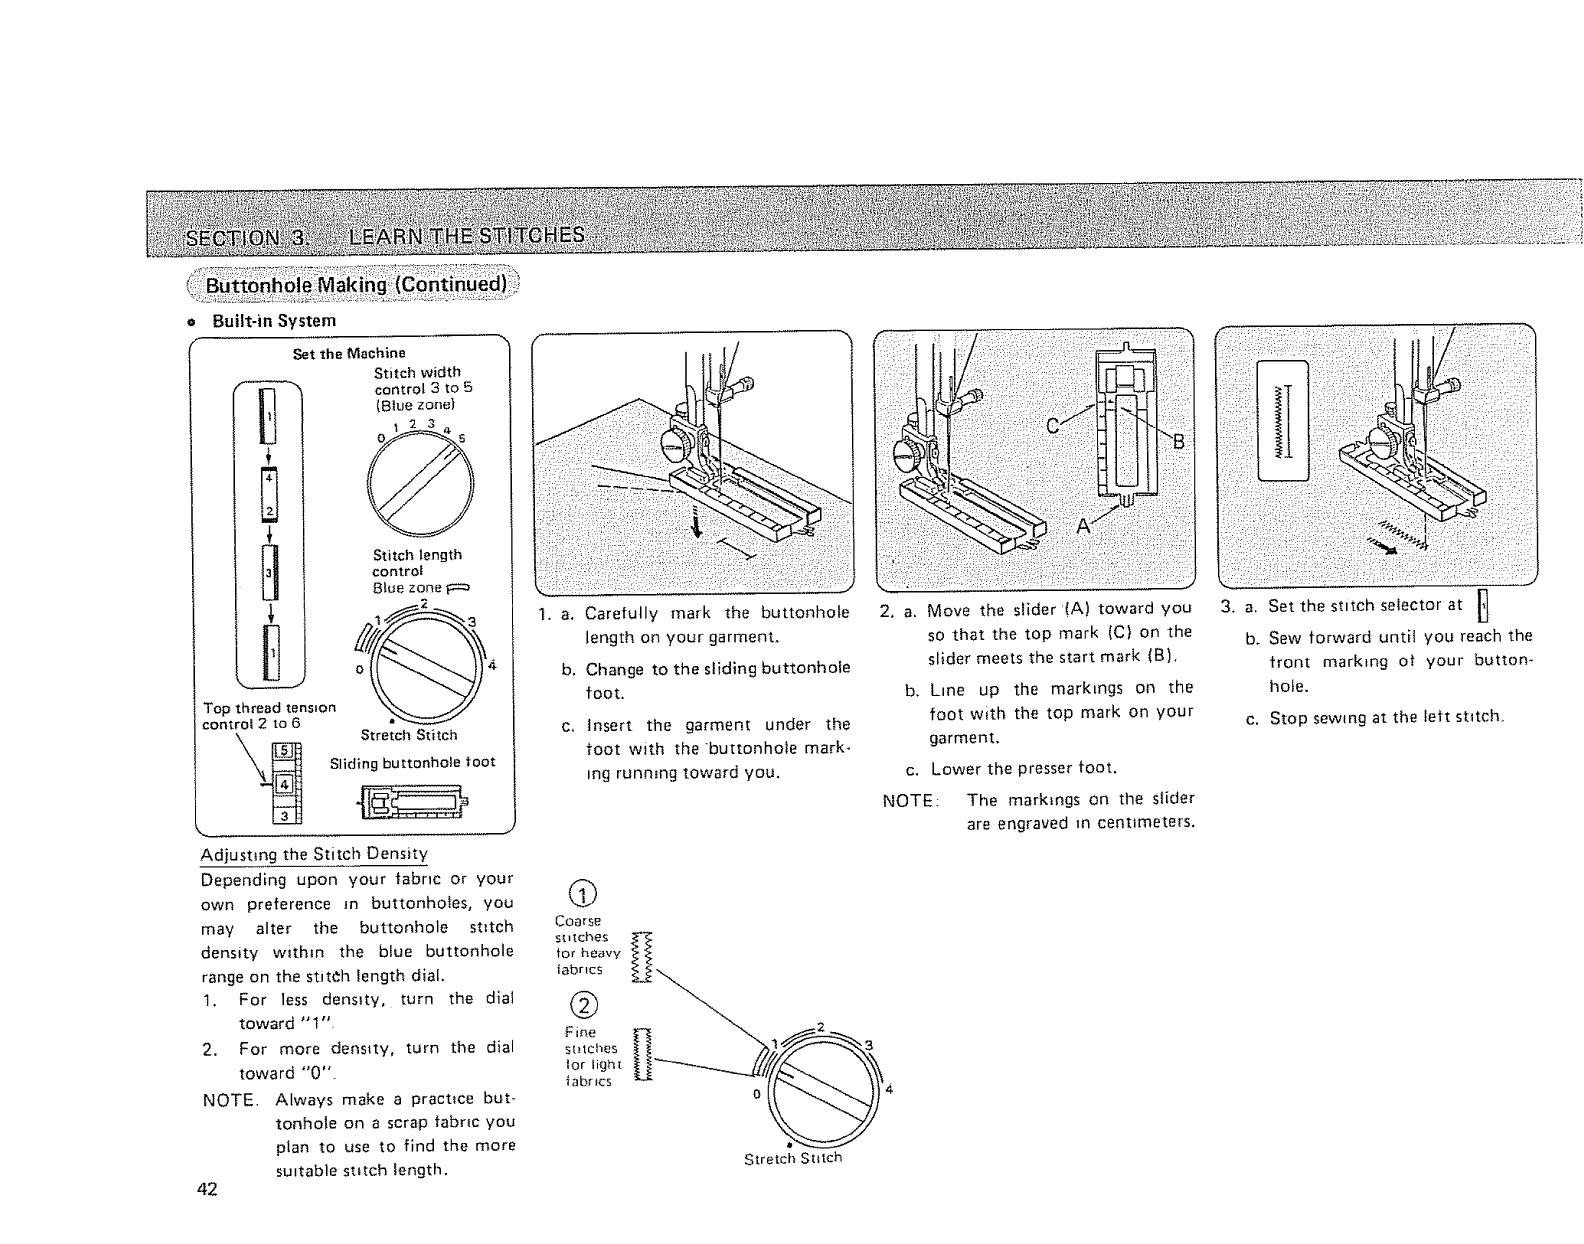
o Built-in System
Set the Machine
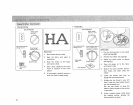
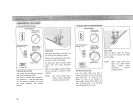
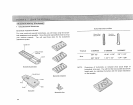
Stitch width
I
!311 i
B11
Top thread tension
control 2 to 6
control 3 to 5
(Blue zone)
Stitch length
control
B_uezone
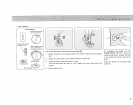
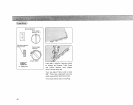
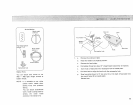
Stretch Stitch
Sliding buttonhole foot
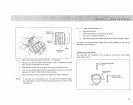
Adjusting the Stitch Density
Depending upon your {abnc or your
own preference m buttonholes, you
may alter the buttonhole stitch
density within the blue buttonhole
range on the stitch Iength dial
t. For less density, turn the dial
toward "t"
2. For more denstty, turn the dial
toward "0 '°
NOTE. Always make a practice but-
tonhole on a scrap fabric you
plan to use to find the more
suitable stitch length.
42
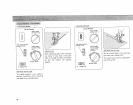
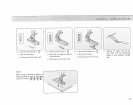
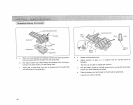
t. a. Carefully mark the buttonhole
length on your garment.
b. Change to the sliding buttonhole
foot.
c, Insert the garment under the
foot with the _buttonhole mark-
ing runmng toward you.
2, a. Move the slider (A) toward you
so that the top mark (C) on the
slider meets the start mark (B).
b, Line up the markings on the
foot with the top mark on your
garment.
c. Lower the presser toot.
NOTE: The markings on the slider
are engraved m centimeters.
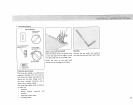
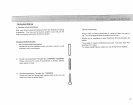
Q
Coarse
stitches
for heavy
iabrics
@
F ine
s_atcI_es
tor light
{abr _cs
ii
Stretch Stttch
i! iG'i !i!iiiii i!i!i!i!i ii!:i ii !i I;II¸il
3. a. Set the stitch selector at l'l
b. Sew forward until you reach the
front marking of your button-
hole.
c, Stop sewing at the left stitch.