


3O
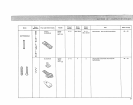
Top thread
tenskon
control
2 to6
No preSSer
foot
Darmng plate
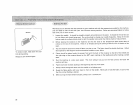
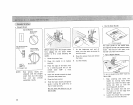
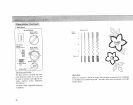
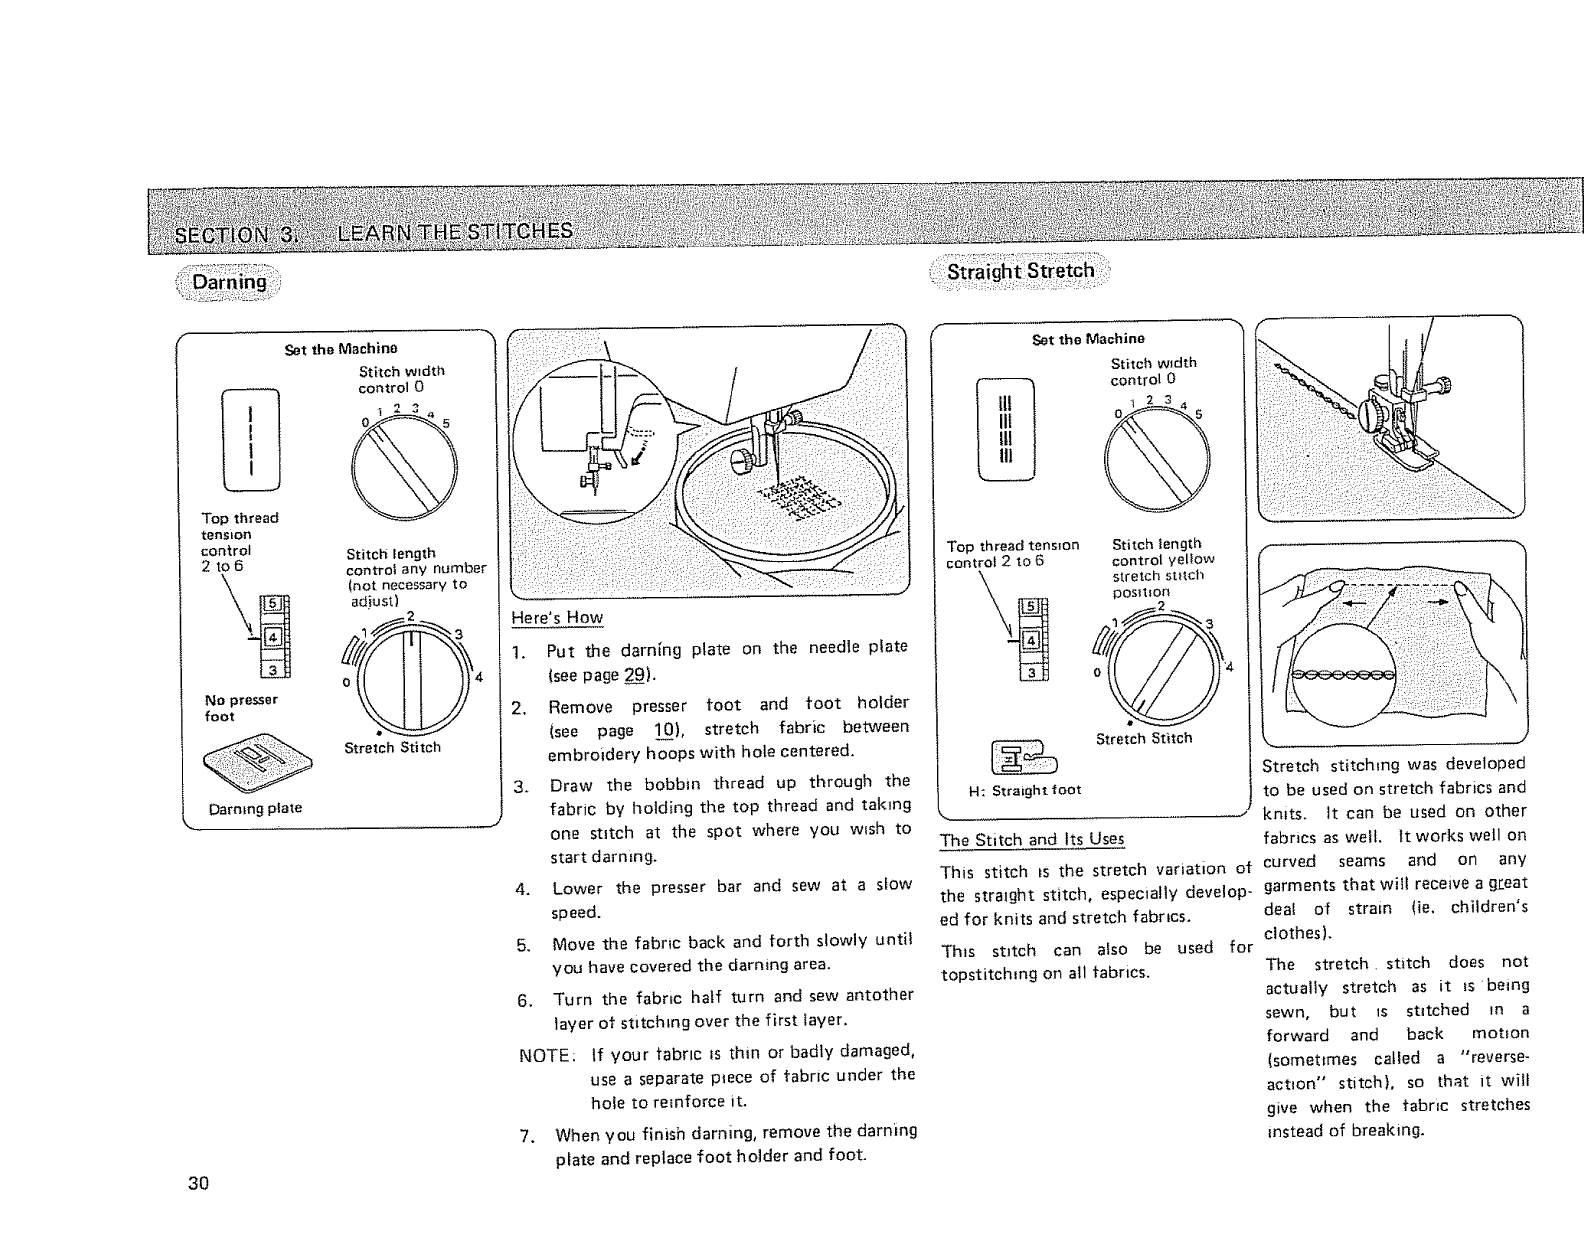
Set the Machine
Stitch width
control 0
1234
@
Stitcl_ iength
control any number
(not necessary to
adiust)
Stretch Stitch
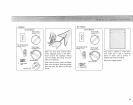
Here's How
1. Put the darning plate on the needle plate
(see page 29).
2, Remove presser toot and toot holder
(see page 10), stretch fabric between
embroidery hoops with hole centered.
3. Draw the bobbin thread up through the
fabric by holding the top thread and taking
one stitch at the spot where you w_sh to
start darmng.
4. Lower the presser bar and sew at a slow
speed.
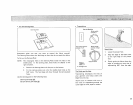
5. Move the fabric back and forth slowly unti_
you have covered the darning area.
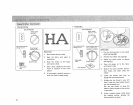
6. Turn the fabric half turn and sew antother
tayer ot stltchLng over the first iayer,
NOTE; If your tabnc _s thin or badly damaged,
use a separate p_ece of fabric under the
hole to reinforce it.
7. When you finish darning, remove the darning
plate and replace foot holder and foot.
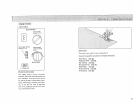
Set the Machine
Stitch width
control 0
Top thread tension
control 2 to G
H: Strai_Jht toot
Stitch length
control yellow
stretch stitch
position
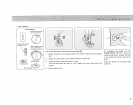
Stretch Stitch
The Stitch and Its Uses
This stitch =Sthe stretch variation of
the straight stitch, especially develop-
ed for knits and stretch fabrics.
This stitch can aiso be used for
topstitch=rig on all fabrics.
Stretch stitching was developed
to be used on stretch fabrics and
knits, tt can be used on other
fabrics as well. tt works well on
curved seams and on any
garments that will receive a great
deal of strain (ie. children's
clothes).
The stretch, stitch does not
actuatiy stretch as it Isbeing
sewn, but is stitched in a
forward and back motion
(sometimes called a "reverse-
action" stitch}, so that it will
give when the fabric stretches
instead of breaking.