


[] 7 Unwind the rest of the tubing. Take care not to kink it.
Run the tubing along flat surfaces to the humidifier. Support the
tubing as needed to avoid contact with furnace.
II[l_lill
[] 8 Close previously opened faucet. Turn on main water
supply. Place a pall under the and of the tubing. Open the caddie
valve, Flush the line. Make sure there are no leaks along the line
or at the valve. Turn valve off.
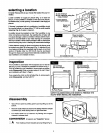
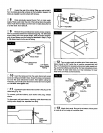
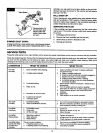
[] 9 Removethe quickdisconnectsocket,brasscompres-
sionnut,andbrasssleevefromhardwarebag(Rg. 14). Withwater
supplytubingcutto the properlength,slide the brass compres-
sion nutandsleeve overthe tubingas describedinStep 5, Page
6. Slipbrass insertintothe endoftubing.
F
-I Sleeve
L _Humiditier
QUICK DISCONNECT
ASSEMBLY
Nut
Sleeve
Insert
Quick Disconnect
Socket
1/4" Plastic
Water Supply
Tubing
[] 10 Insertthe tubingend intothe quick disconnectsocket
as far asit willgoand holditthere, threadthe brasscompression
nut onto the quickdisconnectsocket, then tighten using two
wrenches,oneto holdquick disconnectsocketandoneto tighten
nut. DO NOT over tighten nut.
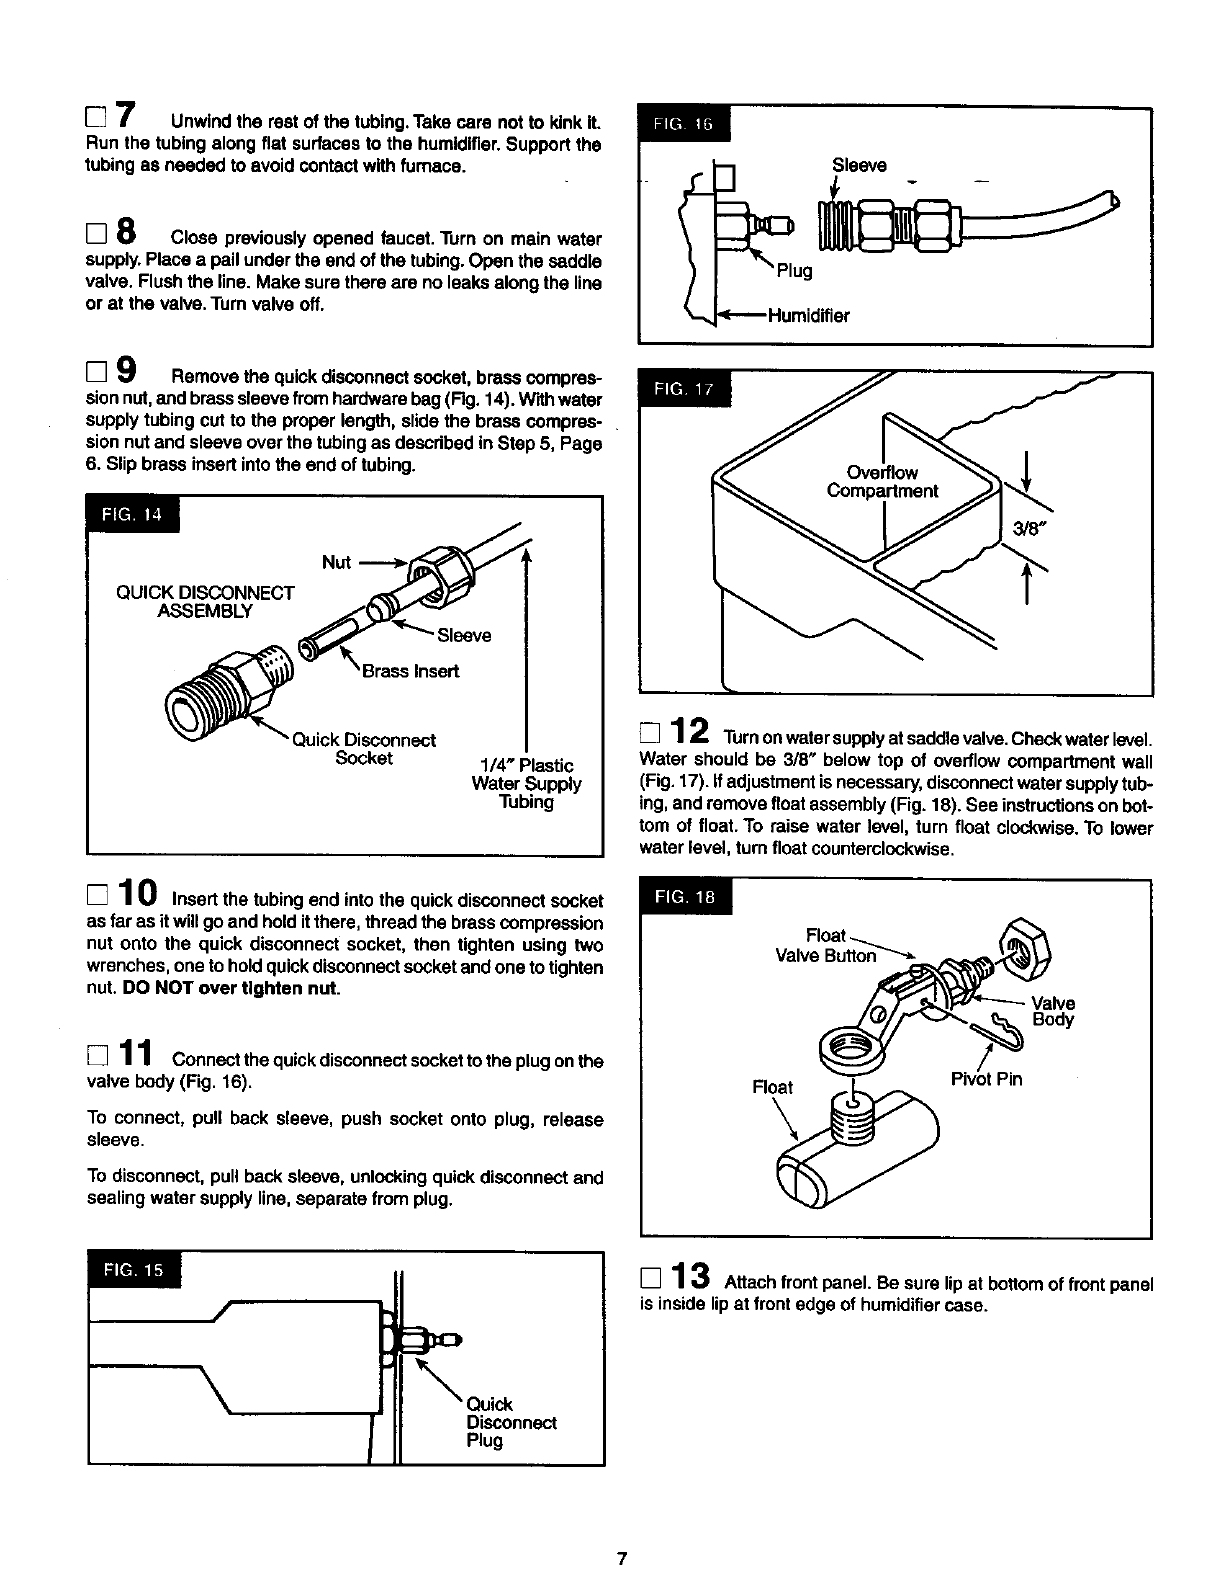
[] 11 Connectthe quickdisconnectsocketto theplugonthe
valve body (Fig. 16).
To connect, pull back sleeve, push socket onto plug, release
sleeve.
To disconnect,pullback sleeve,unlockingquickdisconnectand
sealingwater supplyline,separatefrom plug.
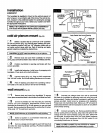
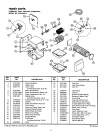
[] 12 Turnonwatersupplyatsaddlavalva.Chackwaterlevel.
Water should be 3/8" belowtop of overflowcompartmentwall
(Fig.17). If adjustmentis necessary,disconnectwatersupplytub-
ing,andremovefloat assembly(Fig.18). See instructionsonbot-
tom of float.To raisewater level, turn float clockwise.To lower
water level,turnfloatcounterclockwise.
Float
Valve Button
Valve
Body
Float Pin
LI1[t]! i1,1
Disconnect
Plug
[] 13 Attach front panel. Be sure lip at bottom of front panel
is inside lip at front edge of humidifier case.